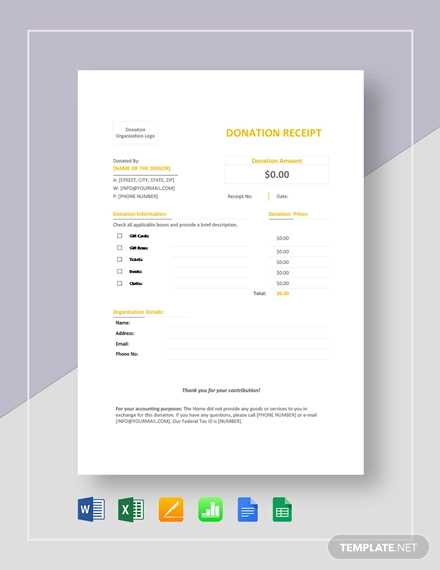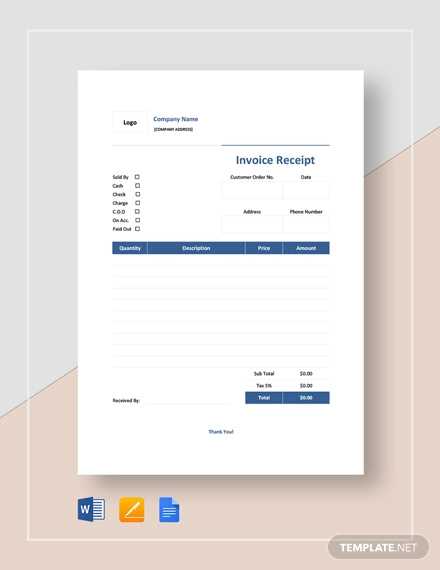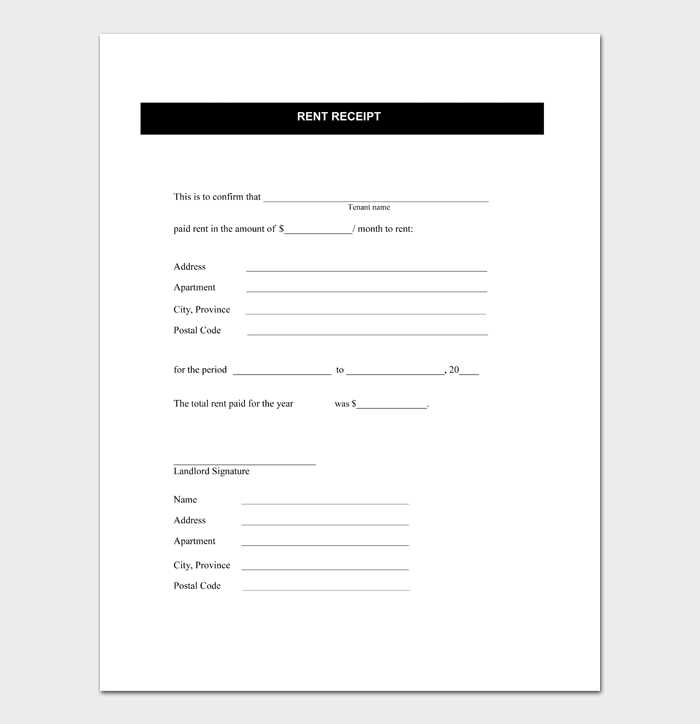
Need a quick and professional receipt? Google Docs offers free templates that you can customize in just a few clicks. Whether you’re handling business transactions, freelance work, or personal expenses, a well-structured receipt keeps records clear and organized.
To get started, open Google Docs and search for “receipt template” in the template gallery. If no default option fits your needs, create a custom receipt by using tables, text formatting, and placeholders for details like date, amount, and payment method. Google Docs’ built-in tools allow you to adjust fonts, colors, and logos to match your brand.
For automation, link your template with Google Sheets or Google Forms to generate receipts dynamically. Add formulas to calculate totals automatically, ensuring accuracy with minimal effort. When finished, save your receipt as a PDF or share it via email directly from Google Docs.
Using a Google Doc receipt template saves time, maintains consistency, and ensures your documents are always accessible from any device. Start customizing your receipt now and streamline your financial documentation effortlessly.
Google Docs Receipt Template: A Practical Guide
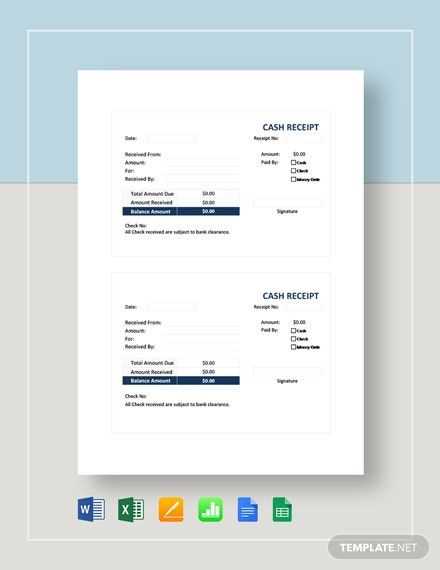
Creating a receipt in Google Docs is simple and ensures a professional layout. Use pre-made templates to save time or customize your own for specific needs.
How to Create a Receipt Template
Start with a blank document or select a template from Google Docs’ template gallery. If using a blank file, follow these steps:
- Set the document title as “Receipt” and align it centrally.
- Insert a table with two columns and multiple rows for details.
- Include sections for date, receipt number, buyer and seller details, itemized purchases, and totals.
- Apply bold text to headers for clarity.
Example Receipt Table
| Date | Receipt No. | Seller | Buyer |
|---|---|---|---|
| 01/15/2025 | R-1001 | ABC Store | John Doe |
| Item | Quantity | Price | Total |
|---|---|---|---|
| Wireless Mouse | 1 | $20.00 | $20.00 |
| Laptop Stand | 1 | $30.00 | $30.00 |
| Grand Total | $50.00 | ||
Save the template as a reusable file, ensuring quick edits for future receipts.
How to Create a Custom Receipt Template in Google Docs
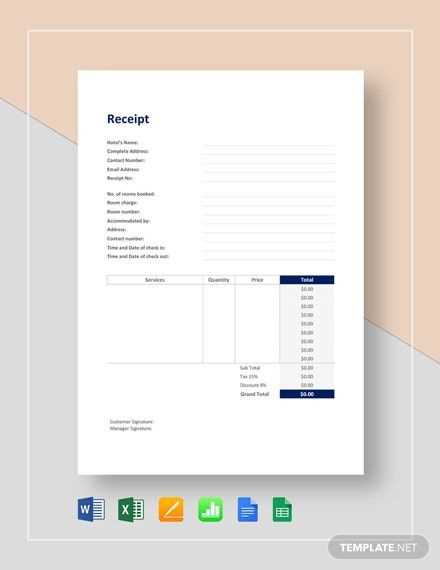
Open Google Docs and create a new document. Adjust the page layout by selecting File > Page setup to set margins and orientation. A standard receipt works best in portrait mode with 0.5-inch margins.
Structure the Receipt
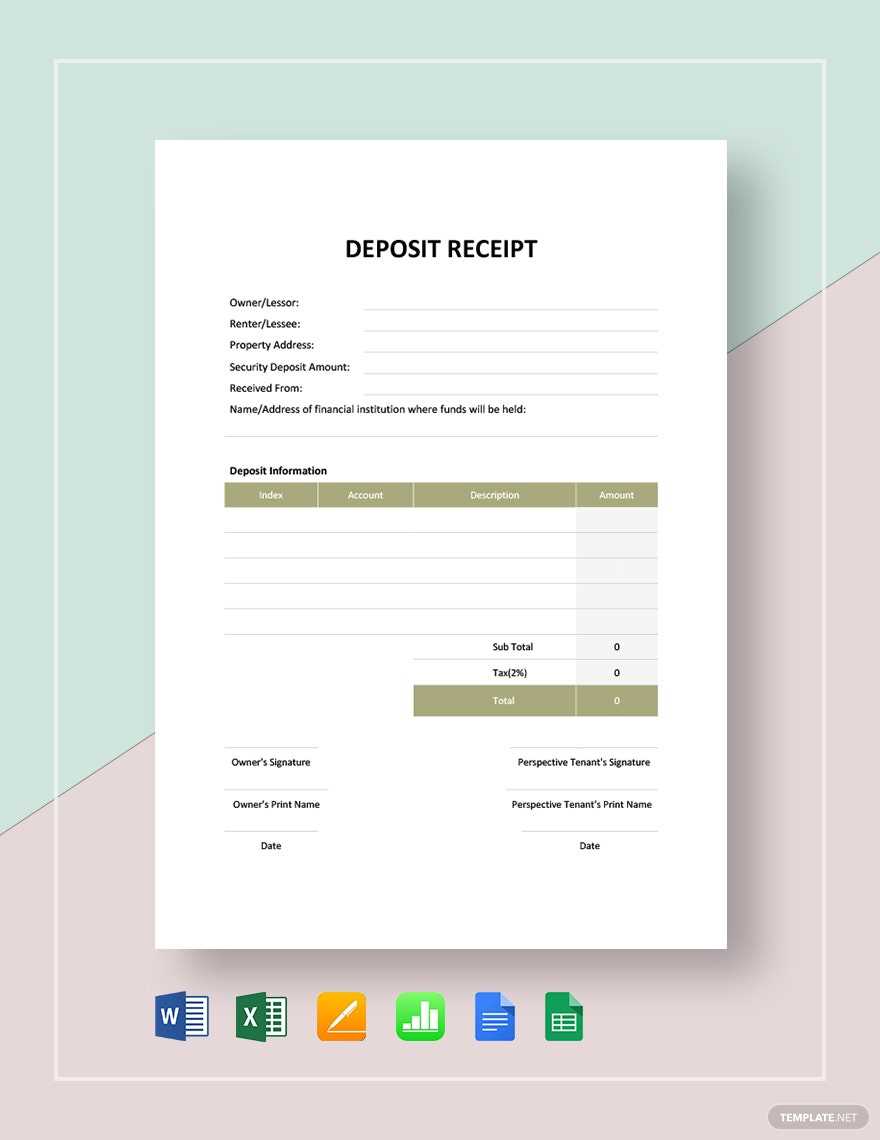
Use a table for organization. Click Insert > Table and choose a 2- or 3-column layout. A typical format includes:
- Header: Business name, logo (if needed), contact details.
- Body: Date, receipt number, customer details.
- Itemized List: Description, quantity, price, total.
- Footer: Payment method, terms, signature line.
Customize the Design
Enhance readability with font styles. Select Arial or Verdana for clarity. Use bold for section titles and larger font sizes for key details. Add borders to table cells for a professional look.
Save the file as a reusable template. Click File > Make a copy before using it for a new transaction. This keeps the original format intact while allowing edits for each receipt.
Best Formatting Options for a Professional Receipt Layout
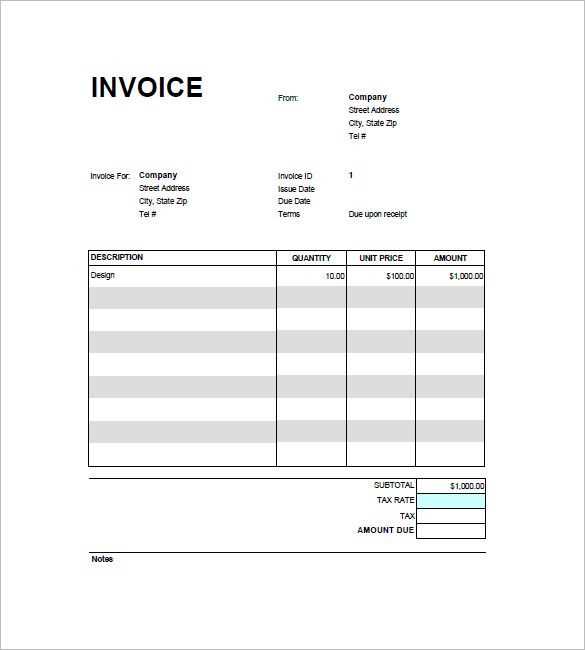
Use a clear, structured layout to ensure readability and professionalism. Align text elements properly, maintain consistent spacing, and choose a legible font like Arial, Calibri, or Roboto.
- Header Clarity: Place the business name, logo, and contact details at the top. Use bold text for emphasis.
- Date and Receipt Number: Align to the right or place directly below the header for quick reference.
- Itemized List: Use a table format with columns for description, quantity, price, and total. Keep column widths consistent.
- Subtotal, Taxes, and Total: Separate these values clearly, with the total amount in bold or a slightly larger font.
- Payment Details: Indicate the payment method and transaction ID to avoid disputes.
- Footer Information: Include return policies, terms, or a thank-you note to enhance customer experience.
Limit font variations to two styles–one for headings and another for body text. Use black or dark gray text on a white background for contrast. Avoid excessive decorative elements that can reduce clarity.
Sharing and Printing Receipts Directly from Google Docs
Use the built-in sharing options in Google Docs to instantly grant access to your receipt. Click “Share” in the top-right corner, enter the recipient’s email, and choose their permission level. For a read-only version, select “Viewer.” If they need to edit or add notes, use “Editor.”
To generate a PDF for printing, go to “File” > “Download” > “PDF Document (.pdf).” This format preserves formatting and ensures compatibility across devices. Open the downloaded file and print it directly from your computer.
For a quicker print option, select “File” > “Print” (or press Ctrl+P on Windows, Cmd+P on Mac). Adjust print settings such as margins and paper size if needed, then confirm the print job.
If you need to share a hard copy, use Google Docs’ mobile app to print from your phone. Tap the three-dot menu, select “Share & export,” then choose “Print.” This works seamlessly with cloud-connected printers.
For automated sharing, use Google Drive’s integration with third-party tools like Zapier. Set up a workflow that emails the receipt as soon as it’s created, streamlining your process.
