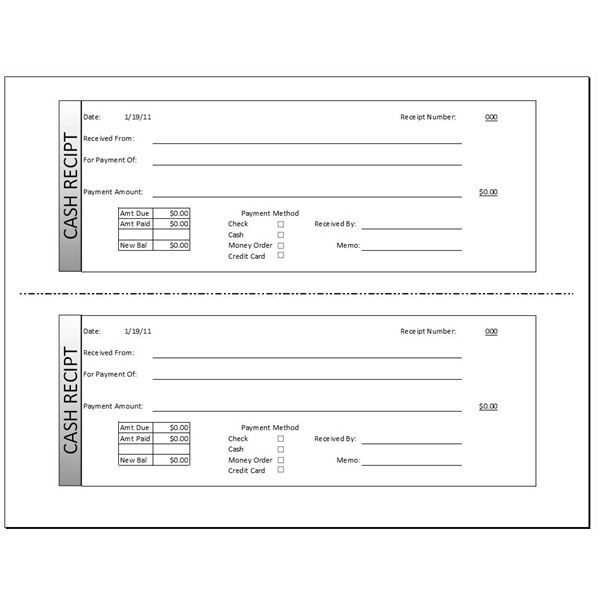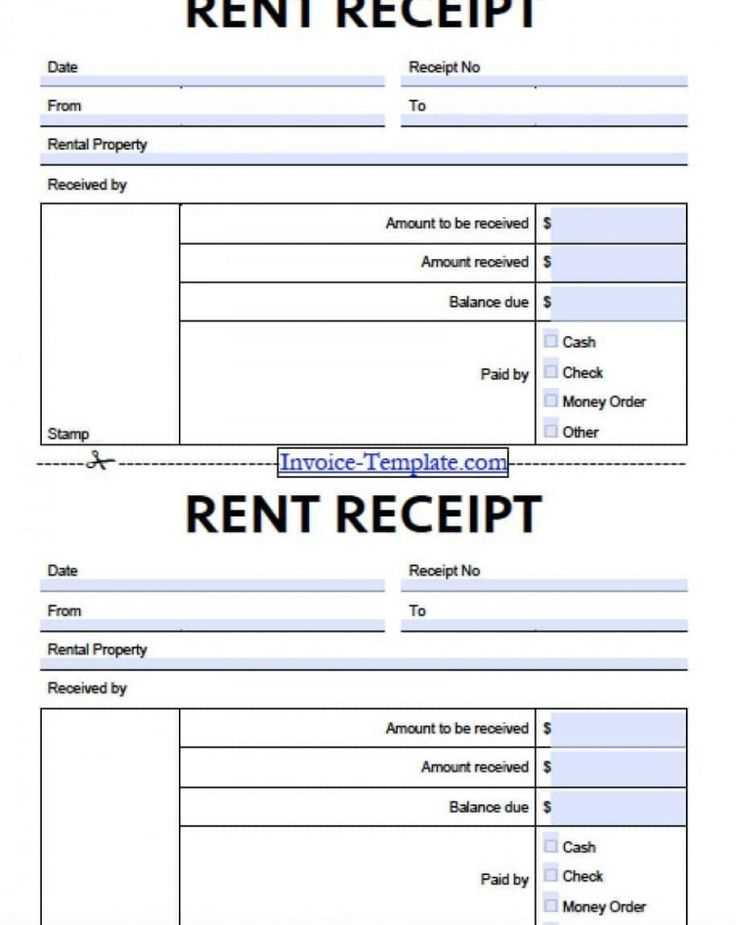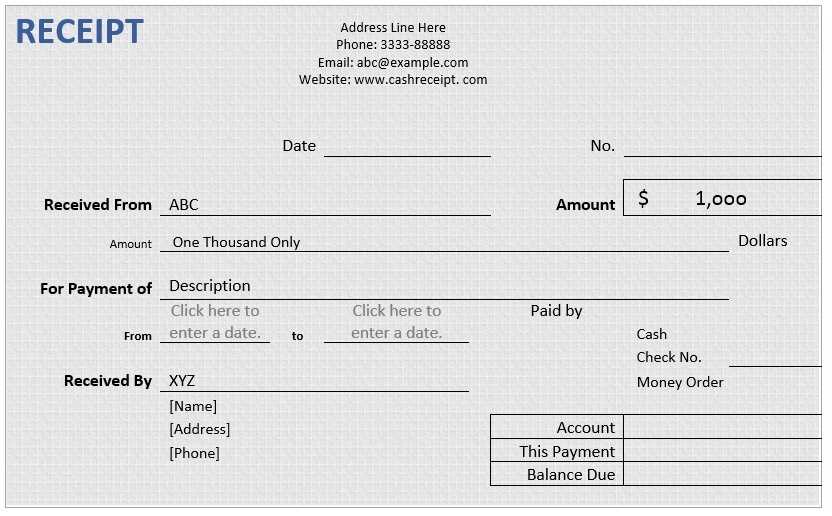
Use a clear, structured template to ensure every payment receipt meets professional standards. A well-organized format simplifies record-keeping, enhances transparency, and minimizes disputes. Choose a layout that includes essential details: transaction ID, billing date, payment method, and amount paid.
Automate receipt generation using Microsoft Excel or Word with built-in templates. Office 365 offers pre-designed formats that can be customized with company branding, tax details, and additional notes. Integration with Microsoft Forms or Power Automate streamlines data entry, reducing manual effort and errors.
For businesses handling recurring payments, consider dynamic templates that update automatically. Linking an invoice system with an Office 365 document ensures accuracy and consistency. Use conditional formatting and formulas in Excel to highlight overdue payments or discrepancies.
Security is crucial when managing financial documents. Protect sensitive data by enabling password encryption and access controls. Share receipts securely through OneDrive or SharePoint to maintain compliance with industry regulations.
A professionally formatted payment receipt enhances credibility and simplifies financial tracking. Choose a solution that aligns with your workflow to maintain accuracy and efficiency.
Office 365 Payment Receipt Template
Ensure your Office 365 payment receipts contain all necessary details to avoid discrepancies and simplify financial tracking. A well-structured template should include:
- Company Information: Business name, address, contact details, and tax identification if applicable.
- Customer Details: Full name, email, and billing address for accurate record-keeping.
- Receipt Number: A unique identifier to facilitate tracking and auditing.
- Date of Payment: The exact date when the transaction was completed.
- Subscription Plan: Specify the purchased Office 365 plan, including duration and pricing.
- Payment Method: Indicate whether payment was made via credit card, bank transfer, or another method.
- Amount Paid: Breakdown of charges, including applicable taxes.
- Confirmation Message: A brief statement verifying the successful transaction.
To streamline the process, automate receipt generation through invoicing software that integrates with Office 365 subscriptions. This ensures consistency, reduces manual errors, and keeps records organized.
For professional documentation, export receipts as PDFs and store them in a dedicated folder for easy retrieval during audits or customer inquiries.
Customizing Receipt Layout for Branding
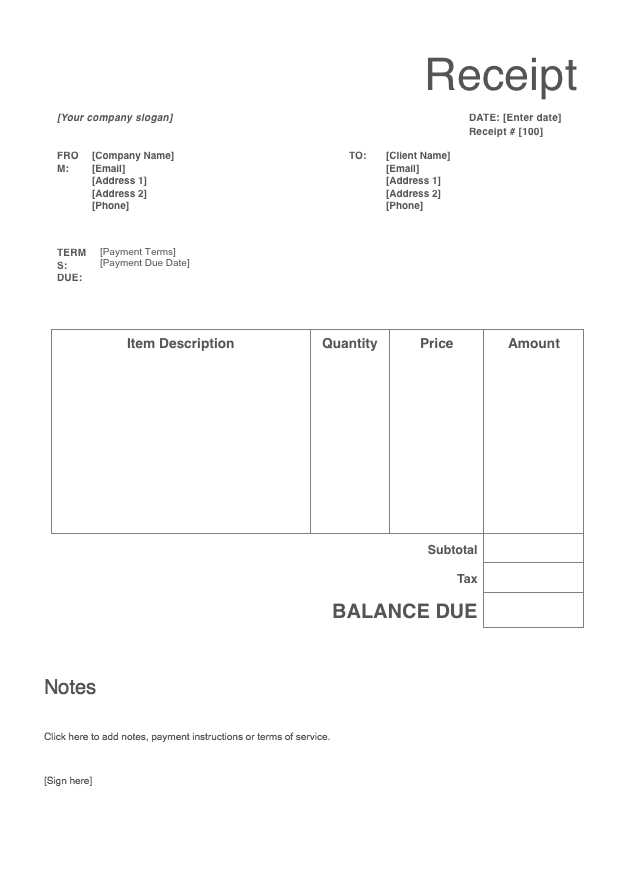
Ensure your receipt reflects your brand identity by integrating company colors, fonts, and logos. Modify the template’s header to include a high-resolution logo and adjust font styles to match your corporate materials. Consistent branding strengthens customer trust and reinforces recognition.
Enhancing Readability
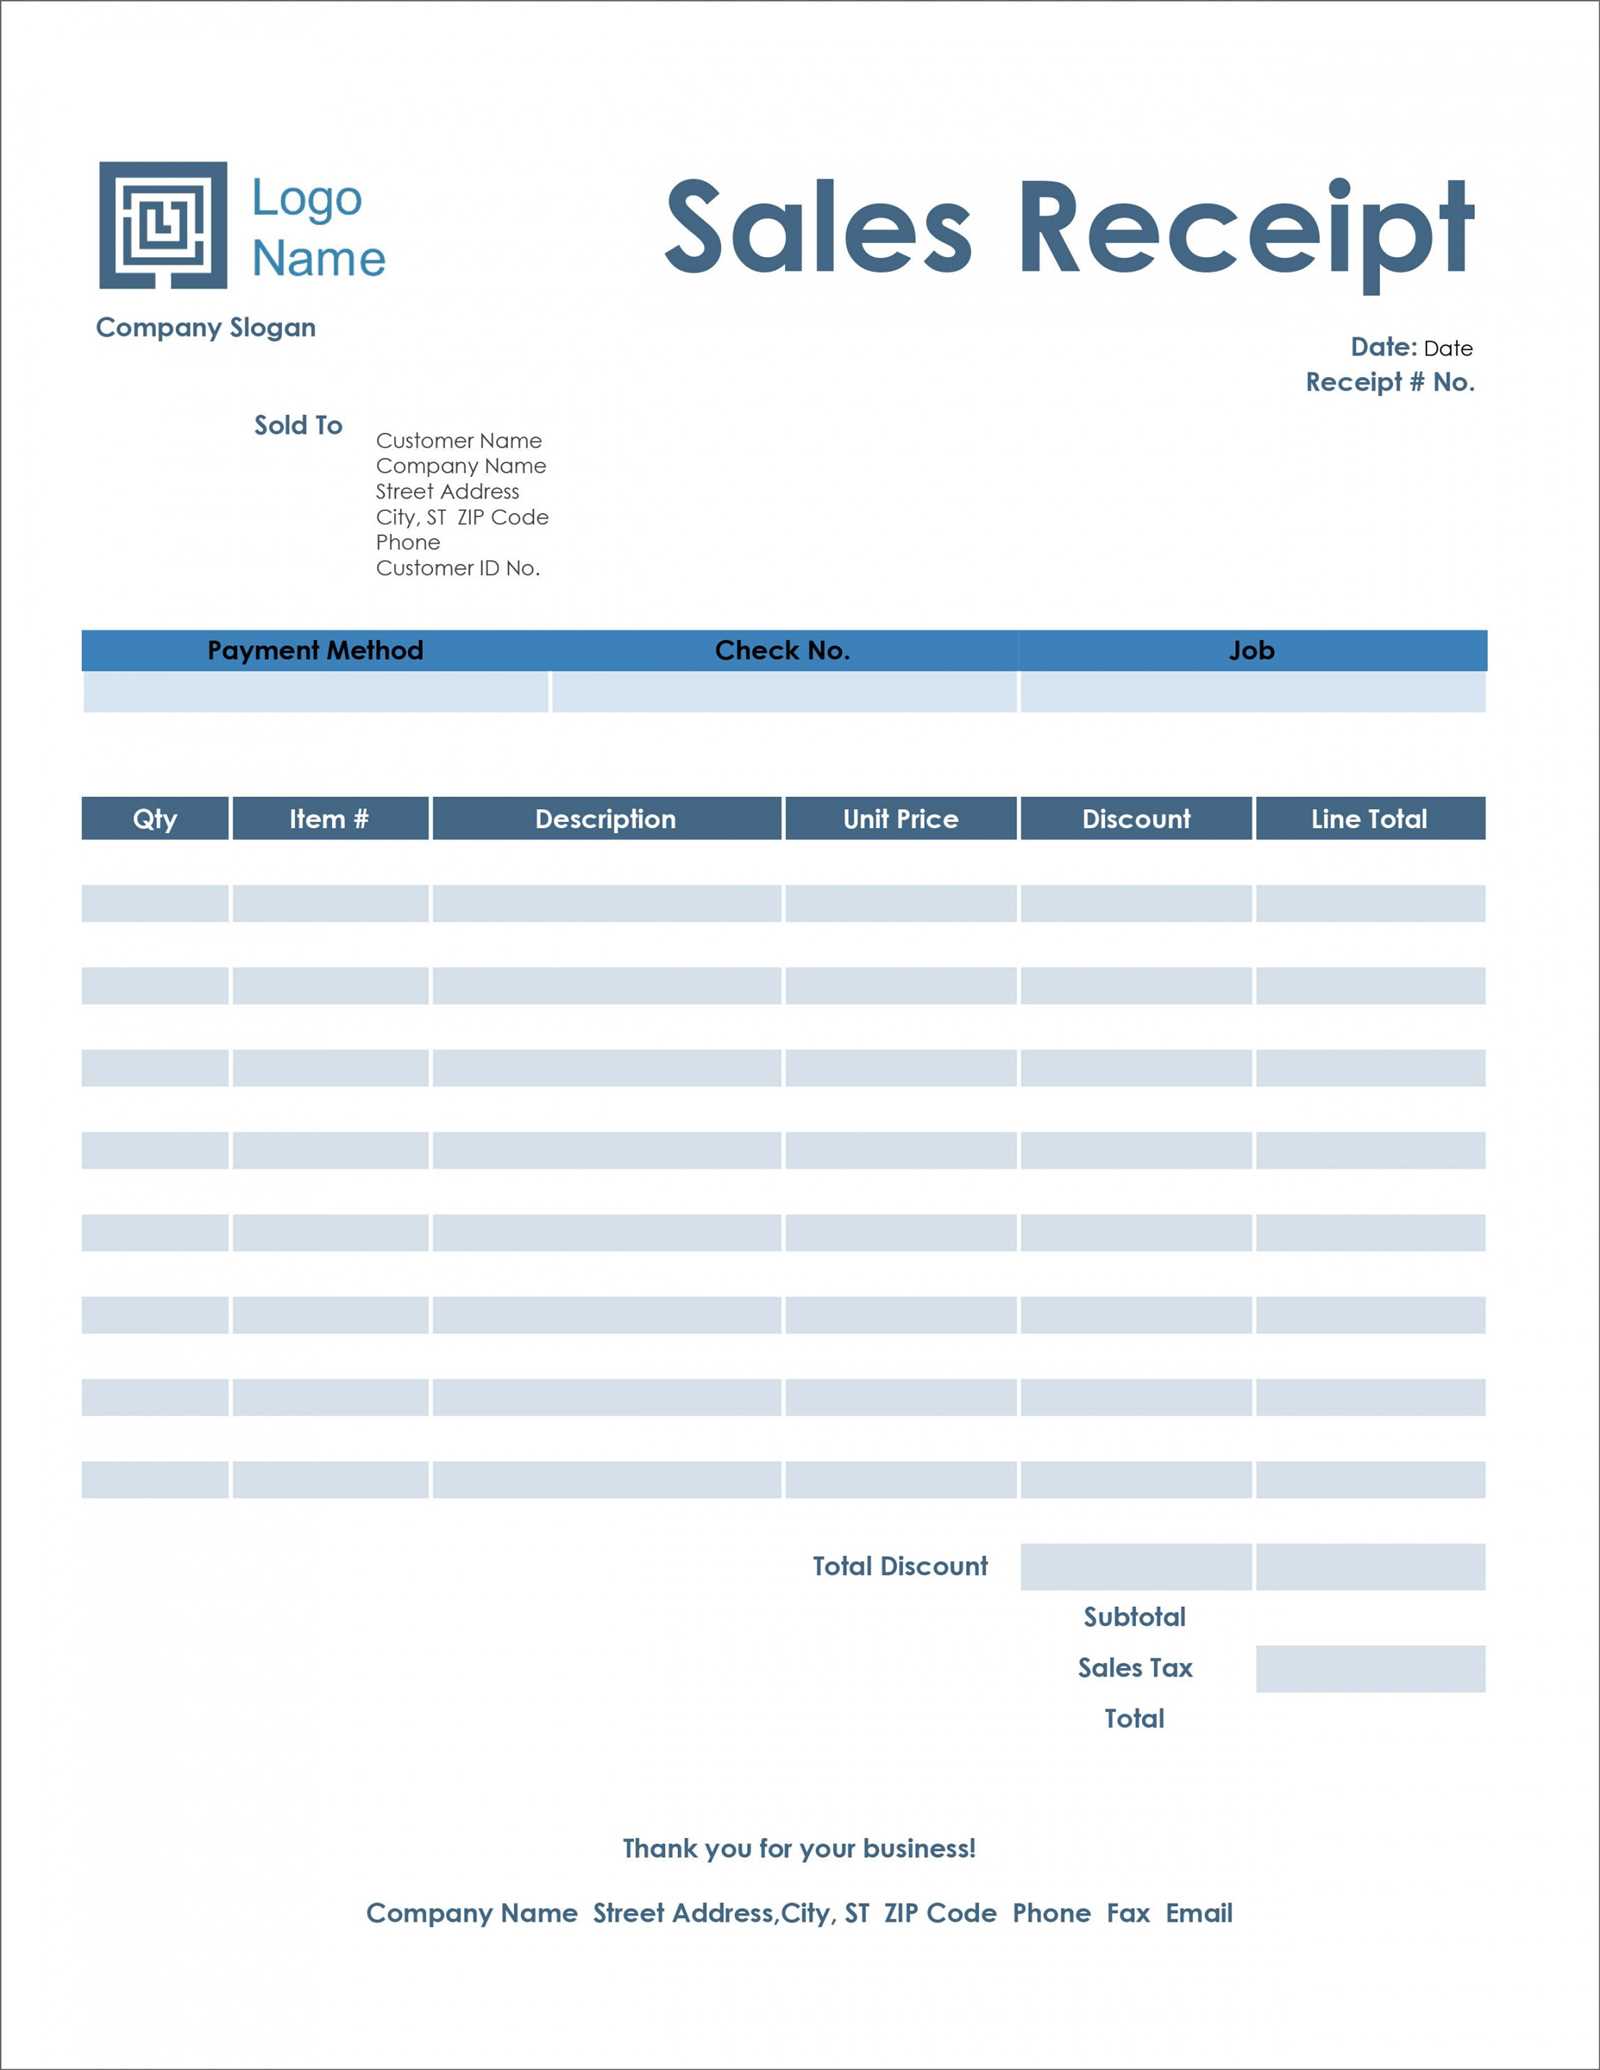
Use clear font sizes and spacing to improve legibility. Avoid clutter by organizing details into distinct sections. Highlight key information, such as the total amount and payment date, with bold text to make it stand out. A well-structured layout ensures customers can quickly find relevant details.
Incorporating Custom Messages
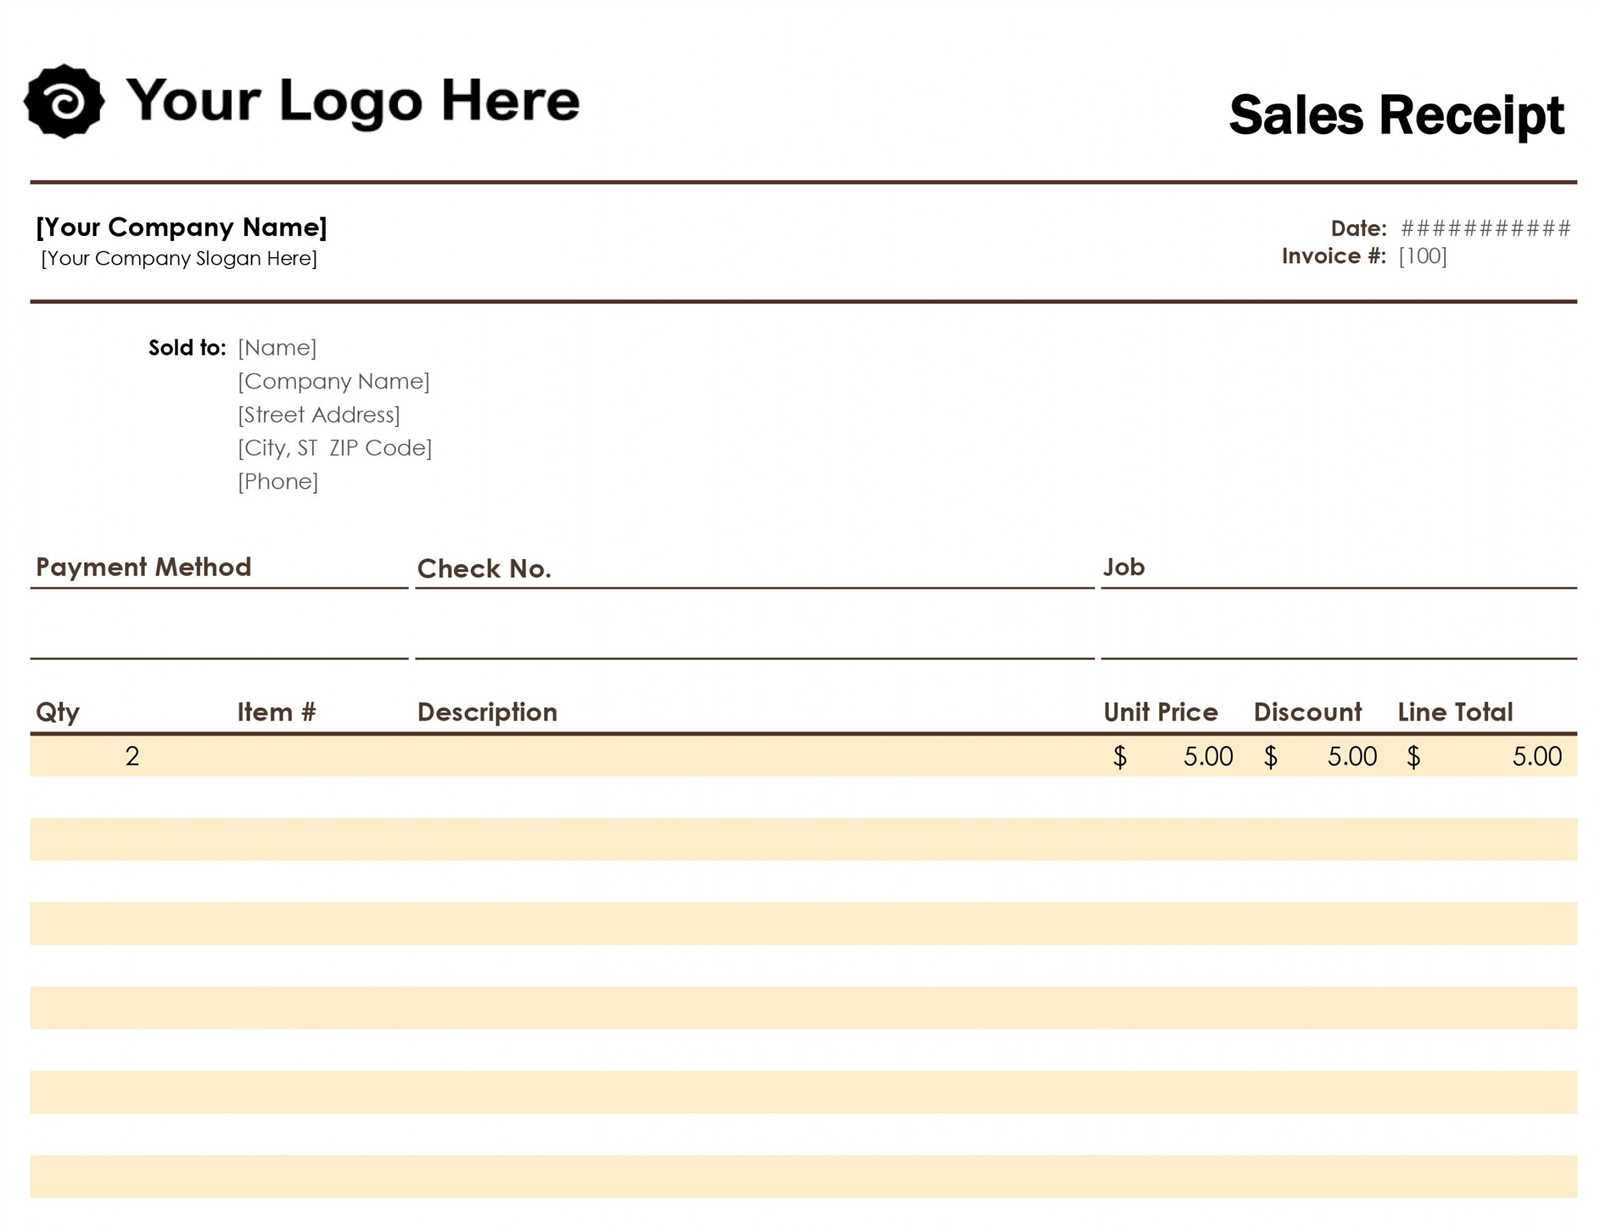
Personalize receipts with a thank-you note or promotional content. Add a brief message at the bottom to encourage future purchases or provide contact details for support. This small adjustment enhances customer engagement and leaves a positive impression.
Including Tax and Compliance Details
Ensure the receipt includes precise tax calculations based on the applicable jurisdiction. Break down tax components clearly, specifying rates and amounts separately. For international transactions, indicate whether VAT, GST, or other regional taxes apply.
List the business’s registered tax identification number and, if required, the buyer’s tax details. This is particularly relevant for B2B transactions where tax exemptions or reverse charges may be applicable.
Compliance requirements vary, so align the receipt format with local regulations. Some regions mandate digital signatures or government-issued invoice numbers. If necessary, include a compliance statement verifying adherence to tax laws.
For transparency, outline refund policies related to tax adjustments. If tax reclaim options exist, provide a reference to the relevant documentation or support channels.
Automating Receipt Generation in Office 365
Use Power Automate to create a seamless process for generating receipts. Start by setting up a trigger, such as a new payment entry in an Excel Online sheet or a confirmation email in Outlook. Connect the workflow to a Word template stored in OneDrive or SharePoint, ensuring that placeholders match the required receipt details.
Next, populate the template dynamically using the “Populate a Microsoft Word template” action. This step inserts payment data, customer details, and transaction dates into predefined fields. Once completed, convert the document into a PDF with the “Convert Word Document to PDF” action for a standardized format.
Distribute the finalized receipt automatically via email. Use the “Send an email (V2)” action in Power Automate to attach the PDF and personalize the message with customer-specific details. Store a copy in a designated OneDrive or SharePoint folder for future reference.
Enhance efficiency by integrating Microsoft Forms for input collection, allowing customers to enter payment details directly. Automate the process further by linking payment platforms like Stripe or PayPal to trigger receipt generation immediately after a transaction is completed.
