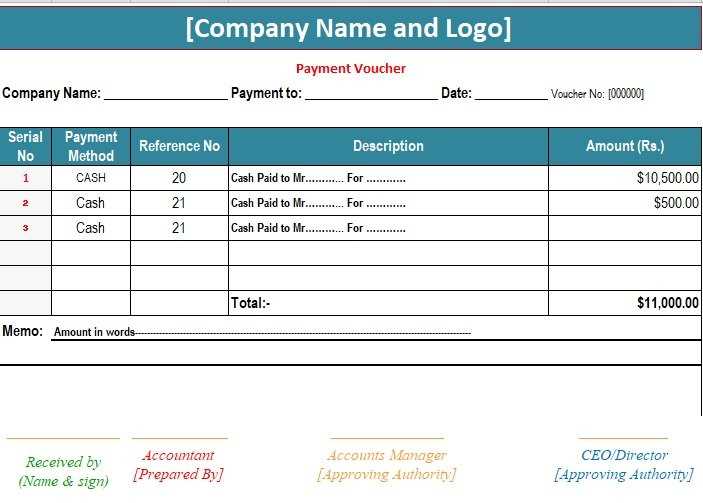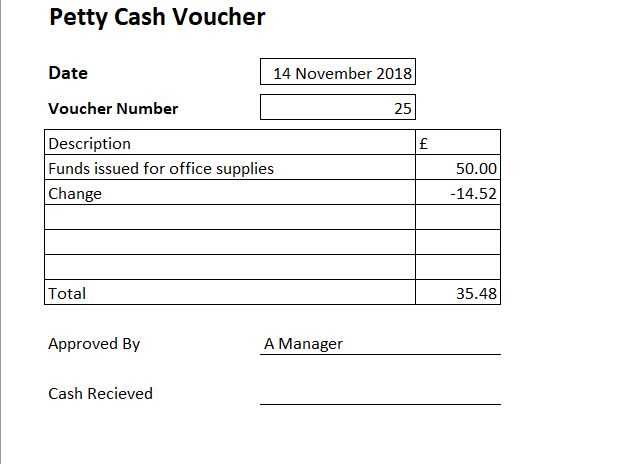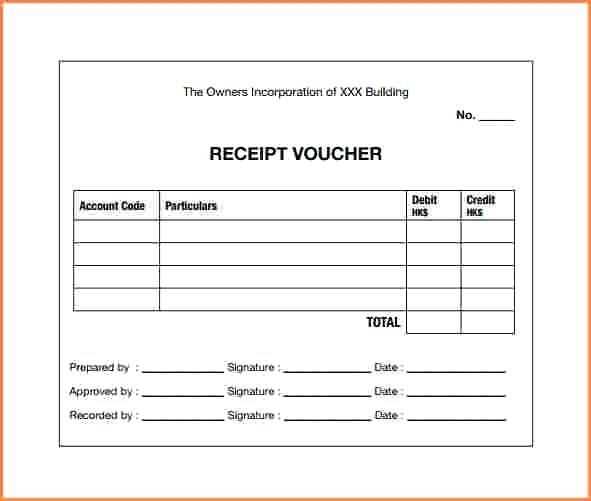
For businesses that handle regular cash transactions, using an Excel template for cash receipt vouchers simplifies record-keeping and ensures transparency. A well-designed template helps track payments efficiently, preventing errors and confusion. The format can be customized to suit your business needs, including adding company logos, payment methods, and detailed item descriptions.
Once you’ve downloaded or created the template, fill in fields such as the receipt number, date, payee name, and amount received. Add any relevant notes or references, such as the invoice number or transaction type, to maintain accurate records. A template allows for quick adjustments, ensuring it’s always aligned with your current processes.
Ensure your template is user-friendly by keeping the layout clear and easy to navigate. Organize the sections logically, using headings like “Receipt Number”, “Amount”, and “Payment Method”. This approach minimizes the chance of missing key details. You can also use Excel’s built-in formulas to automatically calculate totals, making the voucher creation process even faster.
Stay consistent with your records by using the same format each time, ensuring clarity and reducing the chance of discrepancies. Regularly updating the template helps maintain accuracy and can be a helpful reference for financial audits or internal reviews.
Cash Receipt Voucher Template Excel
To create a cash receipt voucher template in Excel, start with a simple structure that includes the necessary fields such as receipt number, date, payee details, amount received, and payment method. This keeps the document clear and ensures all relevant data is captured for accounting purposes.
Include a column for item descriptions if multiple items or services are paid for, providing clarity in the transaction. A section for signatures or authorization can be added for further validation and record-keeping.
For ease of use, consider adding drop-down lists for payment methods like cash, cheque, or bank transfer. You can also add formulas to calculate totals automatically, reducing manual input errors. Don’t forget to include a balance column if you need to track partial payments or adjustments.
Save the template as a reusable file, so you can generate vouchers quickly. With Excel, you can customize the layout and design to suit your preferences, while ensuring the data remains consistent across transactions.
How to Create a Simple Cash Receipt Voucher Template
Begin by opening a new Excel sheet. Set up a clean layout with the following columns: Date, Receipt Number, Received From, Amount, Payment Method, and Remarks. Adjust the column widths to fit the content. Use bold headers to distinguish each section.
Step 1: Add Header Information

In the top rows, input the title “Cash Receipt Voucher” and include your company’s name and logo, if desired. Position this information in the center for a neat, professional appearance. Below the title, leave space for the voucher number, which can be manually entered or set up with an auto-increment feature in Excel.
Step 2: Set Up Payment Details
In the rows beneath, create the fields for details such as the date, payer’s name, amount received, and payment method. Format the Amount column with a currency format, ensuring clarity. Add a separate field for any remarks or notes that might be necessary for each transaction.
Finally, apply borders to the sections for clarity and make sure everything is aligned properly. Save the template so it can be reused with minimal adjustments for future transactions.
Customizing Columns for Different Payment Methods

Adjust the columns in your cash receipt voucher template based on the payment methods you are working with. Tailoring the spreadsheet makes tracking and reporting payments more straightforward.
1. Adding Payment Method Specific Columns
Include a separate column for each payment method. For example, if a payment is made via bank transfer, add a column to enter the transaction reference number. If paid with cash, add a column to track the denomination or amount in small notes.
- Bank transfer: Include columns for the transaction number, bank name, and payment date.
- Cheque: Add columns for the cheque number and bank name.
- Cash: Include columns for the amount in different denominations or any changes made.
- Credit/debit card: Add columns for the card type and approval code.
2. Incorporating a Status Column
Add a column to track the payment status (e.g., Pending, Completed, Reversed). This is particularly helpful when dealing with payments that may take time to clear, such as cheques or bank transfers.
- Pending: For payments still in process.
- Completed: Once the payment is confirmed and cleared.
- Reversed: If a payment is cancelled or refunded.
This approach allows for a clearer overview of all transactions, especially when dealing with multiple payment methods. It helps ensure accuracy and reduces errors in accounting.
How to Automate Data Entry with Excel Formulas
Use formulas like VLOOKUP, INDEX, and MATCH to pull data from other sheets or tables automatically. This will save you time and reduce errors in your data entry process. For example, if you have a list of items with prices in a separate sheet, use VLOOKUP to automatically fetch the price whenever you enter an item name in the voucher template.
Use IF Statements to Create Conditional Logic
Apply the IF function to automate calculations based on conditions. For instance, you can set up a formula to calculate discounts based on purchase amounts, applying different percentages depending on the total price. This ensures the correct values are entered without manual intervention.
Automate Date Entries with TODAY and NOW

The TODAY() and NOW() functions automatically insert the current date or time into your template. Use these for timestamps or to calculate periods, eliminating the need to manually input the date each time a voucher is generated.


