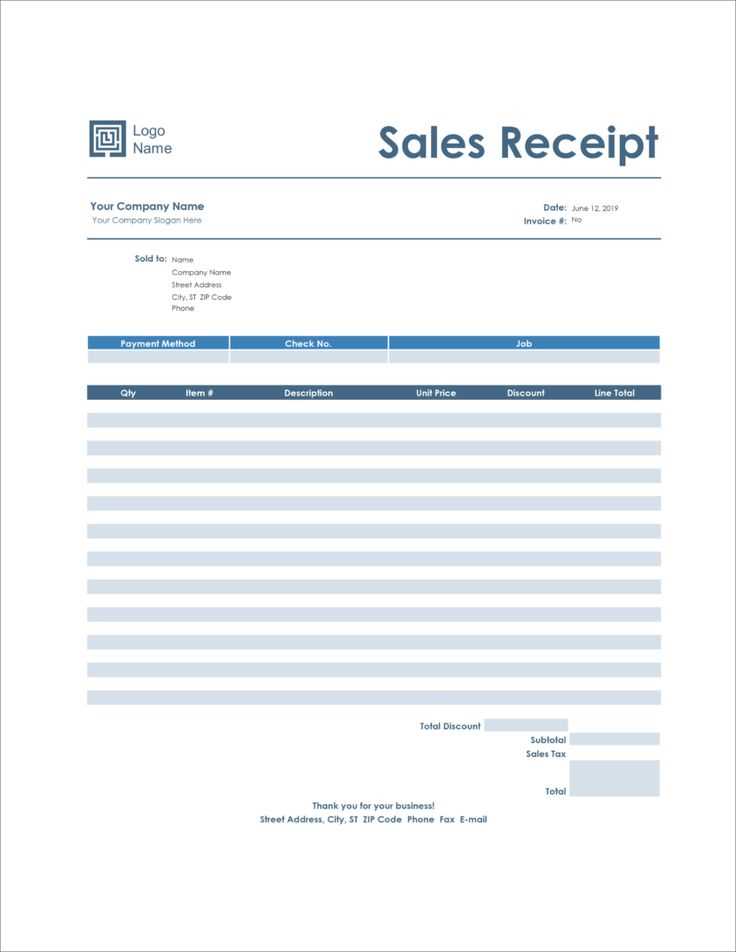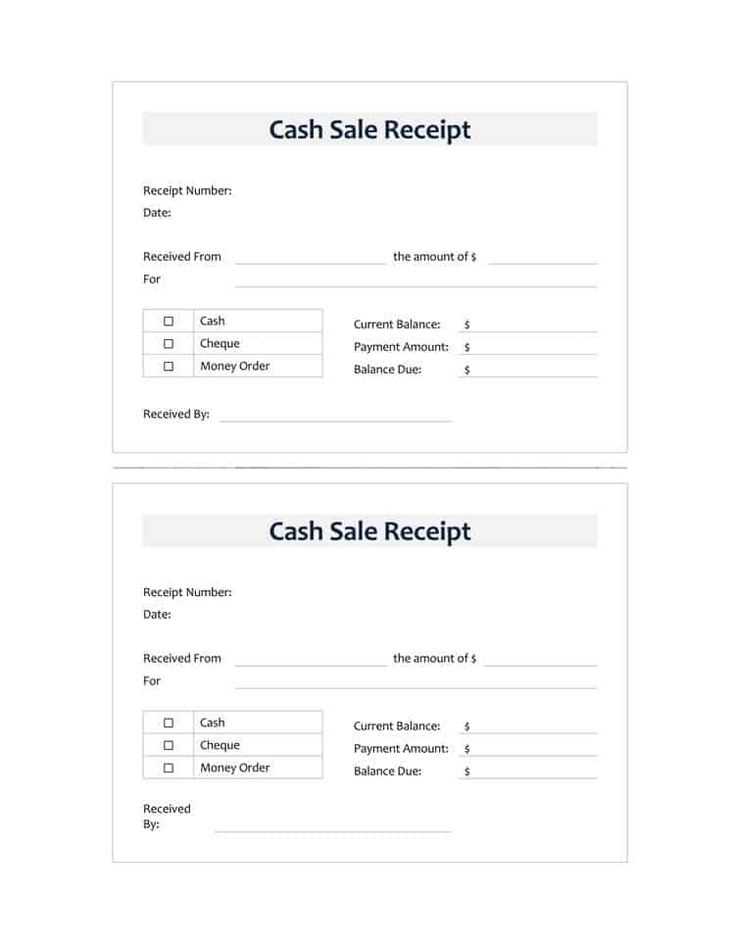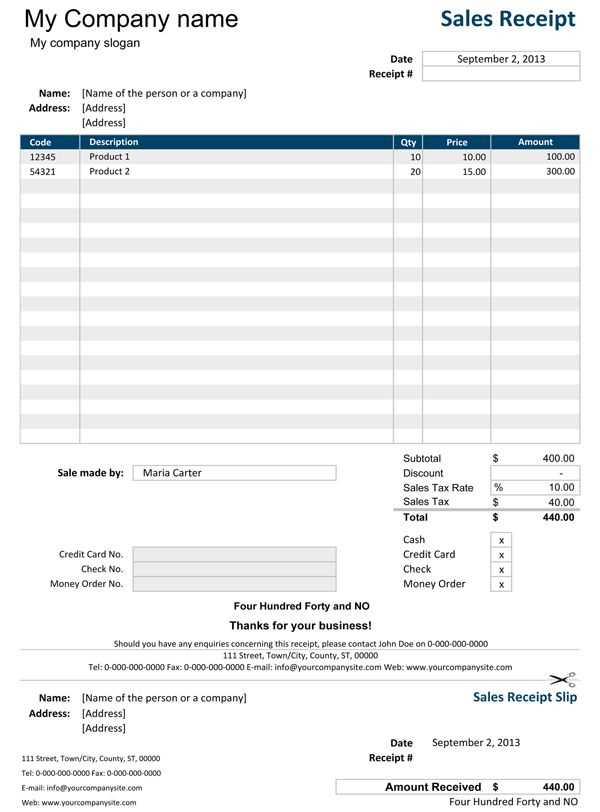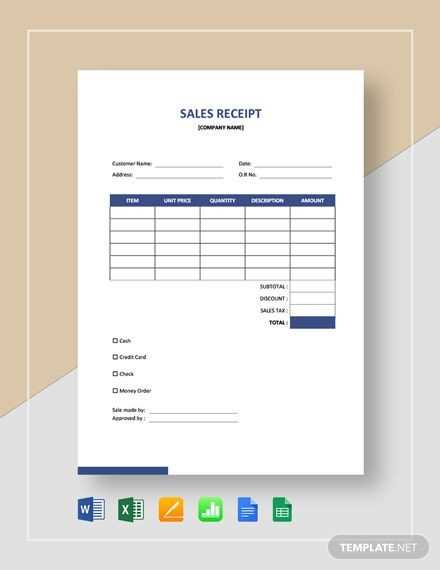
Download a structured Excel sales receipt template to simplify transaction tracking and ensure accurate record-keeping. This template eliminates manual formatting, allowing you to enter details quickly and generate professional receipts in seconds.
Each section of the template is preformatted, including fields for date, receipt number, customer information, itemized purchases, subtotal, tax calculations, and total amount. If needed, adjust formulas and column widths to match your business requirements.
For additional customization, integrate drop-down lists for product selection, automate calculations with built-in formulas, or add your company logo for branding. Save completed receipts as PDFs or print them directly from Excel.
Whether you manage a small shop, freelance services, or an online store, this template helps maintain organized financial records without complex accounting software. Download, personalize, and start issuing receipts instantly.
Got it! How can I help today?
Excel Sales Receipt Template
Use an Excel sales receipt template to quickly generate professional receipts without manual calculations. Excel’s built-in formulas handle totals, taxes, and discounts, reducing errors and saving time.
Key Elements of a Sales Receipt

- Business Information: Name, address, contact details, and logo.
- Customer Details: Name and contact information.
- Receipt Number: Unique identifier for tracking.
- Transaction Date: Purchase date for record-keeping.
- Itemized List: Product names, quantities, unit prices, and totals.
- Subtotal, Tax, and Total: Automatically calculated amounts.
- Payment Method: Cash, credit card, or other forms.
- Notes Section: Refund policies or special instructions.
How to Customize the Template
- Download a free Excel sales receipt template or create one from scratch.
- Replace placeholder text with your business name, logo, and contact details.
- Set up formulas for automatic calculations in the subtotal, tax, and total fields.
- Format the table for readability, using bold headers and clear spacing.
- Save the template as a reusable file for future transactions.
By using an Excel sales receipt template, you ensure accurate records and a professional presentation with minimal effort.
Open Excel and create a new worksheet. In the first few rows, enter key receipt details such as “Receipt Number,” “Date,” “Customer Name,” and “Payment Method.” Leave blank cells next to each label for data entry.
Below, set up a table for itemized purchases. Use columns for “Item Description,” “Quantity,” “Unit Price,” and “Total.” Apply bold formatting to headers for clarity. In the “Total” column, use the formula =B2*C2 (adjust cell references as needed) to calculate individual item costs.
To sum the totals, select a cell below the last row of items and enter =SUM(D2:D10), adjusting the range to match your table size. Label this row as “Subtotal.” Below it, add a row for “Tax” and another for “Grand Total.” Use =Subtotal*TaxRate and =Subtotal+Tax to automate calculations.
Format currency columns by selecting them, then pressing Ctrl + Shift + $. Adjust column widths for readability. To make the receipt printable, go to “Page Layout” and set margins to “Narrow.” Add borders around the receipt section for a professional look.
Save the template as an Excel file for reuse. If you want a fillable form, convert it to a table (Ctrl + T) or enable data validation for dropdowns in payment methods.
Use Excel formulas to automatically calculate totals, taxes, and discounts in a sales receipt. Start by setting up a subtotal formula: =SUM(B2:B10), assuming item prices are in column B. To apply tax, use =B11*0.08 (for 8% tax) and place it in the tax row. For discounts, apply =B11*0.10 if offering a 10% discount.
Using IF Statements for Conditional Taxes

Some items may be tax-exempt. Use an IF formula to check: =IF(C2="Taxable", B2*0.08, 0). Drag the formula down for all rows, then sum the results to get the total tax.
Linking to Payment and Change Calculation
Ensure smooth transactions by calculating change: =D2-B12, where D2 holds the amount paid and B12 is the total due. This avoids manual errors and speeds up the checkout process.
Use a clear, readable font like Calibri, Arial, or Verdana at 10–12 pt for body text and slightly larger for headers. Avoid decorative fonts that reduce readability.
Align text consistently. Left-align item descriptions and prices for clarity, and use right alignment for totals. Center-aligning everything makes scanning difficult.
Apply subtle borders and shading. Use light gray or soft blue for section dividers and table headers to create visual separation without distractions.
Ensure column widths match content. If numbers look cramped or descriptions wrap too much, adjust spacing instead of reducing font size.
Use bold or color sparingly. Highlight totals and taxes in bold but keep other text standard. Red for overdue balances or green for paid amounts adds clarity.
Maintain proper spacing. At least 5–10 pixels between sections improve readability. Avoid crowding details into a single block.
Save as PDF before sending. This prevents formatting shifts across devices and ensures a consistent professional appearance.
Use Excel’s built-in formulas and formatting tools to automate calculations and improve accuracy in your sales receipt template. Instead of manually entering totals, apply SUM functions to add up item prices and TAX formulas to calculate sales tax instantly.
Pre-set Formulas for Accuracy
Ensure automatic calculations by using the following formulas:
| Calculation | Formula |
|---|---|
| Total Price per Item | =B2*C2 (Unit Price × Quantity) |
| Subtotal | =SUM(D2:D10) (Total of all items) |
| Sales Tax (10%) | =D11*0.10 |
| Grand Total | =D11+D12 (Subtotal + Sales Tax) |
Formatting for Clarity

Apply currency formatting to price columns by selecting the cells, clicking “Format Cells,” and choosing “Currency.” Use conditional formatting to highlight overdue payments by setting rules in the “Conditional Formatting” menu. This ensures a professional and easy-to-read receipt.


