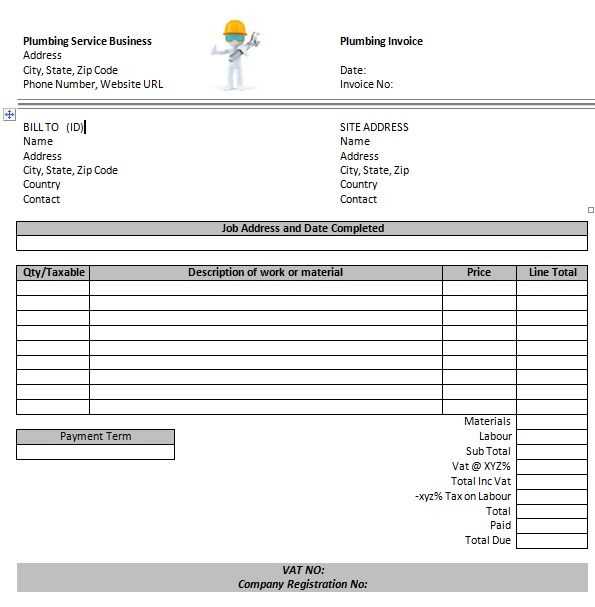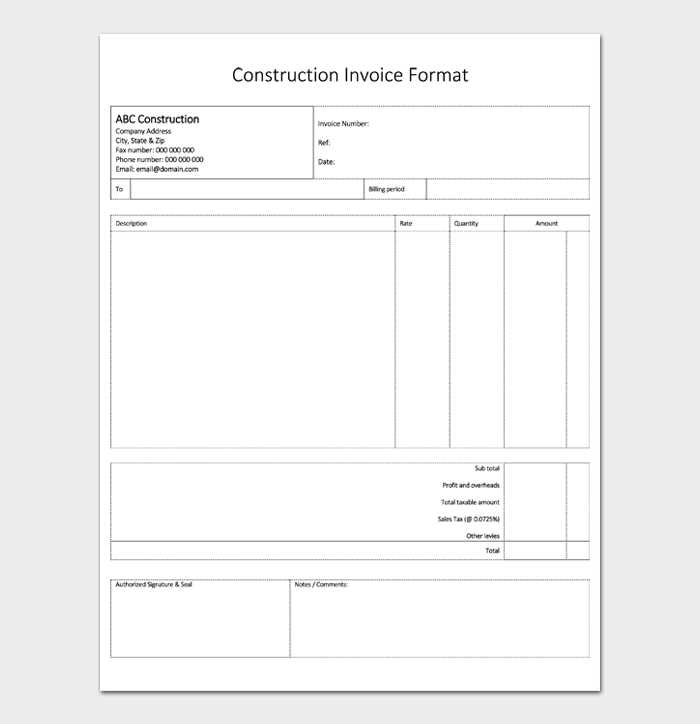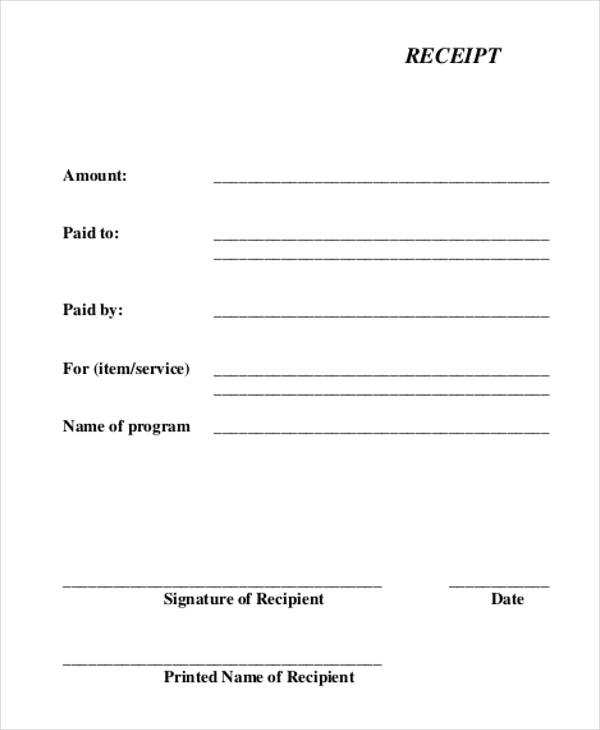
A well-structured receipt protects both contractors and clients by documenting payments and work completed. To create a clear and professional receipt, include key details such as the contractor’s name, contact information, invoice number, payment date, and a breakdown of services.
Specify the type of work performed, the agreed-upon rate, hours worked (if applicable), and any materials used. If the project involved multiple phases, list each separately to provide transparency. Adding tax information and total costs helps avoid misunderstandings.
Use a standard format that is easy to read. A simple table or bullet points improve clarity, while a digital template ensures consistency. Many contractors prefer PDFs for their professionalism, but editable formats like Word or Excel allow quick modifications.
Including a payment method section (cash, check, bank transfer) and a confirmation statement acknowledging receipt of payment adds legitimacy. If applicable, mention warranty terms or conditions related to the work performed.
A well-prepared receipt not only serves as proof of payment but also reinforces trust with clients. Keeping copies for tax purposes and future reference is always a smart practice.
Receipt Template for Contractor Work
Use a clear and detailed receipt to document contractor work. A well-structured receipt protects both parties by confirming the payment and outlining the work completed.
Key Details to Include
Ensure the receipt includes:
- Contractor’s Information: Name, business name (if applicable), contact details.
- Client’s Information: Name and contact details.
- Receipt Number: Unique identifier for tracking.
- Date: The payment date.
- Description of Work: Brief but clear summary of the services provided.
- Cost Breakdown: Labor, materials, and any additional fees.
- Total Amount Paid: Final payment amount.
- Payment Method: Cash, check, bank transfer, or other methods.
- Contractor’s Signature: Confirms receipt of payment.
Simple Receipt Template

Copy and customize this basic template:
Receipt for Contractor Work
---------------------------
Date: [MM/DD/YYYY]
Receipt No: [12345]
Contractor:
[Name]
[Business Name]
[Phone Number]
[Email]
Client:
[Name]
[Address]
[Phone Number]
Description of Work:
[Example: Installation of kitchen cabinets]
Cost Breakdown:
- Labor: $[Amount]
- Materials: $[Amount]
- Other Fees: $[Amount]
Total Paid: $[Amount]
Payment Method: [Cash/Check/Transfer]
Contractor’s Signature: ________________
Customize the template based on project details and keep copies for your records.
Key Information to Include in a Contractor Receipt
A contractor receipt should clearly outline all necessary details to avoid confusion and disputes. Include these key elements:
Contractor and Client Information
List the full name, business name (if applicable), address, phone number, and email of both the contractor and the client. This ensures both parties have a clear record of the transaction.
Service Details and Payment Breakdown
Specify the services provided, including descriptions, hours worked, and materials used. Break down the costs, including labor, materials, taxes, and any additional fees. If applicable, include discounts or deposits deducted from the total.
Always include the payment method (cash, check, bank transfer, or other) and confirmation details, such as check numbers or transaction IDs. If the client made multiple payments, list each with corresponding dates.
Finally, add the date of issue and a unique receipt number for easy tracking. If the contractor provides a warranty or guarantees the work, mention the terms clearly.
How to Structure a Clear and Professional Receipt

Include these key elements to make your receipt easy to read and legally sound:
- Header with Business Details: Add your business name, logo (if applicable), address, phone number, and email.
- Client Information: List the client’s name, address, and contact details for reference.
- Receipt Number: Assign a unique number to track payments and maintain records.
- Date: Specify the date of issue to clarify when the transaction was recorded.
- Work Description: Clearly outline the services provided, including details like hours worked, materials used, or project milestones.
- Cost Breakdown: Show individual charges, taxes, and the total amount. Use a structured format to avoid confusion.
- Payment Details: Indicate the payment method (cash, check, bank transfer, etc.) and confirmation details if available.
- Terms and Notes: If applicable, mention refund policies, warranties, or any relevant agreements.
- Signature Line (Optional): A signature from both parties can add an extra layer of confirmation.
Keep formatting clean with aligned sections and readable fonts. If printed, use quality paper; if digital, save as a PDF to maintain formatting.
Best Tools and Templates for Creating Contractor Receipts

For quick and professional contractor receipts, try Wave. This free invoicing tool offers customizable receipt templates, automatic calculations, and easy PDF exports. It’s a solid choice for contractors who need a simple way to generate and send receipts without extra hassle.
Customizable Templates

If you prefer a ready-to-use template, Invoice Simple provides downloadable receipt formats in Word, Excel, and PDF. You can adjust them to fit your needs, add a company logo, and modify tax settings. For Google Docs and Sheets users, Template.net offers free templates that integrate with cloud storage.
Advanced Receipt Generators
For contractors handling multiple clients, Zoho Invoice and FreshBooks streamline the process with automated receipts, payment tracking, and client reminders. These platforms work well for those who need a mix of customization and automation.
Whether you need a simple template or a full-featured tool, these options make receipt creation fast and hassle-free.


