Use a clear, detailed invoice template to maintain transparency in your photography business. A professional template ensures you capture all necessary information such as client details, services rendered, pricing, and payment terms. A well-organized receipt helps both parties track transactions efficiently and reduces confusion about payments.
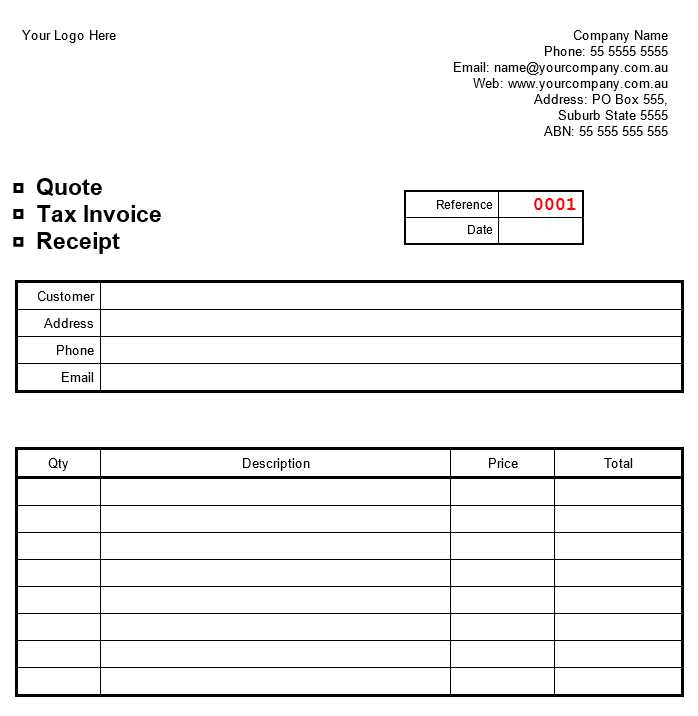
The layout of your invoice should be simple but thorough. Include fields for the client’s name, address, and contact information, along with a breakdown of the services provided. Specify the date, payment terms, and any applicable taxes. Don’t forget to clearly state the total amount due and the due date. Make sure to add your business name, logo, and contact details so clients can easily reach you for future bookings.
Personalizing the template by adding your logo and business details not only helps with branding but also makes the receipt look more polished and professional. This template will not only keep your records neat but also reflect your business’s level of professionalism in every transaction.
Photography Invoice Receipt Template

Use a clear and professional template for your photography invoice receipts to keep records organized. Include your business name, logo, and contact details at the top for easy identification. Then, list the client’s name, address, and contact information below the header.
Invoice Number and Date

Assign a unique invoice number and date to each receipt. This helps track transactions and provides a reference for both you and the client. Include a payment due date to set clear expectations.
Services Provided
Detail the photography services provided, such as portrait sessions, event coverage, or product photography. For each service, list the corresponding rate and quantity, followed by the total amount for that service. This clarity prevents confusion and ensures transparency.
Example:
- Photography Session – 2 hours – $300
- Photo Editing – 10 images – $100
Breakdown the subtotal and any applicable taxes. Ensure all numbers are accurate and easy to follow. For added clarity, offer a discount if applicable and specify payment terms (e.g., full payment or installments). Lastly, provide your preferred payment methods, whether it’s bank transfer, PayPal, or another option.
Keep the template simple, focusing on the essentials, so clients can easily reference the details and make prompt payments.
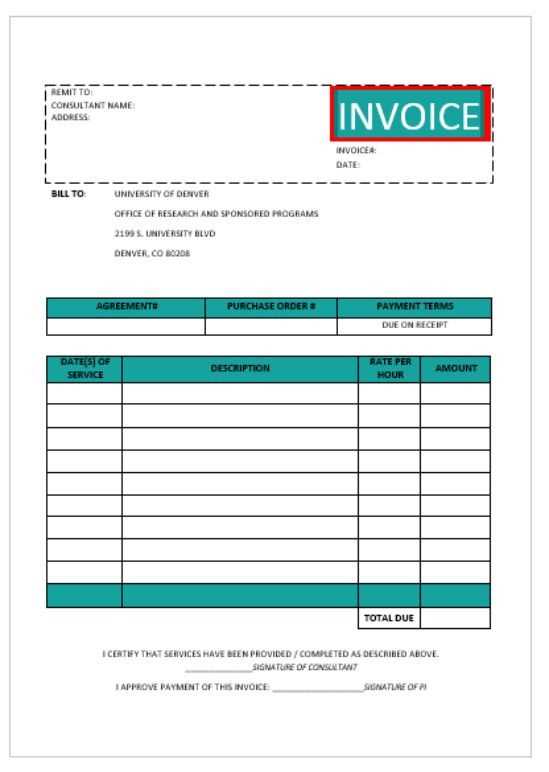
How to Structure a Photography Invoice
Begin with clear identification of both the photographer and the client. Include your full business name, contact details, and logo if applicable. The client’s details should also be prominently displayed, including their name, address, and contact information.
Invoice Number and Date
Assign a unique invoice number for easy reference. This helps with organization and record-keeping. Add the date the invoice is issued to ensure clarity on payment deadlines.
Itemized List of Services
Detail each service provided with corresponding pricing. Include specifics like hourly rates, session fees, or additional charges for travel or editing. Be transparent and clear to avoid confusion. If applicable, list any discounts applied or package deals.
End the invoice with the total amount due, ensuring that taxes, fees, or additional charges are clearly calculated and visible. Make sure to include your preferred payment methods and terms, such as due dates and penalties for late payments.
Key Information to Include in a Receipt

Clearly state the date of the transaction. This helps both the buyer and seller keep accurate records. Next, include a unique receipt number for reference and tracking purposes. Specify the items or services provided, with brief descriptions and prices. Include the total amount paid, along with the method of payment (cash, credit card, etc.). Make sure the buyer’s and seller’s names and contact information are included. If applicable, add any relevant tax details, such as tax rate or amount. Finally, consider including a statement of return or exchange policies for added clarity.
Best Practices for Sending Photography Invoices
Be clear about your payment terms. Set expectations by specifying your payment deadlines, late fees, and accepted payment methods. Provide your clients with an easy way to pay, such as through PayPal, bank transfer, or other online platforms.
Organize Your Invoice Information

- Include your full name or business name, address, and contact information.
- List the client’s details, including their name, business name (if applicable), and contact information.
- Describe the services provided. Include the date of the photography session, number of photos, and any additional services offered, such as editing or prints.
- Provide a breakdown of pricing. List individual costs, such as session fees, photo prints, or licensing fees, and the total amount due.
- Clearly state the payment due date and any late fees that will be applied if payment is not made on time.
Use Professional Invoice Templates

Utilize a consistent, professional invoice template that reflects your brand. Customize the layout with your logo, font choices, and color scheme for a polished look. This helps reinforce your business identity and builds trust with clients.
Stay organized by numbering your invoices and saving a copy for future reference. This makes it easier to track payments and follow up when needed.