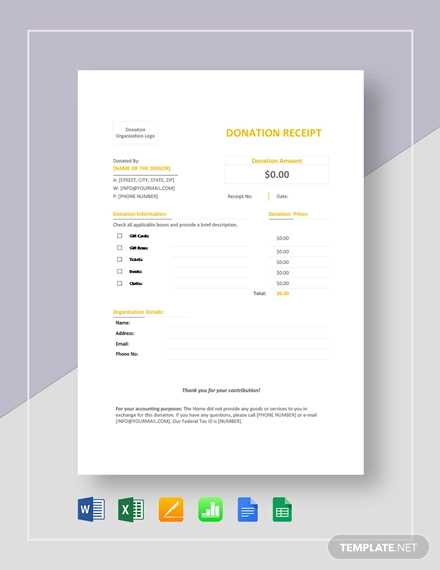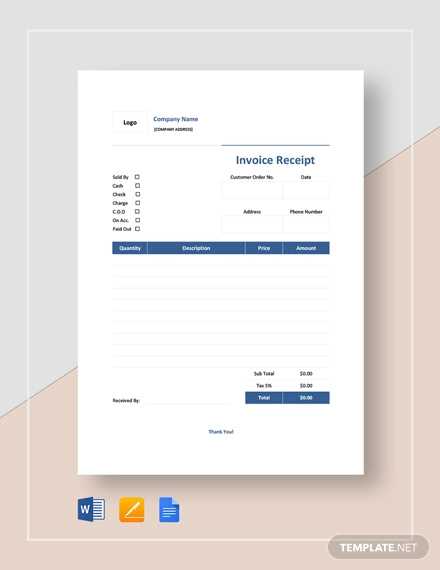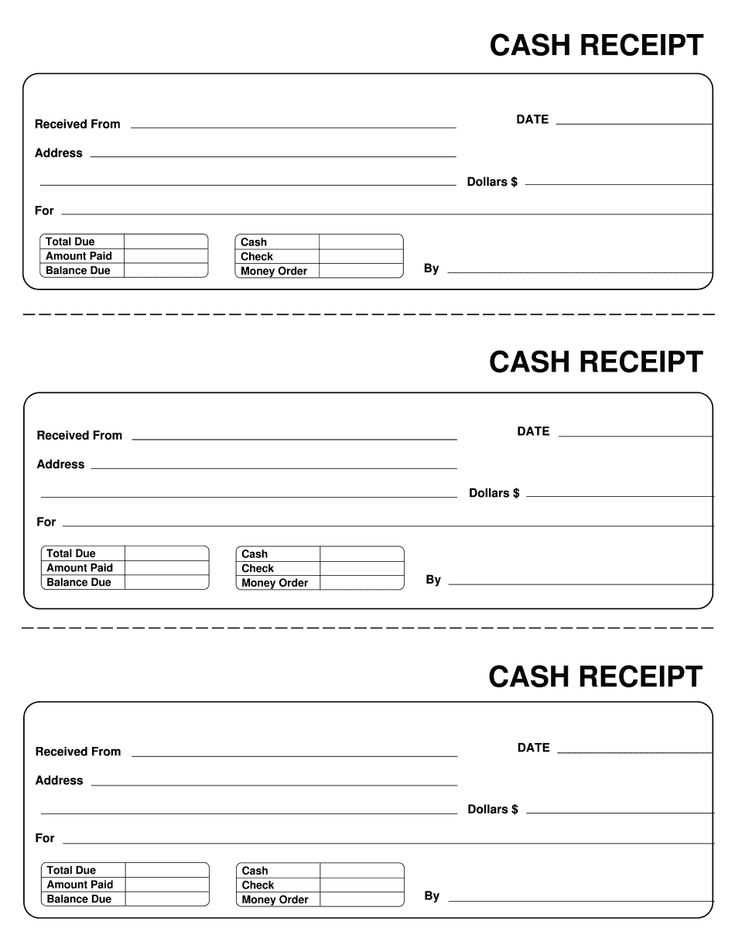
Need a quick and customizable receipt template? Google Docs provides a simple way to create professional receipts without extra software. Whether for business transactions, freelance work, or personal record-keeping, a blank template ensures flexibility while maintaining a clean format.
Why use Google Docs? It allows easy sharing, real-time collaboration, and cloud-based storage, making document management seamless. A well-structured receipt template includes fields for date, payer and recipient details, itemized costs, and payment methods.
To get started, open Google Docs and create a new document. Use tables to structure essential details, ensuring clarity. Format headers with bold text to highlight key sections like “Amount Paid” and “Payment Method.” For a polished look, apply consistent font styles and spacing.
For added convenience, save the template as a reusable file. This way, future receipts require minimal edits–just update transaction details and print or share digitally. Google Docs also supports exporting to PDF for secure and professional delivery.
Google Docs Receipt Template Blank: Practical Guide
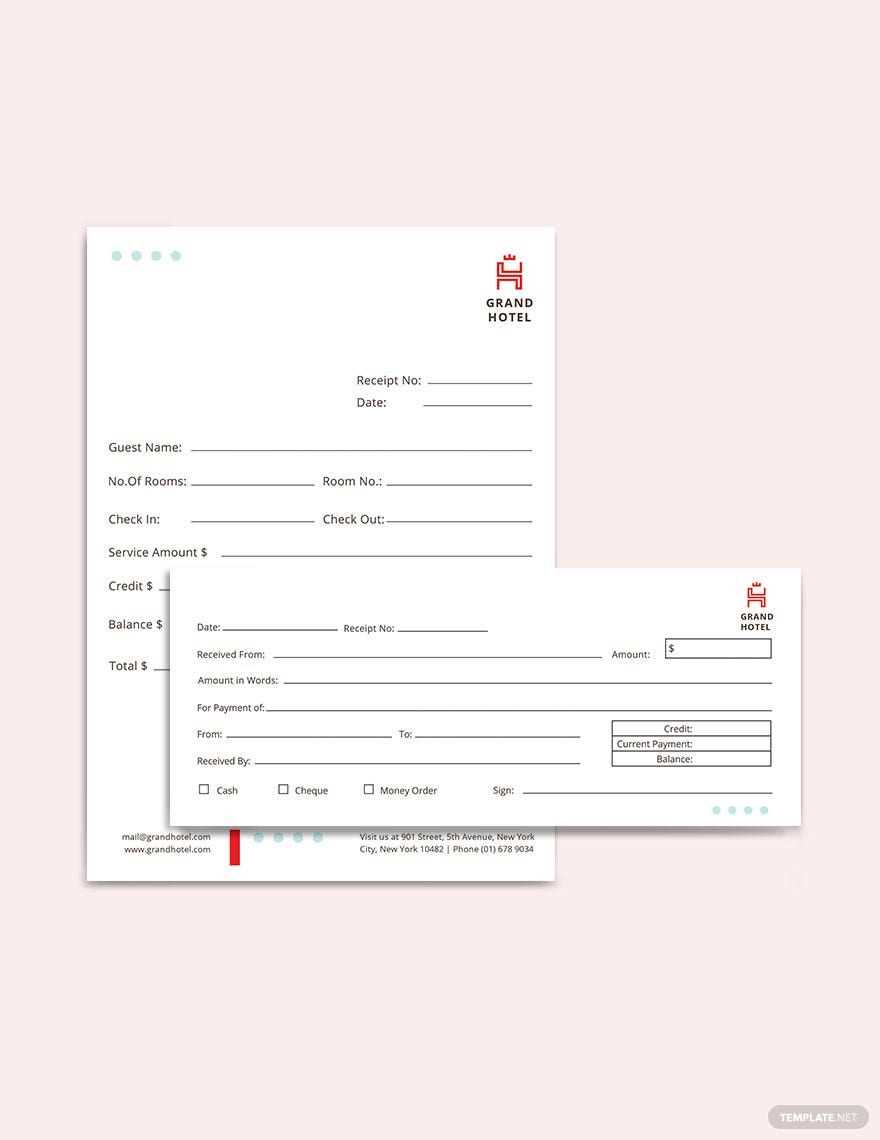
Use a blank receipt template in Google Docs to create professional and organized receipts without extra effort. Open Google Docs, go to File > New > From template gallery, and search for “receipt.” If no suitable template is available, follow these steps:
- Set the page layout by clicking File > Page setup and adjusting margins if needed.
- Add a table with at least three columns for item description, quantity, and price.
- Include fields for date, receipt number, and business details.
- Use bold text for section headers to improve readability.
- Insert a footer for terms or a thank-you message.
To streamline future use, save the document as a template by selecting File > Make a copy. This allows quick access and easy modifications.
For automated calculations, copy the table to Google Sheets, apply formulas, and link it back to your Google Docs receipt.
How to Create a Customizable Receipt Template in Google Docs
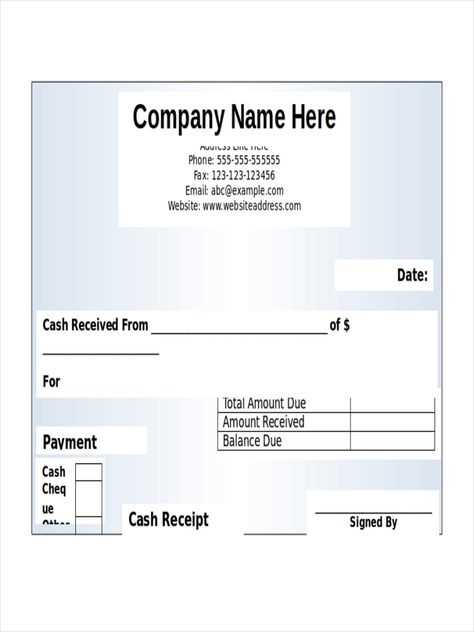
Open Google Docs and create a new blank document. Use the table tool to structure the receipt by selecting Insert > Table and choosing a format that includes columns for date, description, quantity, price, and total.
Customize the header by adding a business name, logo, and contact details. Adjust font size and style using the toolbar to ensure clarity.
For automated calculations, create a linked Google Sheets document for dynamic price adjustments. Use Insert > Chart > From Sheets to integrate total calculations into the receipt.
Save the document as a reusable template by clicking File > Make a copy. Share it with team members or set up a fillable version using placeholders for easy edits.
Best Formatting Practices for Clear and Professional Receipts
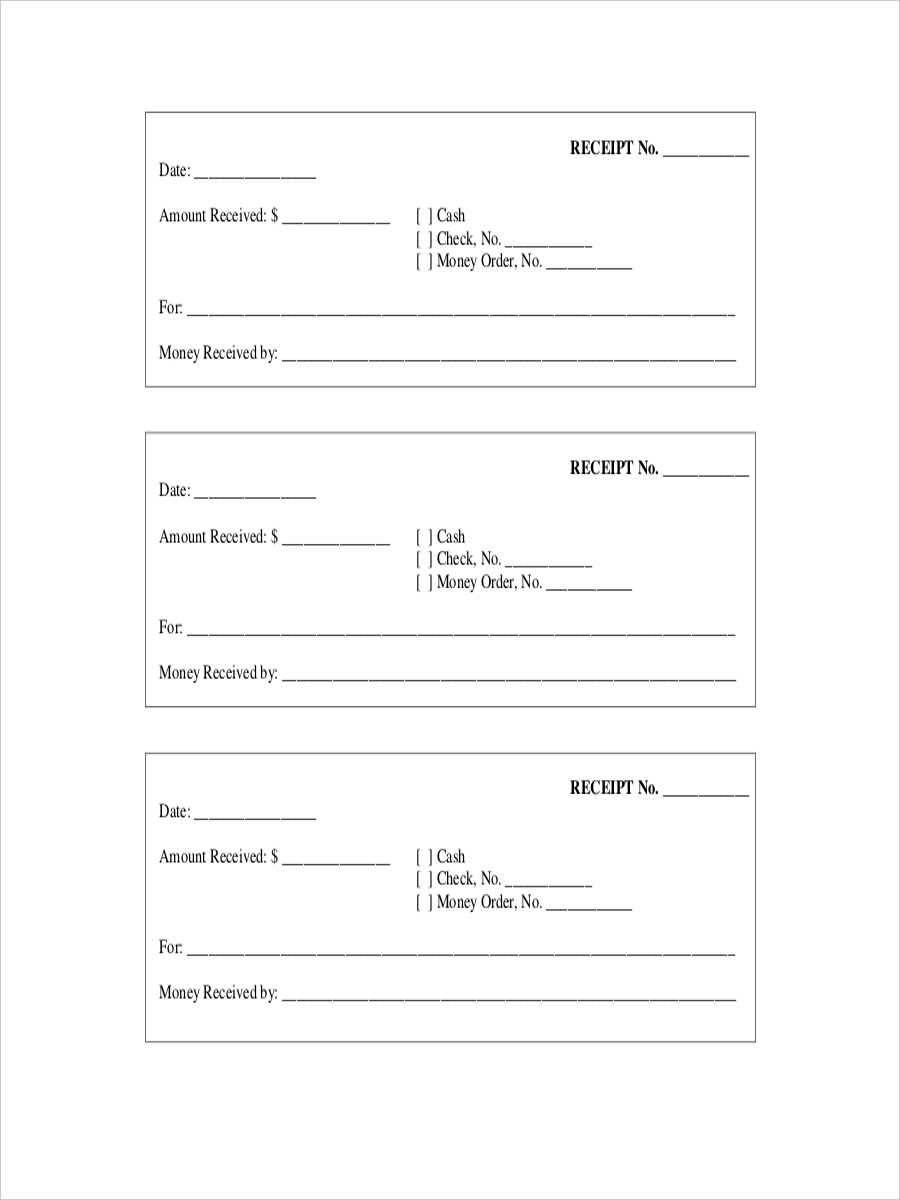
Use a clean, readable font. Stick to sans-serif options like Arial or Helvetica at a minimum of 10pt size to ensure clarity. Avoid decorative fonts that reduce readability.
Align key details properly. Place the business name and contact details at the top, centered or left-aligned. Position the date and receipt number in the top-right corner for quick reference.
Structure itemized sections logically. List purchased items in a table format with clear columns for description, quantity, unit price, and total. Ensure proper spacing to prevent misinterpretation.
Highlight taxes and totals. Separate subtotals, taxes, and final amounts using bold text or a distinct row. Use a consistent format for currency values to avoid confusion.
Include payment method and terms. Clearly state whether the payment was made by card, cash, or another method. If applicable, outline refund policies or terms of service in a concise note.
Ensure proper margins and spacing. Maintain adequate white space around sections to improve readability. Avoid cramming text together, which makes receipts harder to scan quickly.
Use a footer for additional information. Include a thank-you message, customer support details, or a website link in a smaller font at the bottom to keep the main details prominent.
Sharing and Printing Options for Google Docs Receipts
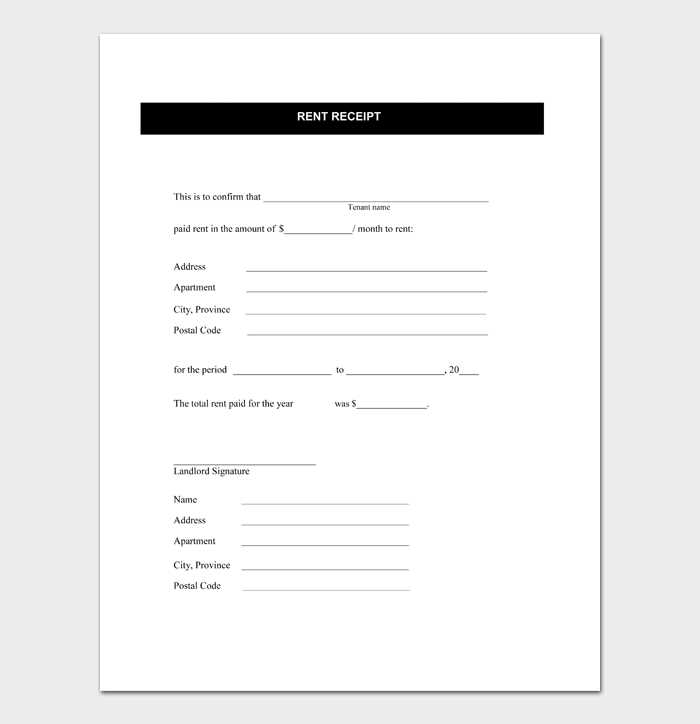
To share a Google Docs receipt, click the Share button in the top-right corner. Set permissions to “Viewer” for read-only access or “Editor” for modifications. Enter email addresses or generate a shareable link for broader access.
For printing, open the receipt document, click File > Print, and adjust settings such as paper size and margins. Use the Download option to save it as a PDF before printing for consistent formatting.
To print multiple receipts at once, select documents in Google Drive, right-click, and choose Download. This compiles them into a ZIP file, allowing bulk printing after extraction.
