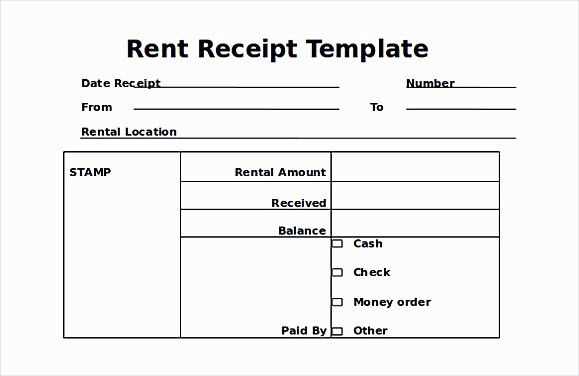
Download and Customize a Free Receipt Template
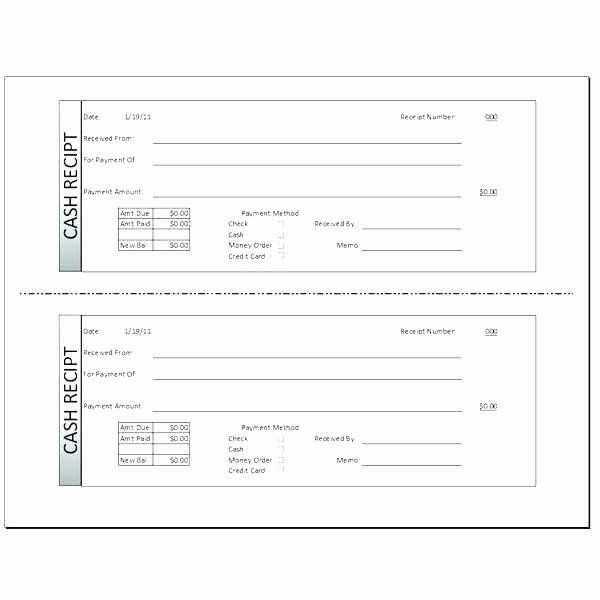
Need a professional receipt fast? Microsoft Word offers free templates that you can download and modify in minutes. Open Word, go to File > New, and search for “receipt template.” Choose a design, click Create, and start editing.
Key Elements of a Receipt Template
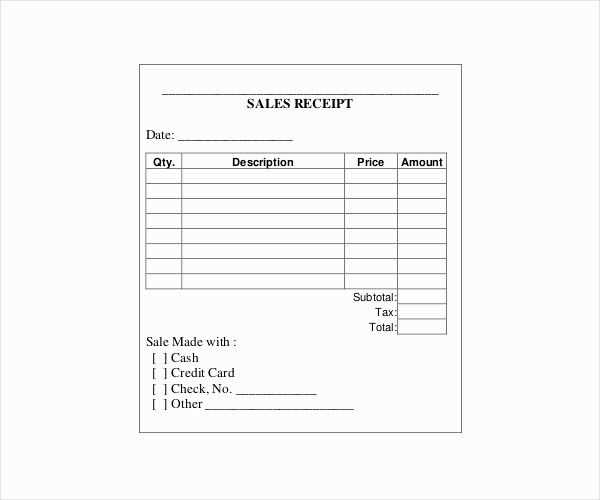
For a clear and professional receipt, make sure it includes:
- Business Name and Contact Information – Include your company name, address, phone number, and email.
- Receipt Number – Assign a unique number for tracking and organization.
- Transaction Date – Clearly state when the transaction occurred.
- Customer Details – Include the buyer’s name and contact information.
- Itemized List – List products or services with descriptions, quantities, and prices.
- Total Amount – Include the subtotal, taxes, discounts, and final total.
- Payment Method – Specify if the payment was made by cash, credit card, or another method.
- Authorized Signature – Optional, but adds authenticity.
How to Edit Your Receipt in Word
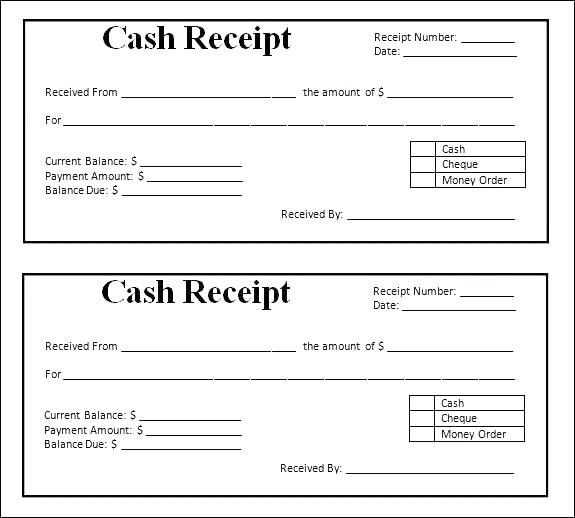
- Open the downloaded template in Microsoft Word.
- Replace placeholder text with your business details.
- Modify the itemized list to match your transaction.
- Adjust formatting, fonts, or colors to fit your brand.
- Save the receipt as a Word document or export it as a PDF.
Alternative: Create a Receipt from Scratch
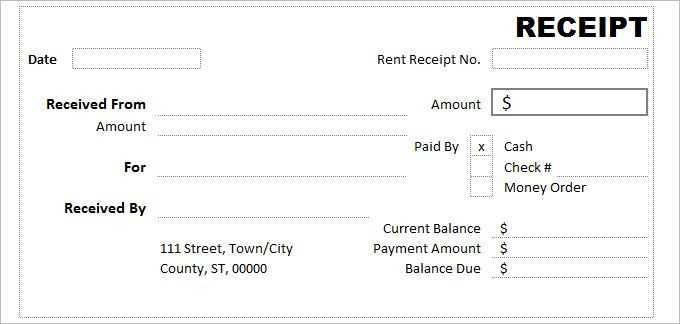
If you prefer a custom design, create a receipt manually:
- Use a table for a structured layout.
- Add a header with your company logo and name.
- Insert text boxes for customer details and transaction information.
- Use bold text for totals and important details.
Final Tips
Save your template for future use, print it on professional letterhead, or use digital signatures for added security. A well-structured receipt improves customer trust and keeps your records organized.
Receipt Template Word: Practical Guide
Use Microsoft Word’s built-in receipt templates to speed up the process. Open Word, go to “File” > “New,” and search for “receipt” in the template library. Choose one that fits your needs and customize it.
To modify fields, click on the placeholder text and replace it with your details. Adjust fonts and colors under the “Home” tab. For adding a company logo, click “Insert” > “Pictures” and select your image.
Save the receipt as a template for future use by clicking “File” > “Save As” > “Word Template.” To ensure compatibility, save completed receipts as PDFs via “File” > “Save As” > “PDF.”


