Where to Find and How to Use Receipt Templates in Microsoft Office 2010

Microsoft Office 2010 includes built-in receipt templates that simplify invoice and payment tracking. These templates work with Microsoft Word and Excel, offering pre-formatted layouts for easy customization.
Finding Receipt Templates
- Open Microsoft Word or Excel.
- Click on File > New.
- Type receipt in the search bar.
- Browse the available templates and select the one that suits your needs.
- Click Download or Create to open the template.
Customizing the Template
Once the template is open, modify the details to match your business or personal requirements:
- Replace the placeholder text with your business name, contact information, and logo.
- Adjust the date and receipt number fields to maintain accurate records.
- Fill in the itemized list of products or services, including prices and tax calculations.
Saving and Printing

After completing the receipt, save it in a convenient format:
- To keep an editable version, save as a .docx (Word) or .xlsx (Excel) file.
- For a final copy, save as a .pdf to prevent alterations.
Print the receipt or send it via email for quick delivery.
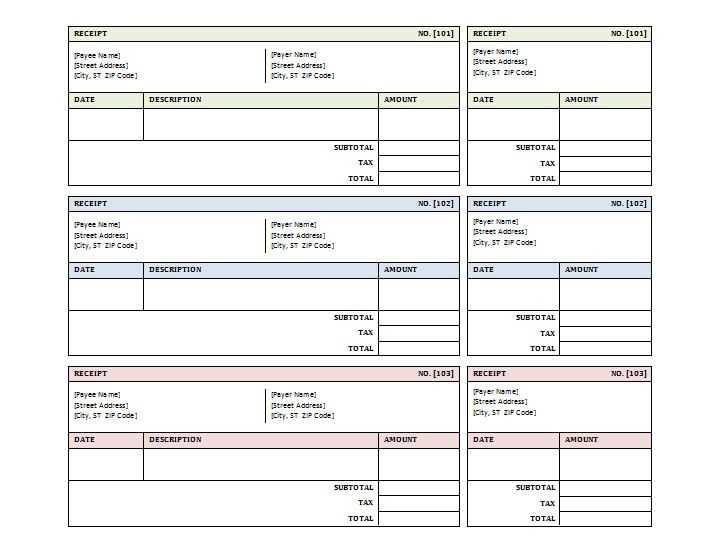
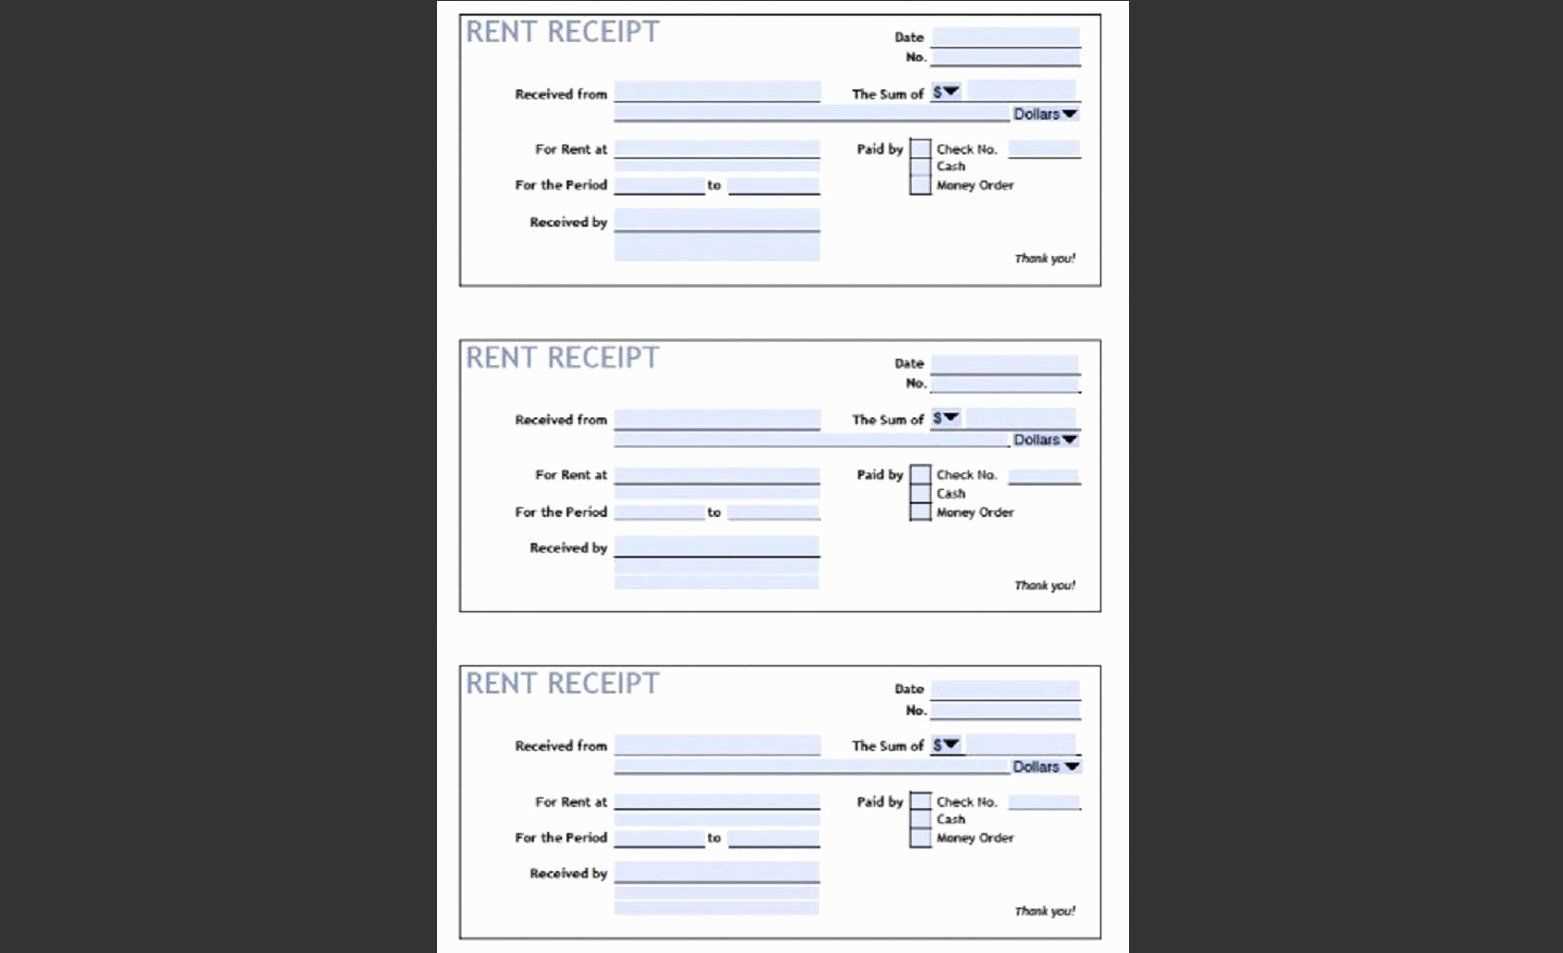
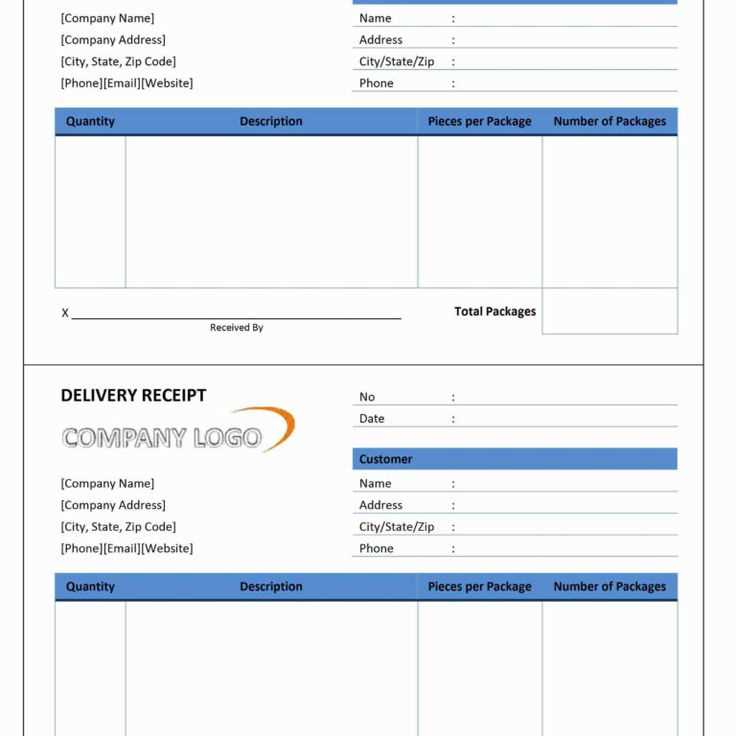
Microsoft Office 2010 Receipt Template
Where to Find and Download a Form in Microsoft Office 2010
How to Customize a Template in Word and Excel 2010
Printing and Saving a Completed Receipt in Office 2010
Where to Find and Download a Form in Microsoft Office 2010

Open Microsoft Word or Excel 2010 and click on “File” → “New.” In the search bar, type “receipt” and press “Enter.” Browse the available templates, select a suitable one, and click “Download.” If no relevant options appear, visit the official Microsoft website or trusted third-party sources to get additional templates.
How to Customize a Template in Word and Excel 2010

Open the downloaded file and replace placeholder text with actual details, such as company name, address, and transaction information. Modify fonts, colors, and layout using the “Home” and “Page Layout” tabs. In Excel, adjust formulas if needed to calculate totals automatically. Save the customized template for future use.
Printing and Saving a Completed Receipt in Office 2010

After entering all necessary details, click “File” → “Print” to check the preview and adjust settings if required. Select a printer and confirm the print job. To save a digital copy, choose “File” → “Save As” and select PDF format to ensure compatibility when sharing with clients.