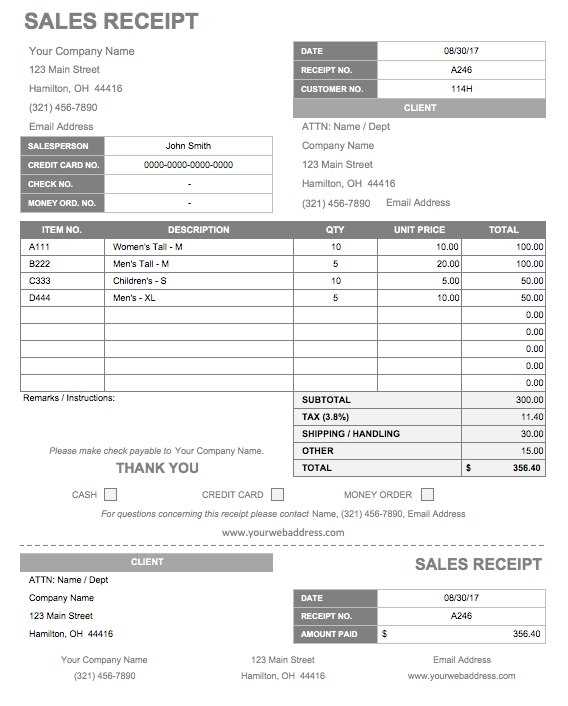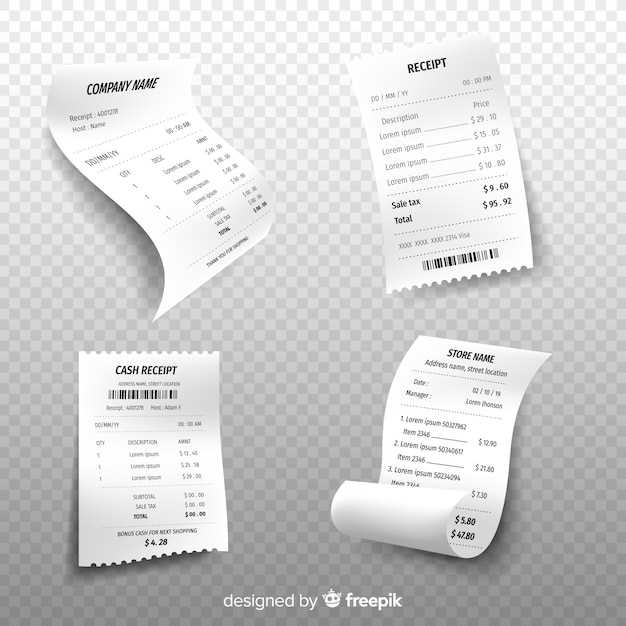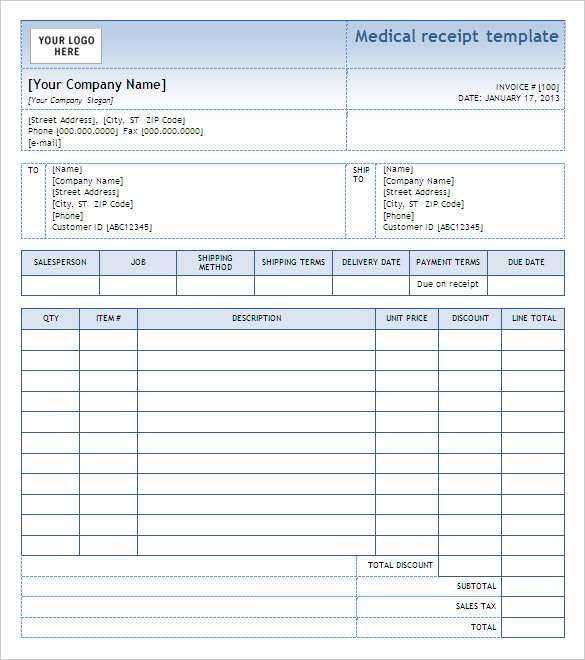
When designing a receipt template for an electronic shop, clarity and simplicity are key. Begin with including basic information such as the shop name, address, and contact details. This gives customers immediate access to important shop information, should they need to follow up on their purchase.
Next, ensure that the receipt clearly outlines the items purchased. For each item, list the name, quantity, unit price, and total cost. This transparency helps both the customer and the store keep track of the transaction details with ease.
Don’t forget to add a section for tax information, including applicable taxes or VAT. This is especially important for compliance with local regulations. Providing a breakdown of taxes on the receipt ensures customers understand the exact cost they are paying for each item.
Finally, include a section for payment methods. Indicate whether the payment was made via cash, credit card, or another method. If applicable, also provide a reference number for credit card payments. A well-structured receipt template will not only improve the customer experience but also streamline the shop’s transaction process.
How to Design a Basic Receipt Template
Keep the layout simple and clear. A basic receipt template should include the store’s name, contact details, transaction date, items purchased, quantity, unit price, and total amount. Start with a header containing the store’s logo and contact information. This makes the receipt look professional and ensures the customer knows where the purchase was made.
In the body section, list items in a table format with columns for product names, quantities, prices, and totals. Make sure the fonts are readable, and the spacing between rows is consistent. Adding a small column for item descriptions can also help if the products have specific details that need to be conveyed.
Conclude with the total amount at the bottom, clearly labeled. You can also include any applicable taxes, discounts, or payment methods used. End the receipt with a thank-you note or a return policy to leave a positive impression on the customer.
Customizing Receipt Fields for Different Products
Adjust the receipt layout to include product-specific fields that matter to customers. For instance, if selling electronics, include the product’s warranty details directly on the receipt. This provides clear documentation for returns and repairs. For clothing or accessories, consider adding size or color options. This helps both the customer and the store staff during exchanges or inquiries.
Electronics Products
For electronics, include serial numbers and model information. This is not just helpful for tracking but also assists in warranty claims. Additionally, listing features or specifications such as battery life, memory capacity, or connectivity options adds value to the purchase record. You could also specify whether the product includes software or additional accessories.
Fashion and Apparel

With fashion items, highlight size, color, and fabric information. This is especially useful if there are multiple variants of the same item. Including a style number can also streamline exchanges, particularly when dealing with large inventories. Ensure that the receipt reflects any discounts or promotional pricing applied during the transaction.
Integrating Payment Methods and Tax Calculation

To ensure smooth transactions, integrate multiple payment methods into your electronic shop. Offer options like credit cards, PayPal, and mobile payments, enabling customers to choose their preferred method easily. Each payment option should be linked to a secure, reliable processing system to handle data safely and promptly. Pay attention to transaction fees for each method, as they can impact your pricing structure.
Setting Up Tax Calculation

Tax calculation should be automatic and adaptable to different regions. Implement tax rules based on the customer’s location. Use a system that automatically adjusts the tax rate depending on the state or country. Integrate it into the checkout process, ensuring the correct amount is added before the final payment is processed. Make sure your system is compliant with local tax regulations and keeps up-to-date with changes.
Test and Monitor Payment and Tax Systems
After integrating payment and tax features, conduct tests for each method to check for any glitches. Monitor transactions regularly to ensure taxes are calculated accurately and payments are processed without delays. Address issues quickly to maintain customer satisfaction and avoid discrepancies in your accounting records.


