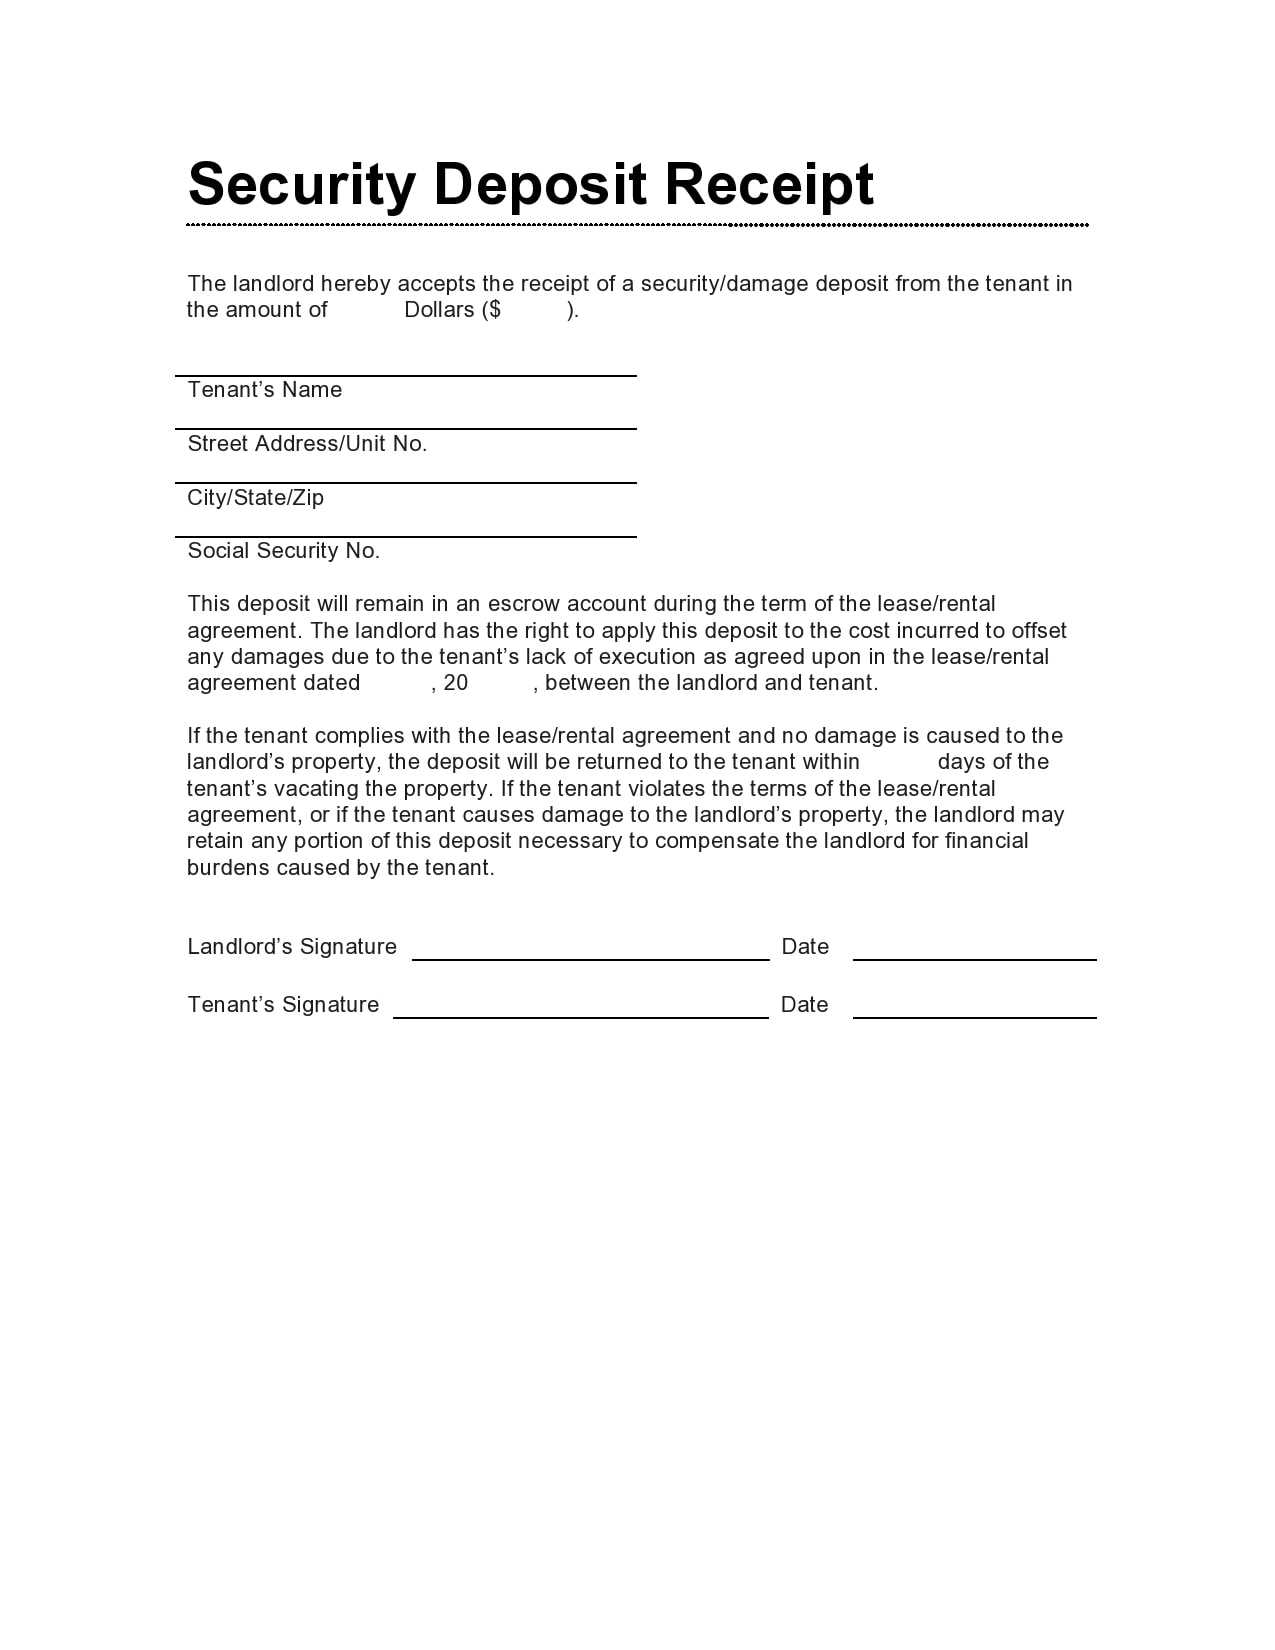
A security deposit receipt is an important document for both tenants and landlords. It serves as proof of payment and outlines the terms of the security deposit, ensuring transparency in rental agreements. Using a pre-made Word template can save time and help you avoid errors when drafting this document.
To create a reliable security deposit receipt, look for a template that clearly includes the deposit amount, the property address, the date the deposit was received, and any conditions related to the return of the deposit. Make sure the template is customizable to fit your specific needs and complies with local rental laws.
With a template in Word, you can easily update or adjust the receipt with each new tenant or lease term. Additionally, including space for both the tenant’s and landlord’s signatures will add an extra layer of security and accountability. Consider adding sections for any deductions or charges that might be taken from the deposit at the end of the lease, as this can help avoid misunderstandings later on.
Here’s the corrected version:
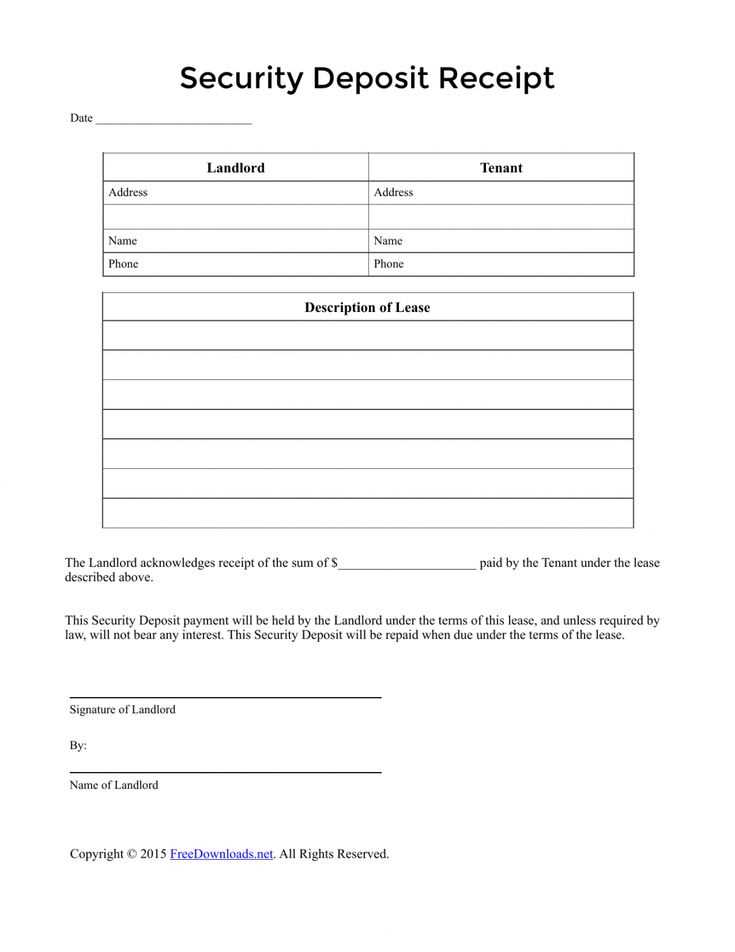
Clearly state the amount of the deposit, along with the date and method of payment (cash, check, etc.). Make sure both the tenant’s and landlord’s names are listed, as well as their contact details. Include the address of the rental property to clearly link the receipt to the agreement.
Outline the conditions under which the deposit will be returned, including potential deductions for damages or unpaid rent. Leave space for both parties to sign, confirming the details of the deposit and agreement.
- Security Deposit Receipt Template Word
Use a Security Deposit Receipt template in Word to streamline the process of recording deposits in rental or lease transactions. A good template provides clear documentation for both the tenant and the landlord, reducing confusion and disputes over deposits.
Key Elements of a Security Deposit Receipt
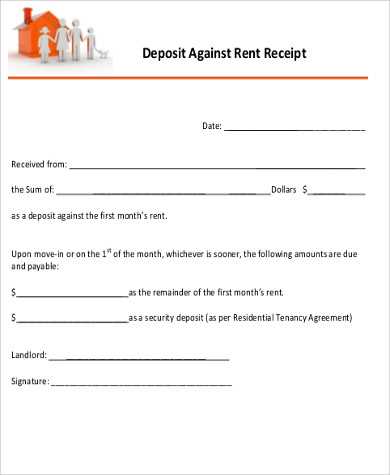
Ensure the template includes these key elements:
- Tenant Name and Address: Clearly list the tenant’s full name and the rental address to avoid any mix-ups.
- Amount of Deposit: Specify the exact amount being received for the security deposit.
- Payment Method: Indicate how the deposit was made, whether by check, cash, or another method.
- Lease Agreement Reference: Include a reference to the lease agreement or contract that corresponds to the deposit.
- Landlord’s Contact Information: List the landlord’s full name, address, and phone number for easy communication.
- Signature and Date: Both parties should sign and date the receipt to confirm the transaction.
How to Customize the Template
When using a Word template, ensure it fits your specific situation. You can add or modify fields such as the property description or add terms for the return of the deposit. Make sure the document is easy to read, clearly structured, and free of unnecessary jargon.
A well-organized receipt can avoid misunderstandings and provide both the landlord and tenant with peace of mind throughout the rental term. Save time by utilizing templates and keeping consistent records with each deposit made.
Open a new document in Microsoft Word. Start with a clear title at the top, such as “Deposit Receipt” or “Security Deposit Receipt,” to indicate the purpose of the document. Below the title, include the basic information about the transaction.
1. Add Recipient Information
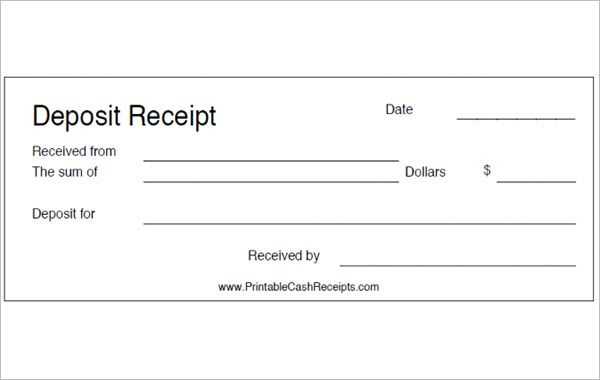
- Include the name of the person or company receiving the deposit.
- Provide the full address and contact details (optional).
2. Include the Payer’s Information
- Specify the name of the individual or organization making the deposit.
- Include their contact information, if necessary.
3. Detail the Deposit Amount
- State the exact amount of money being deposited.
- Write it both in numbers and words for clarity (e.g., “$500.00” and “Five hundred dollars”).
4. Describe the Purpose of the Deposit
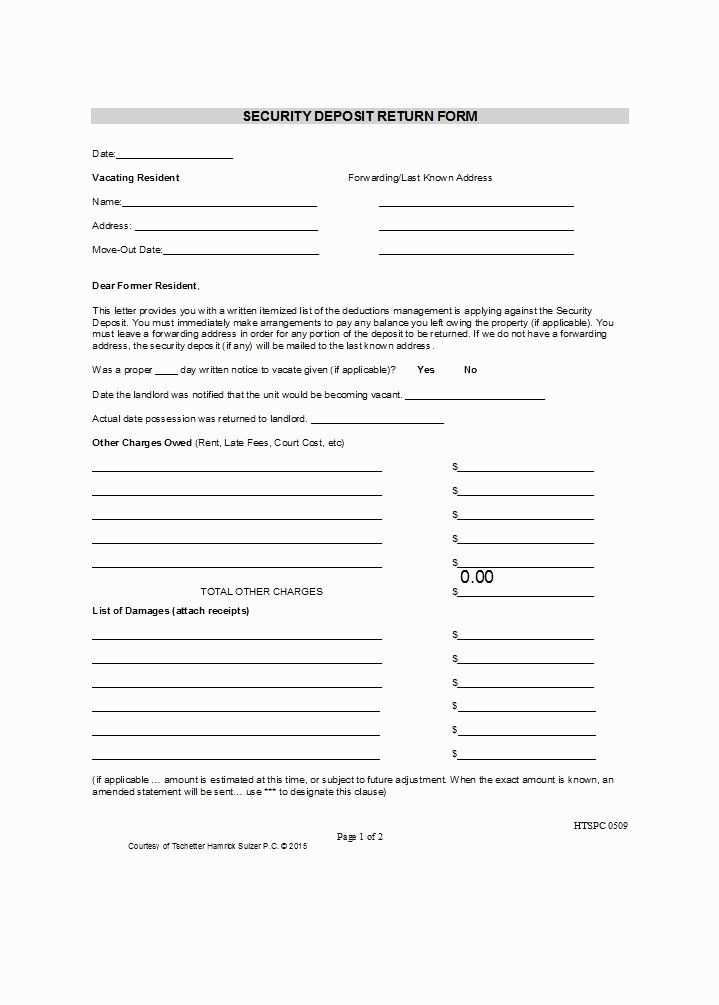
- Clearly explain why the deposit is being made (e.g., security deposit for a rental agreement).
- Provide any necessary reference numbers or specific terms related to the agreement.
5. Include the Date of the Transaction
- State the exact date the deposit is being made.
- Ensure the date is written in a clear and readable format (e.g., February 11, 2025).
6. Add Signature Lines
- Leave space for the signatures of both parties (the recipient and the payer).
- Provide room for the date of signature to be added as well.
Once all the necessary details are filled in, review the document for accuracy. Save it as a Word file or print it out for both parties to sign. This creates a simple but professional deposit receipt that can be used for record-keeping purposes.
Make sure your deposit receipt contains clear and precise details. Start with the full name of the person or entity making the deposit and the recipient. This avoids confusion over who is responsible for the payment.
Deposit Amount
The exact amount deposited should be listed in both numbers and words to prevent discrepancies. Be specific, including any partial payments, if applicable.
Payment Date and Method
Include the exact date of the deposit and the method used (cash, check, credit card, etc.). If applicable, note any reference numbers for transactions such as check numbers or payment IDs.
Provide a description of the reason for the deposit, especially if it’s related to a specific service, rent, or agreement. This can help both parties track the purpose of the deposit in the future.
Finally, include a statement acknowledging the receipt of the deposit and any terms, such as refund policies or conditions under which the deposit may be returned. This helps set expectations and avoids future misunderstandings.
Adjust the receipt template to reflect specific transaction details. For rental agreements, ensure the tenant’s name, rental period, and property address are clearly stated. Include the amount paid as the deposit and the remaining balance, if applicable. Add a clause or note that specifies the conditions under which the deposit will be refunded, such as the return of the property in good condition.
Modifying for Business Transactions
For business transactions, tailor the template to include the customer’s business details, item or service description, payment method, and terms of refund or exchange. This may also involve adding sections for VAT or tax calculations. Make sure the receipt accurately reflects all line items with corresponding amounts to avoid confusion during any audits or disputes.
Real Estate Customization
In real estate transactions, a security deposit receipt should detail the property, lease terms, and any applicable penalties for damages. A note on the property’s condition upon handing over the deposit will help set expectations and prevent future disputes. Consider adding space for both parties to sign, confirming the transaction.
How to Streamline a Security Deposit Receipt Template
To create a clear and functional security deposit receipt, focus on the key details. Ensure that all fields are concise yet comprehensive, including tenant and landlord names, rental property address, amount deposited, and the payment date. Avoid redundancy by listing only necessary details. Use structured headings for each section to guide the user through the process. Ensure that all legal terms are explained, making the receipt accessible for both parties involved. A well-organized template prevents confusion and serves as a useful reference for future transactions.
Key Elements of the Template
Each template should include the following essential sections:
1. Tenant Information: Name, contact details, and lease start date.
2. Landlord Information: Full name and address.
3. Deposit Amount: Exact amount paid, in clear numeric format.
4. Receipt Date: Clear indication of when the deposit was made.
5. Property Details: Accurate description of the rental property.
6. Terms of Deposit: A brief mention of conditions tied to the deposit, such as return procedures and potential deductions.
Streamlining these elements ensures clarity and legal compliance without overloading the document.
Formatting Tips
Keep the design simple but organized. Use bold headings for each section, followed by clear bullet points or numbered lists. This improves readability and reduces errors. Leave adequate space between sections to avoid clutter. Ensure that there are no redundant phrases that could confuse the parties. By keeping the template clean and to the point, you guarantee that all the relevant information is easy to locate and understand.


