Creating a receipt for a business purchase is a straightforward task when you have the right template. A well-structured receipt ensures clarity for both the buyer and the seller, avoiding potential misunderstandings. The purchase receipt serves as proof of transaction and is vital for record-keeping, taxes, and financial audits. Using a word template can streamline this process, saving you time and effort in crafting one from scratch.
The template should include all key details: buyer and seller information, a description of the purchased item or service, the price, payment method, and the date of the transaction. The design should be simple but clear, with sections that are easy to fill in. For businesses that deal with frequent transactions, using a standard receipt format helps maintain consistency and professionalism.
Choosing a reliable template also ensures that the document complies with legal and accounting standards. Many word document templates are customizable, allowing you to include your business logo or adjust the layout as needed. Whether you’re dealing with small purchases or larger transactions, having a template ready to go will save you from delays and errors.
Receipt for Purchase of Business Template Word
A Receipt for Purchase of Business Template in Word format helps formalize the sale of a business. It provides clear documentation for both parties and ensures transparency in the transaction. Below is an overview of key components included in such a template:
Key Elements to Include in the Receipt Template
- Business Information: Include the name, address, and contact details of the seller and the buyer.
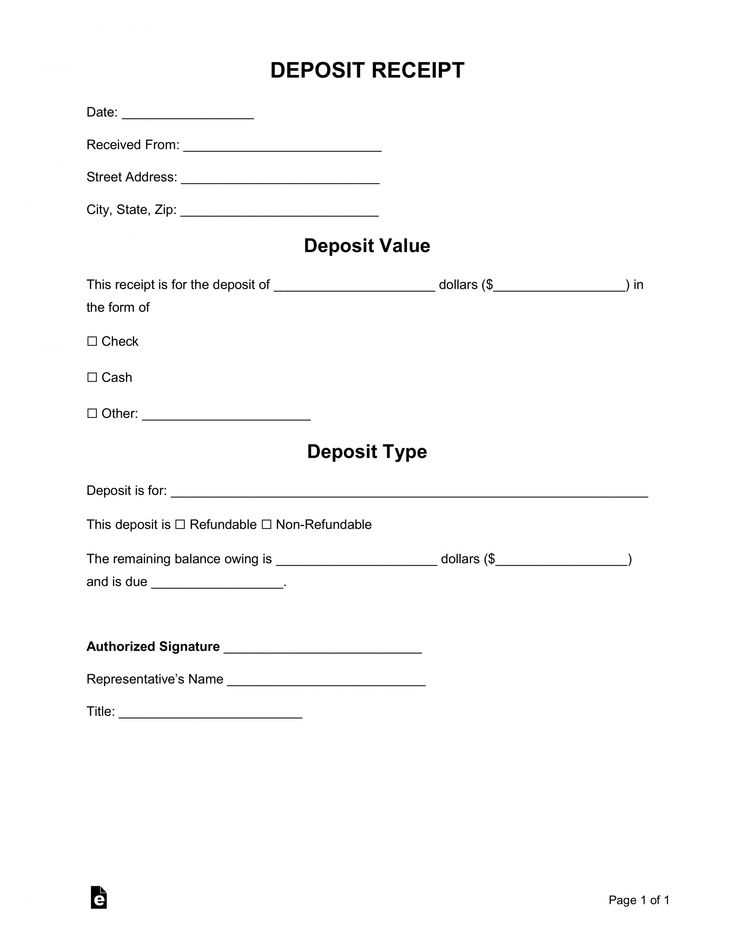
- Transaction Details: List the agreed purchase price and any deposits or payments made before finalizing the sale.
- Itemized List of Business Assets: Detail all assets being transferred, such as equipment, inventory, intellectual property, and goodwill.
- Payment Method: Specify how the payment was made (e.g., wire transfer, cheque, cash) along with the transaction date.
- Sale Date: Indicate the official date of purchase and the date the receipt is issued.
- Terms and Conditions: Mention any post-sale obligations, warranties, or conditions that both parties have agreed to.
How to Use the Template

- Fill in the Seller and Buyer Information: Ensure that all contact details are accurate to avoid confusion in future communications.
- Record the Transaction Details: Clearly list the price, payment method, and any relevant payment history to prevent misunderstandings.
- List Transferred Assets: An itemized list helps confirm which assets were included in the sale. This provides protection to both parties if disputes arise later.
- Include Post-Sale Terms: Specify any agreed-upon warranties, post-sale support, or conditions tied to the transfer of ownership.
This template simplifies the process of finalizing a business transaction and ensures that all important details are covered. It is highly recommended to consult a legal professional to ensure compliance with local laws and regulations.
How to Create a Professional Business Purchase Receipt in Word
To create a professional business purchase receipt in Word, use a simple template that includes all the necessary details. Start by adding your business name, logo, and contact information at the top. This ensures the receipt looks official and provides immediate identification of the seller.
Include Transaction Details
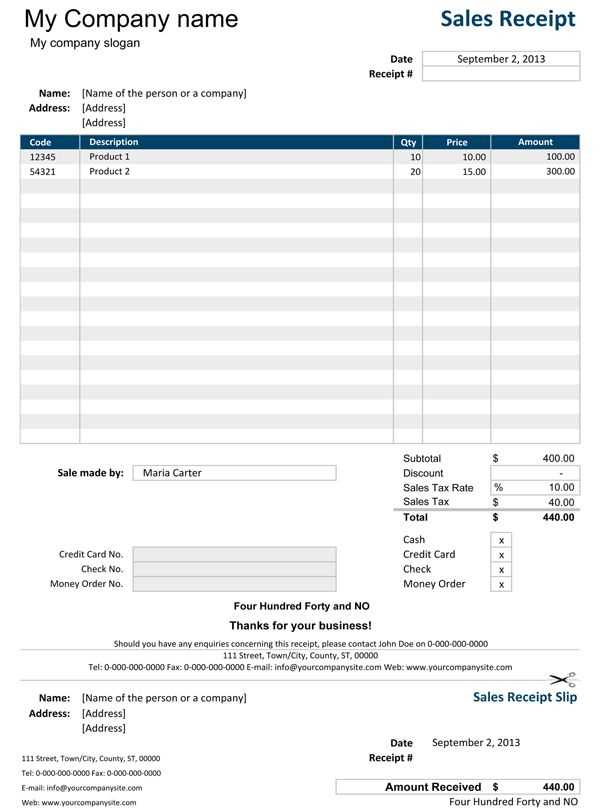
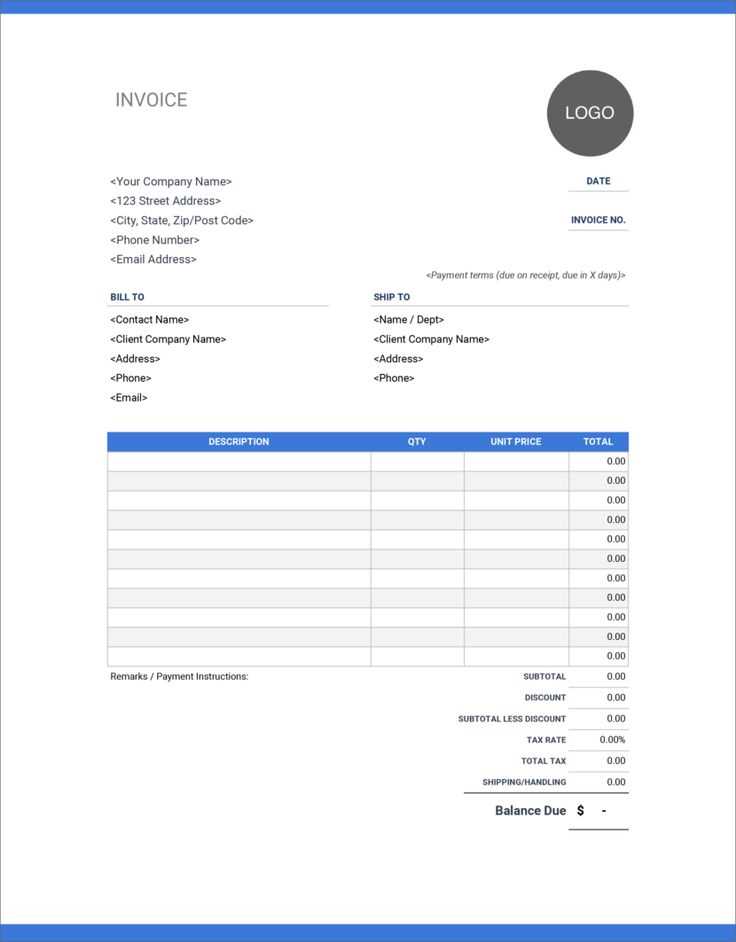
Next, include specific details about the transaction. Mention the date of the purchase, the name of the buyer, and a unique receipt number. Be sure to list the items or services purchased, along with their quantities and individual prices. Add up the total cost, and if applicable, note any taxes or discounts applied. This transparency makes the receipt clear and organized.
Payment Information

Finally, state the method of payment used (credit card, cash, bank transfer, etc.). If the transaction was partial or requires follow-up payments, include this information as well. This provides clarity for both parties and keeps financial records accurate.
Customizing Your Word Template for Different Business Needs
Start by adjusting the layout of your Word template to suit the specific type of transaction or interaction your business handles. For example, if you’re in retail, include fields like product description, quantity, and price. For services, add sections for terms of service, hours worked, or deliverables.
Adapting for Different Industries
Each industry requires a different set of details. If you run a consulting firm, make sure to add a space for outlining the scope of the project and milestones. For a manufacturing business, you might need to track part numbers, labor costs, and inventory. Customize the template by removing irrelevant sections and incorporating new ones that are crucial for your business type.
Personalizing Design Elements
Design is just as important as content. Modify fonts, colors, and logos to match your company’s branding. Make sure the template looks professional yet approachable, ensuring clients can easily read and understand the information. Customize header and footer sections for adding your business contact details or any legal disclaimers you may need to include.
Pro tip: Use tables and checkboxes where applicable. They help organize data clearly, allowing clients to follow along easily. Additionally, leave space for signatures if necessary–this can be especially helpful for contracts or agreements.
Finally, save your customized template as a reusable document so you can quickly update it for future transactions without starting from scratch. This simple step will save you time and help maintain consistency across all your documents.
Best Practices for Formatting and Saving Your Receipt Template

Use clear and legible fonts, like Arial or Times New Roman, to ensure readability. Stick to font sizes between 10 and 12 points for the body text. Keep the layout simple and clean, making it easy for recipients to understand all the details at a glance.
Group similar information together. Place business details (like name, address, contact information) at the top, followed by transaction details (items purchased, price, taxes, total amount) and payment method. Make sure to include a clear space between each section to avoid clutter.
For consistency, choose one currency format for the monetary values (e.g., $ for USD or € for Euros). Ensure all numbers are aligned to the right for uniformity, making it easier to read the total and subtotals.
Save your receipt template in a widely-used format, such as .docx or .pdf. .docx files are easy to edit, while .pdf files preserve formatting and are more professional for sharing. If you plan to use your template regularly, consider saving it as a template in Word so it’s easy to reuse.
Include fields that allow for easy updates. For example, placeholders for the business name, address, or transaction date make customization faster. Save your template with a clear name, such as “Receipt_Template_YourBusinessName,” to help you quickly identify it when needed.
Regularly back up your receipt templates to avoid losing them. Cloud storage services like Google Drive or Dropbox offer secure ways to keep copies, while also allowing for access from multiple devices.


