If you’re looking for a straightforward way to create professional-looking receipts using Microsoft Office 2003, you can make use of the built-in templates available within the software. These templates allow you to quickly generate receipts that are both functional and visually appealing, saving you time and effort when creating them from scratch.
To get started, open Microsoft Word 2003 and navigate to the “File” menu. Select “New,” then choose “Templates” from the list. You can search for “receipt” in the template search bar or browse through the available categories to find a suitable option. Once you’ve chosen your template, simply fill in the necessary details, such as the business name, date, and transaction specifics. Customizing the template with your branding elements, such as logos or color schemes, can also be done easily.
The beauty of using these templates lies in their simplicity. With a clear structure already in place, you only need to enter the relevant transaction details. For those who need more customization, Word’s formatting tools can be used to modify the template layout further, adjusting fonts, colors, and alignment to fit your preferences.
These receipt templates offer an excellent starting point for businesses that need to produce receipts quickly and professionally without the need for complicated software or design skills. With just a few tweaks, you can create receipts that are tailored to your needs, ensuring that your documents reflect your business’s professionalism and attention to detail.
Microsoft Office 2003 Receipt Template Guide

To create a receipt in Microsoft Office 2003, open Excel and use a pre-designed template or build one from scratch. For a template, navigate to “File” > “New” and search for “Receipt” in the templates section. Choose one that suits your needs and customize it with your company’s information.
If you prefer to design a receipt manually, start by setting up a clean grid. Adjust column widths to accommodate text like the item names, quantities, and prices. Use borders to separate sections for clarity. Add fields for your company name, address, and contact details at the top, followed by a space for the customer’s name and purchase details.
To calculate totals, use Excel’s basic formulas. For example, multiply item quantities by their prices, and sum these values to get the total amount. Apply a formula in the “Total” field by typing “=SUM(…)”. Make sure to format your numbers as currency for a professional appearance.
For a polished look, apply bold formatting to key fields such as the total amount and any headings. Use the “Merge and Center” feature to align your title or company name neatly at the top of the receipt.
Once your receipt is ready, save it as a template for future use. To do this, simply click “File” > “Save As” and select “Excel Template” in the file type options. This way, you can reuse it without starting from scratch each time.
How to Create a Custom Receipt Template
Open Microsoft Office 2003 and launch Word or Excel. Choose a blank document to begin creating your custom receipt template.
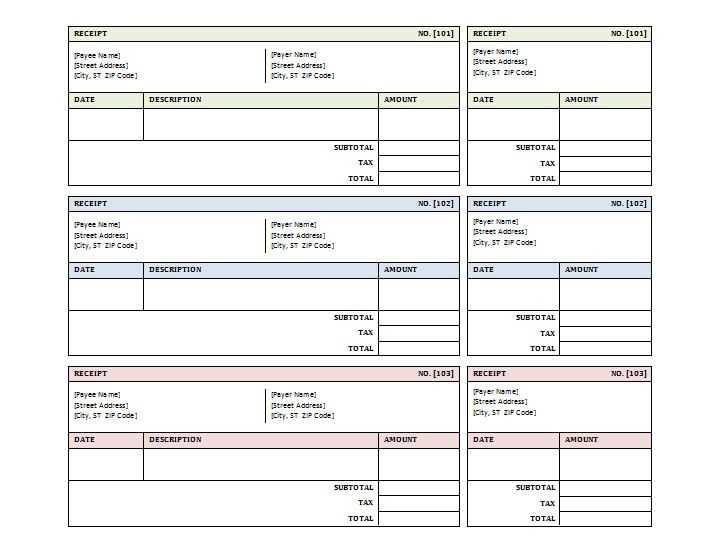
Design your receipt layout by adding the following elements:
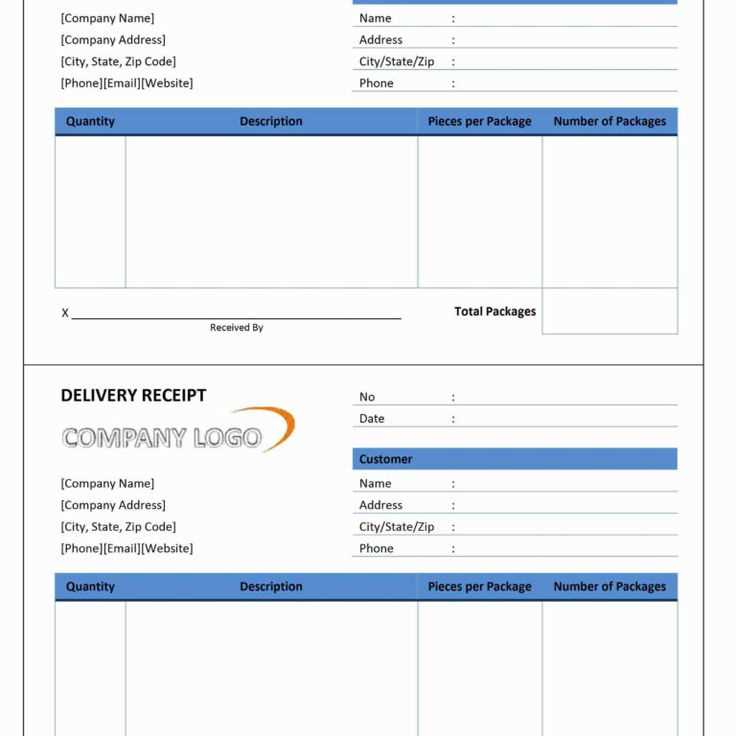
- Business Name and Logo: Insert your business name and logo at the top for easy identification.
- Date and Receipt Number: Include a field for the date and a unique receipt number for each transaction.
- Customer Information: Create space for customer name, address, and contact details.
- Itemized List of Products/Services: Add a table or bullet points for the products or services purchased, including quantity, description, and price.
- Total Amount: Highlight the total amount due at the bottom, including taxes and discounts if applicable.
Customize fonts and colors to match your brand’s style. Ensure the text is clear and legible, especially for important information like totals and dates.
Once you’ve set up the layout, save the template for future use. You can modify it as needed for different transactions without recreating it each time.
For a more professional look, consider adding your business’s payment details or terms and conditions at the bottom of the receipt.
Formatting Tips for Clear and Professional Receipts

Keep your receipt layout simple and well-organized. Align text properly, ensuring consistency throughout the document. Use clear headings to separate key sections like date, itemized list, total, and payment details.
Use Legible Fonts and Sizes
Choose a clean, readable font such as Arial or Times New Roman. Set the font size between 10pt and 12pt for body text to ensure legibility. Larger text can be reserved for headings and totals.
Separate Key Information
Clearly separate sections such as the store name, itemized purchases, and total amount by adding white space or borders. This makes it easier for the customer to locate important information quickly.
Highlight the total amount by making it bold or slightly larger. This draws attention and prevents it from getting lost in the details.
Saving and Reusing Your Receipt Template
Save your receipt template as a file to easily access it later. To do this, click “File” in the top menu, then select “Save As.” Choose a location on your computer and give the file a descriptive name. Select the file format that best suits your needs, such as .docx or .dotx for templates.
Reuse the template by opening the saved file whenever needed. If you want to create a new receipt based on the template, click “File,” then “New,” and select “Open” to find your saved template. This keeps your layout consistent and saves time on formatting.
If you plan to use the receipt template on different devices, consider saving it to a cloud storage service like OneDrive. This allows you to access it from any device with an internet connection, ensuring that your template is always available when needed.