Creating a Payment Receipt in Microsoft Office
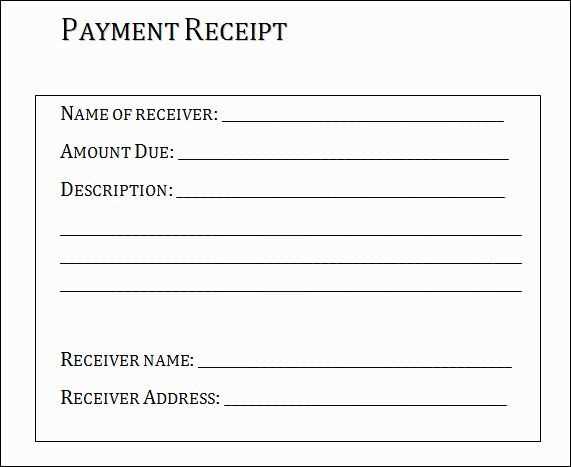
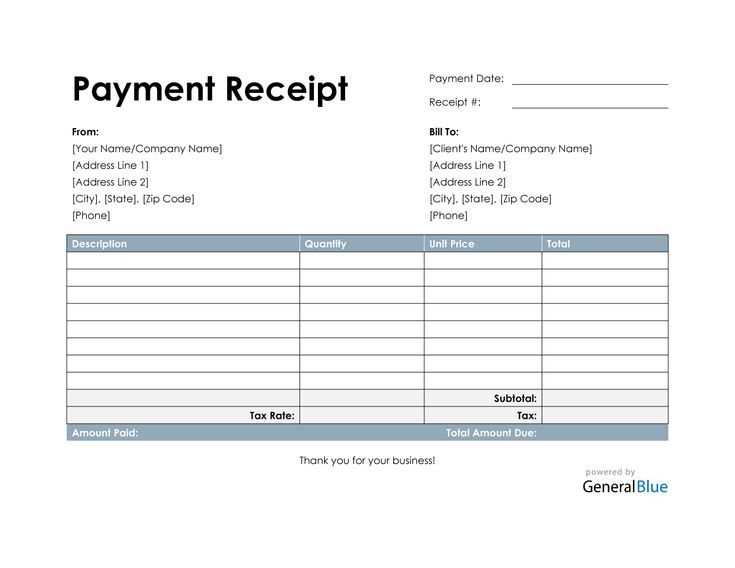
To create a payment receipt in Microsoft Office, choose a template in Microsoft Word or Excel that fits your needs. These templates are designed to help streamline the process, so you don’t have to start from scratch. Look for a clear, simple layout with sections to input the customer’s information, payment details, and your business’s information. Customizing the template for your specific needs ensures your receipt remains professional and easy to read.
Step-by-Step Guide
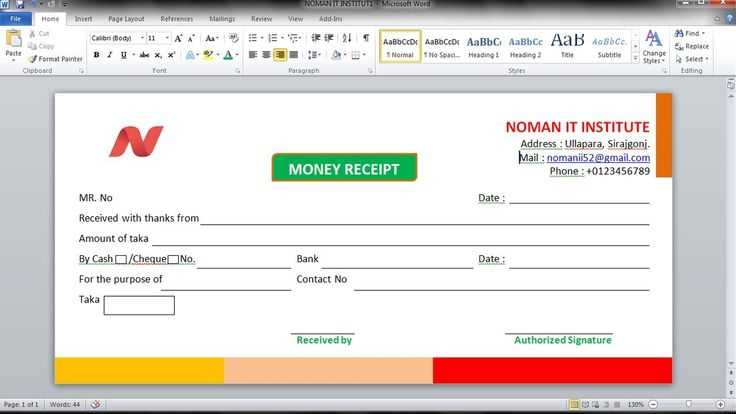
- Open Microsoft Word or Excel: Start by launching either application and searching for “Payment Receipt” templates within the program.
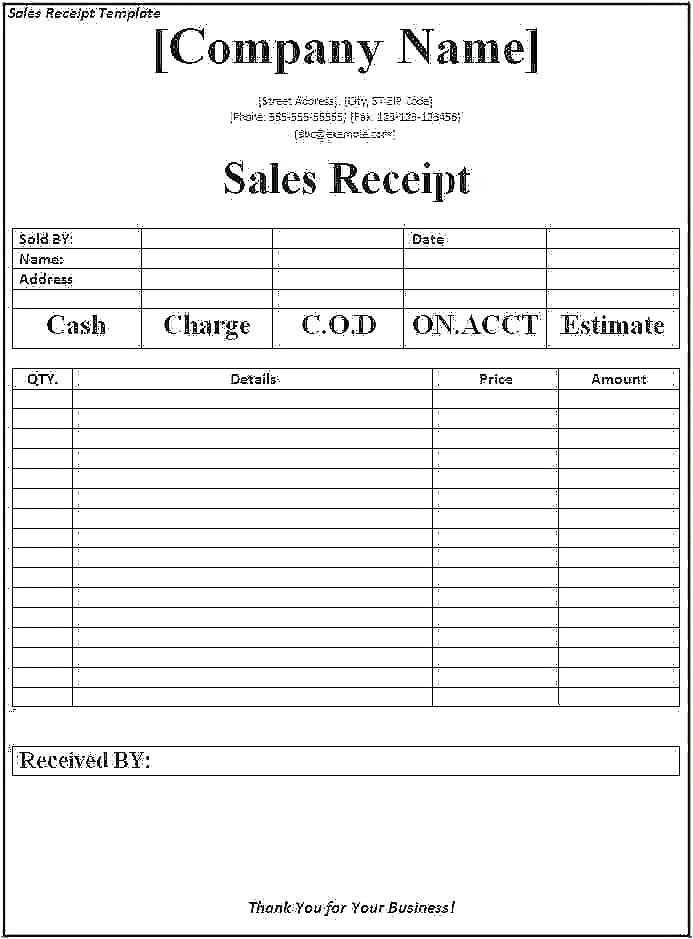
- Choose the Right Template: Review available templates. For Word, you can find various options that focus on clarity. For Excel, a spreadsheet-style receipt template offers a functional layout.
- Customize Your Template: Edit the details including your company name, customer name, transaction amount, payment method, and the transaction date. Ensure all sections are clearly visible and easy to fill out.
- Save and Print: Once all the fields are completed, save the document as a PDF for easy sharing. Print it out for your customer or send the PDF via email.
What to Include in a Payment Receipt
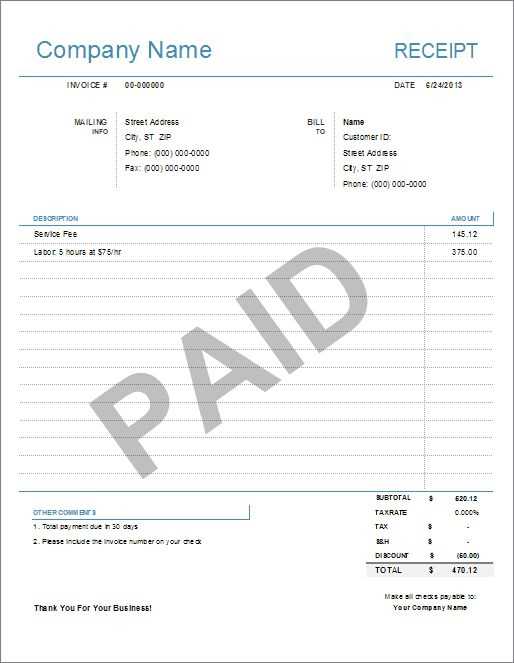
- Company Information: Add your business name, address, and contact information to the top of the receipt for identification.
- Customer Details: Include the customer’s full name and any other relevant details such as contact information.
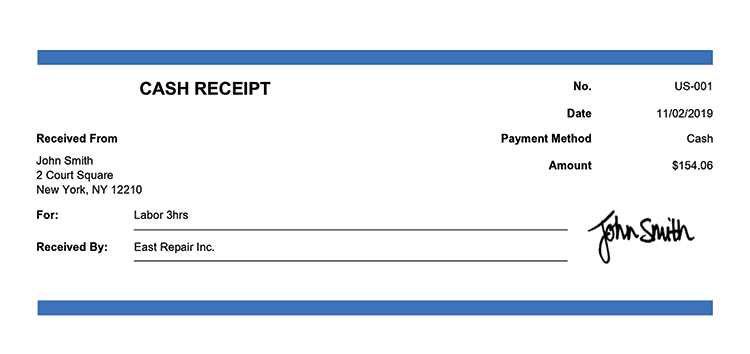
- Transaction Information: Clearly display the total amount paid, payment method (cash, credit card, etc.), and the date of payment.
- Receipt Number: Assign a unique receipt number for record-keeping.
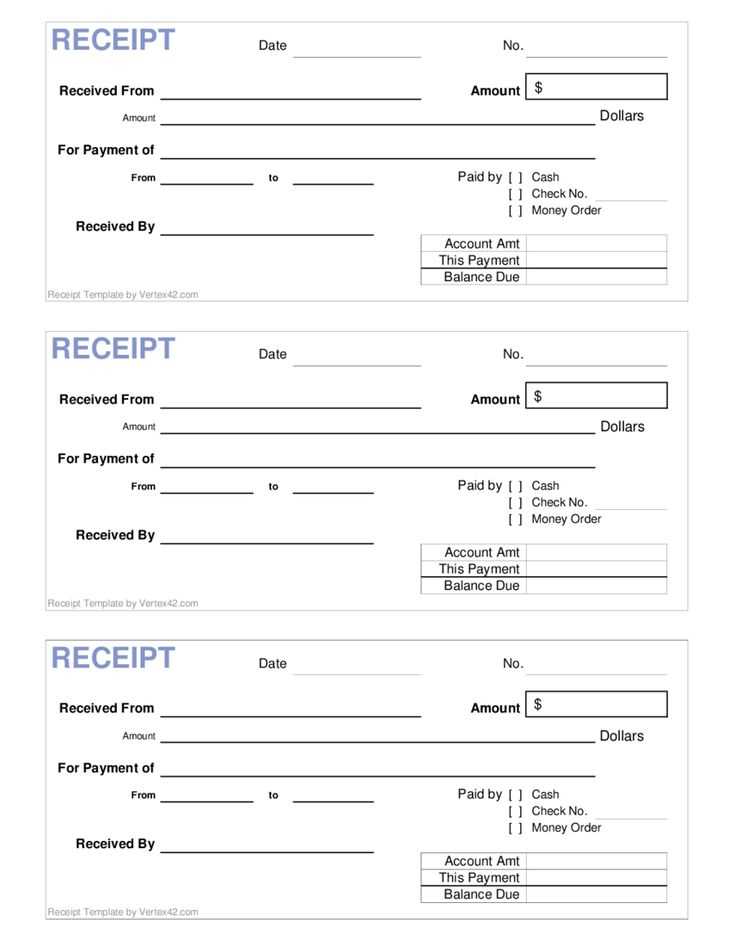
- Signature Field: If necessary, add a space for signatures to confirm the transaction.
Tips for Customization
- Branding: Personalize the template with your business logo and color scheme to maintain your brand identity.
- Professional Language: Use clear and concise language throughout the receipt to ensure transparency and professionalism.
- Legal Information: If required, include any legal disclaimers or tax information relevant to your business operations.
By following these steps and using the provided templates, you can easily generate a payment receipt that is both functional and visually appealing. Customizing the receipt to suit your business ensures consistent and professional transactions with your customers.
Microsoft Office Payment Receipt Template
To customize a payment receipt template for your business needs in Microsoft Office, begin by selecting a template that aligns with your industry. Use Excel or Word templates that can be easily adjusted for varying amounts, itemized services, and payment methods. Modify fields such as company name, customer information, and payment details to reflect the nature of your transactions.
Adding tax and discounts is simple. In Excel, use formulas to calculate tax based on the item price and apply discounts either as a percentage or a fixed amount. For example, to calculate tax, use the formula =SUM(A2*0.08), where A2 is the price. Similarly, input the discount amount in a new cell and subtract it from the subtotal before finalizing the total amount due.
For quick access in the future, save the customized receipt template to your template folder. In Word, save the file as a template (.dotx) for easy future use. You can also share the template by emailing the file or saving it to a cloud service for easy access and sharing with team members or clients.


