Creating a custom receipt template helps maintain consistency and professionalism in your transactions. Start by deciding what information you need: the business name, date, item descriptions, prices, taxes, and total amount are the basic components. If you need something more specific, consider adding a logo or a unique identifier for each transaction.
Choose a software to create your template. Tools like Microsoft Word, Excel, or Google Docs work well for simple layouts. For more advanced options, try specialized software like Canva or Adobe Illustrator for greater design flexibility. You can also explore online receipt generators for quick results.
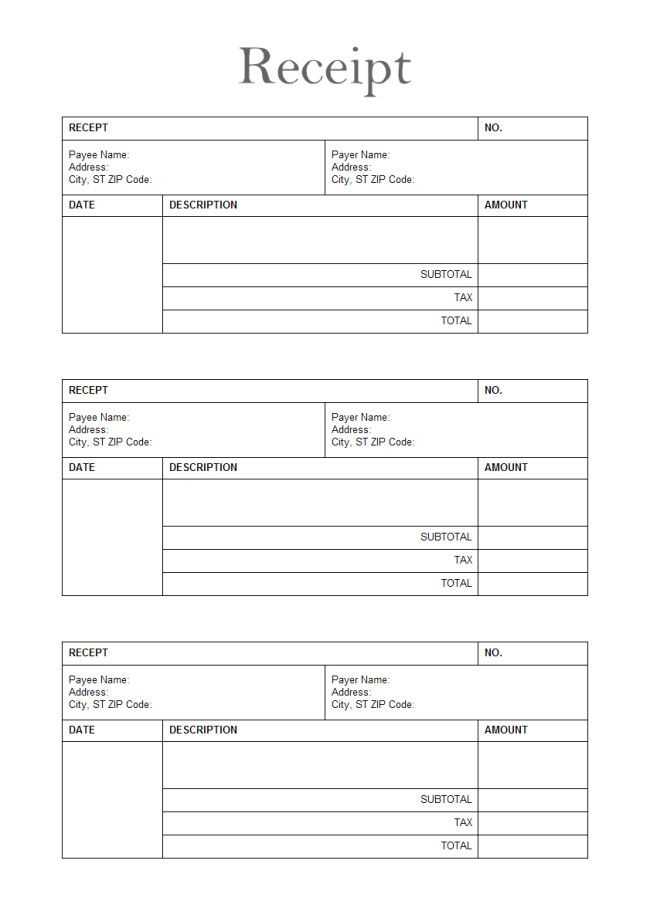
Keep the layout clear and organized by using grids or tables. This ensures that all information is easy to read and understand. Don’t overcrowd the document–use enough spacing to create a clean look. Align text properly, especially the numbers, to make your receipts more professional.
Test your template by filling in sample data to check if everything fits neatly. You can tweak font sizes or margins as needed. Once satisfied, save your template as a reusable file, so you can easily generate receipts for future transactions.
Make Your Own Receipt Template

Design a receipt template tailored to your business needs with these simple steps.
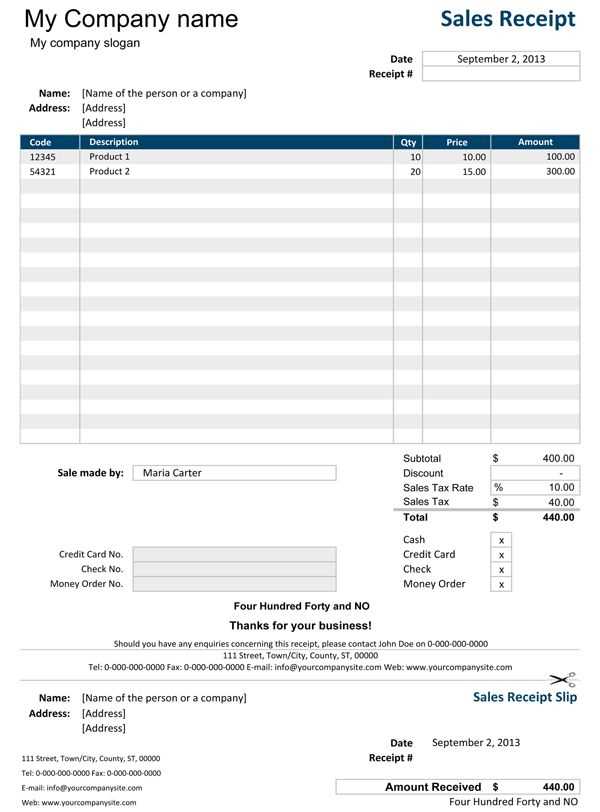
- Choose a Template Layout: Select a clean and organized design. Consider including sections like business name, address, contact info, itemized list, total, and payment method.
- Include Business Details: Add your company’s name, address, phone number, and website at the top. This ensures customers know where the receipt is from and how to contact you.
- Itemized List: Make a clear list of products or services provided, with individual prices. Include columns for quantity, description, unit price, and total cost.
- Total Amount: Display the total cost at the bottom. Include taxes or discounts, if applicable. Make sure it stands out for easy identification.
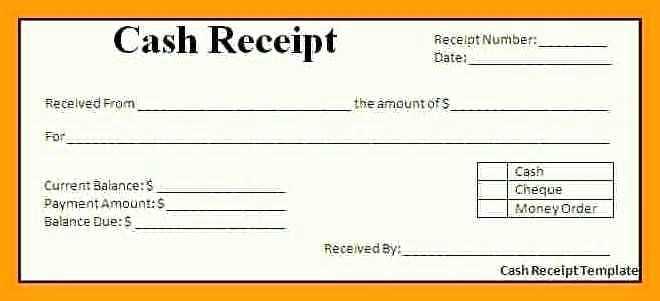
- Payment Method: Add a section indicating the payment method (credit card, cash, etc.), along with any transaction numbers if necessary.
- Custom Notes: Include space for custom messages or terms and conditions. You can use this area for return policies or thanks for your business.
- Branding: Incorporate your logo or company colors for a professional touch. Ensure it aligns with your branding guidelines.
Once you’ve laid out the basic structure, save your template as a reusable file for future receipts. You can easily update it as needed with new items or prices.
Design a Clean Layout for Your Receipt Template
Start with a simple, organized structure. Position key information–store name, address, and date–at the top. This ensures that the customer can quickly find the most important details. Use clear, legible fonts and appropriate font sizes to keep the text readable. Limit the amount of text in each section and keep descriptions concise.
Use Columns for Easy Reading

Divide the receipt into clear sections using columns. The left side can list item descriptions, and the right side should show prices or quantities. This layout will make it easy for customers to scan and verify purchases at a glance.
Group Related Information Together
Place items, taxes, discounts, and totals in distinct blocks. This separation prevents confusion, allowing customers to clearly see how each section of the transaction breaks down. Use horizontal lines to separate blocks for better visual organization.
Keep white space around text and sections. This provides breathing room for the layout, preventing it from feeling crowded and overwhelming. Don’t overuse borders or heavy graphics that can distract from the necessary information.
Include a clean footer with payment details, return policies, or any important reminders, but keep it minimal. Too much information can clutter the design and make it hard to find important facts quickly.
Test the layout with sample data to ensure all elements fit without overcrowding and that key information stands out clearly. Keep adjusting until the receipt feels balanced and functional.
Incorporate Key Information: Fields to Include
Make sure your receipt template captures all the necessary details for clarity and reference. Start with basic transaction data such as the date and transaction ID. These pieces help to track and verify purchases. Follow that with the seller’s information, including the name, address, and contact details. This establishes the source of the transaction and ensures accountability.
Product and Service Details

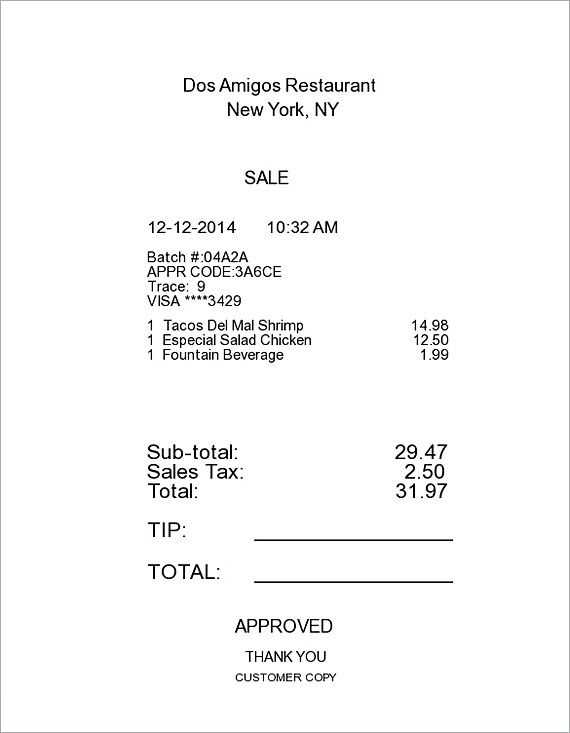
Include the description of items or services purchased, along with their quantity and price per unit. For clarity, break down taxes, discounts, and any other fees separately. List the total amount at the bottom of the receipt to avoid any confusion.
Payment Information
Record the method of payment, whether it’s cash, card, or another form. It’s helpful to show the last four digits of the card if applicable. Lastly, provide a refund policy or terms for returns, especially for products or services where such information may be relevant.
Customize Styling and Branding for Your Business

Use your brand’s colors and fonts to instantly communicate your identity. Select a color palette that aligns with your brand’s message and evokes the right emotions. Stick to a maximum of three primary colors to maintain a clean and professional look. For fonts, choose one for headings and another for body text to ensure readability and consistency across all receipts.
Include your logo in a prominent place on the receipt, such as the top or bottom. This reinforces brand recognition every time a customer receives a receipt. Make sure the logo is clear, appropriately sized, and does not overpower the other content.
Add a personalized touch by using custom language or terms that reflect your brand’s voice. Whether your tone is friendly, formal, or quirky, ensure it matches the overall messaging you want to convey. A receipt should reflect the same professionalism and style that customers experience from the rest of your business.
Incorporate any taglines, slogans, or mission statements that reinforce your values and add personality. These elements can make your receipts more memorable and provide customers with a lasting impression of your brand.
Don’t forget to include key contact details like your website, social media handles, and phone number in a section that’s easy to find. Make it simple for customers to reach out or engage with your brand beyond the transaction.


