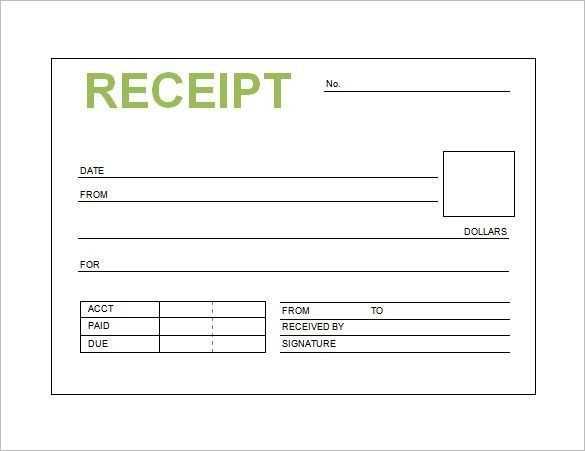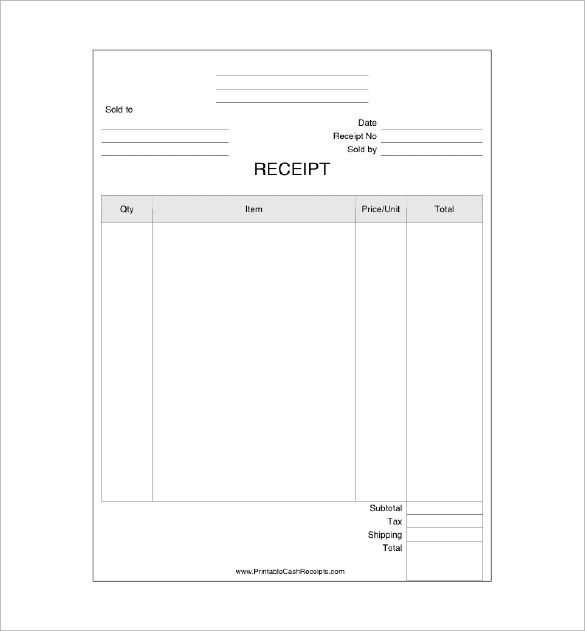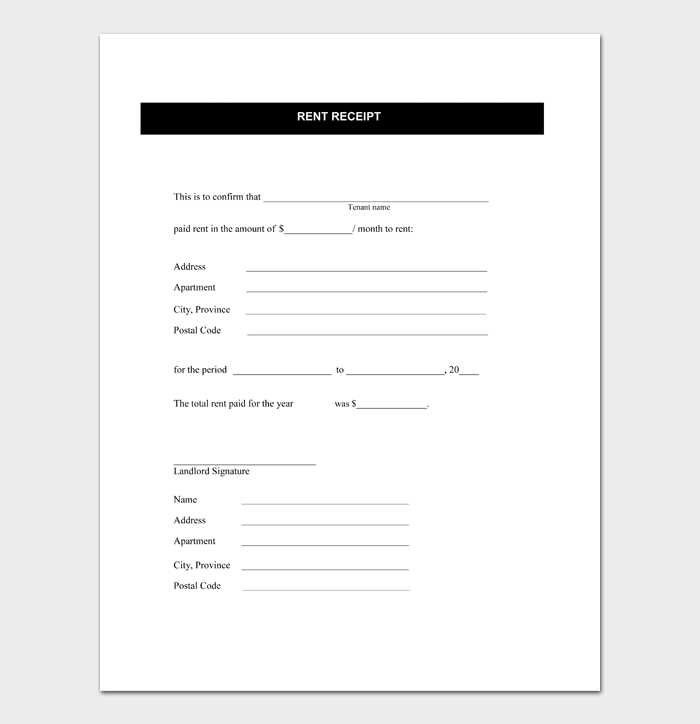
Creating a receipt template in Notepad can simplify the process of generating quick and professional receipts. Use a straightforward format to ensure clarity for both you and your customer. Focus on essential elements like date, transaction details, item description, and price.
Date: Always include the exact date of the transaction. This helps in organizing records for future reference.
Transaction Information: Clearly state the items or services provided, along with their respective prices. Be specific and concise. For example, use bullet points or a simple list format for readability.
Total Amount: Ensure the total is clearly highlighted at the bottom. This should reflect the sum of individual item prices or services provided, including any applicable taxes.
Payment Method: It’s important to note how the payment was made, whether via cash, card, or another method. This provides transparency for both parties.
With a clean and simple structure, a Notepad receipt template can make transactions smoother and more organized, offering easy reference for both you and your customers.
Notepad Receipt Template
Create a simple and clean receipt template using Notepad by following a few straightforward steps. Start with the essential details: the business name, address, and contact information at the top. Below, include the date and receipt number for easy reference. List items purchased or services rendered, along with their prices. Don’t forget to include any applicable taxes or discounts, followed by the total amount due.
For clarity, structure the receipt with clear headings, such as Item, Price, Quantity, and Total. Use simple text formatting, like dashes or asterisks, to create separation between different sections, ensuring easy reading.
For example, the layout could look like this:
Business Name
Address
Phone Number
Date: [Date]     Receipt #: [Number]
Item        Price     Quantity     Total
--------------------------------------
Item 1      $10.00     1           $10.00
Item 2      $5.00      2           $10.00
Subtotal:                      $20.00
Tax (5%):                      $1.00
--------------------------------------
Total Due:                     $21.00
Incorporating this basic format will help keep your receipts professional and easy to read. Adjust as needed depending on the specific requirements of your transactions.
Creating a Custom Template for Quick Use
To create a custom template, open Notepad and design a layout that suits your needs. Begin by listing key information you want to include, such as item names, quantities, prices, and totals. Organize the sections clearly to help with quick editing. Consider adding placeholders like __Item Name__ or __Total Price__ where you’ll fill in specific details later.
Use simple formatting to differentiate sections. For example, put headings in uppercase and make the item list easy to read by aligning text consistently. You can also use dashes or other symbols to separate sections for clarity.
If you’re frequently using the same format, save your template with a recognizable name, such as QuickReceiptTemplate.txt, so you can reuse it without starting from scratch. This reduces time spent on formatting and makes generating receipts faster.
Formatting Considerations for Clarity and Readability
Use clear, well-structured headings to separate sections. Headings guide the reader’s eye, making it easy to scan the content. Avoid overly complex or long phrases for headings–keep them direct and to the point.
Consistent Layout

- Align text left to ensure a uniform appearance. Center-aligned text can disrupt flow and readability.
- Use a single font style throughout the document. Mixing fonts can cause confusion and make the document appear cluttered.
Spacing and Margins
- Maintain sufficient margins to avoid a cramped look. A margin of at least 1 inch on all sides works well for clarity.
- Ensure adequate spacing between sections. This helps prevent the document from feeling overwhelming and provides breathing room for the reader.
Break up long blocks of text into shorter paragraphs. Large chunks of text can intimidate readers and cause them to skim. Aim for concise paragraphs with clear transitions.
- Use bullet points or numbered lists for easy-to-follow points. Lists help organize information clearly, allowing readers to quickly grasp key points.
Consider using bold for important information, but avoid overusing it. Over-emphasis can make the document feel cluttered and distract the reader from the main content.
Saving and Reusing Your Template for Future Transactions
Store your receipt template in an easily accessible location, such as a folder on your desktop or in cloud storage, to ensure you can quickly retrieve it whenever needed. Name the file clearly to avoid confusion, for example, “Receipt_Template_2025.” This way, you can instantly recognize it during future transactions.
Creating Backup Versions

If your template undergoes frequent updates, keep multiple versions saved. Use version control by appending dates to file names like “Receipt_Template_2025_02_12.” This will help you track changes over time without overwriting valuable information.
Customizing for Specific Transactions

Adapt the template for specific needs without completely redesigning it. Create placeholders for variable information like date, amount, and buyer details. By doing so, you can reuse the same layout while personalizing it for different transactions.


