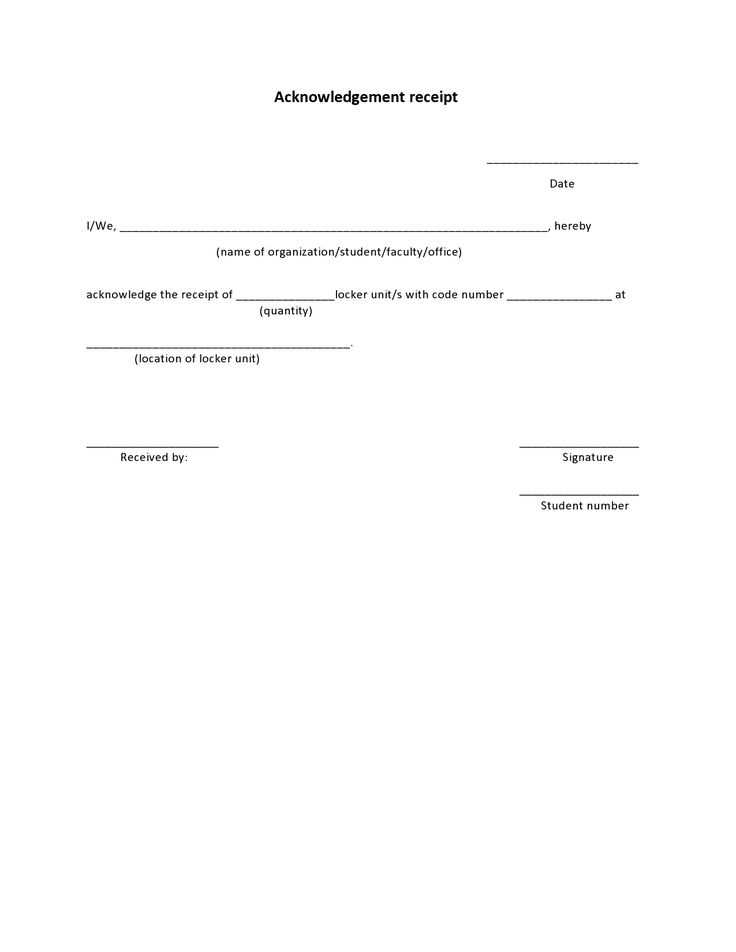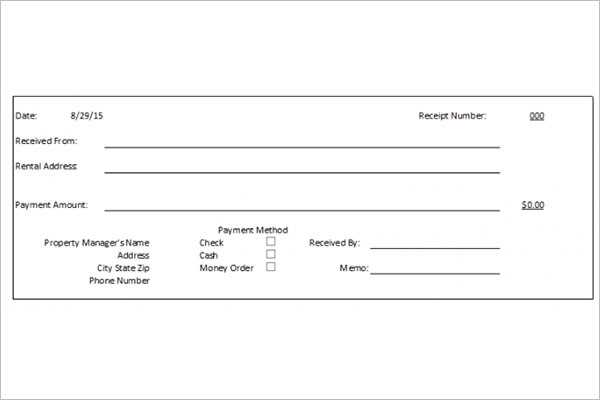
To create a reliable acknowledgement receipt template in DOC format, it’s important to include key details that will ensure clarity and transparency for both parties involved. Start with the recipient’s name and the date of receipt, followed by a concise description of the item or service being acknowledged. This keeps the document clear and to the point.
Next, include the amount received if applicable, whether it’s a monetary transaction or an item, such as a product or service. If needed, specify the payment method or delivery method. Ensure that the template leaves enough space for additional notes or conditions, should there be any special instructions or clarifications.
Finally, the signature section is essential. Both parties should sign the document to confirm their agreement. If the acknowledgement receipt is for a business transaction, consider adding fields for company names and official roles to provide further legitimacy to the document.
How to Create an Acknowledgement Receipt Template in Word

Open Microsoft Word and create a new blank document. Start by adding a title at the top, such as “Acknowledgement Receipt” or simply “Receipt.” Use a bold and slightly larger font for clarity.

Next, insert a table with two columns. In the first column, label each row with relevant details like “Date,” “Received From,” “Amount,” and “Purpose.” In the second column, leave space for these details to be filled in later.
Add a section at the bottom for signatures. Label one line “Received By” and the other “Authorized Signature” to allow for formal acknowledgment. You can make these fields underlined to guide users to sign on those lines.
To make the template more functional, adjust the spacing between the rows for readability and ensure the font is consistent and professional throughout the document.
Once you are satisfied with the layout, save the document as a template. Click “File,” then “Save As,” and select “Word Template” under the “Save as type” dropdown. This will allow you to reuse the template easily whenever needed.
Key Information to Include in an Acknowledgement Receipt

Include the date the receipt is issued. This helps both parties reference the acknowledgment at a later time. Clearly mention the name of the individual or organization that is receiving the item or payment. Ensure the name is spelled correctly to avoid confusion.
State the item, service, or payment being acknowledged. Be specific about what is being received to avoid any ambiguity. Include the amount (if applicable) and specify the currency or form of payment if relevant.
If applicable, note the condition of the item or the state of the transaction, such as whether the received goods are in satisfactory condition or if any issues were observed during delivery.
Record the method of delivery or payment. If the acknowledgment is for a physical item, mention whether it was handed over in person or shipped. If it’s a payment, indicate the method used–whether by cash, check, or electronic transfer.
Lastly, include the signature or name of the individual providing the acknowledgment. This confirms the receipt and assures both parties of the transaction’s validity. Ensure this information is clear and legible to avoid any confusion later on.
How to Customize Your Acknowledgement Receipt Template for Different Purposes

Tailor your acknowledgment receipt template by adjusting key sections based on your specific needs. Begin with modifying the header. If it’s for a donation, use a title such as “Donation Receipt.” For a purchase, opt for “Purchase Acknowledgment.” This small change sets the tone for the rest of the template.
Next, customize the fields. For business transactions, include fields like “Product Name,” “Quantity,” and “Price.” For a charitable receipt, replace these with “Donor Name,” “Amount Donated,” and “Donation Purpose.” Adjust the content to reflect the nature of the transaction or event, making it clear and relevant.
Modify the receipt’s date and transaction number to match the context. For sales, include an invoice or receipt number for easy tracking. For donations, consider adding the date of the event or donation along with the donor’s tax ID number if applicable. This ensures clarity in case the receipt is needed for legal or accounting purposes.
For receipts linked to events or services, add specific details, such as “Event Date” or “Service Description.” These additions make the receipt more detailed and appropriate for the transaction it acknowledges.
Finally, personalize the footer with your contact information. Whether it’s a company, charity, or personal receipt, ensure the footer includes ways to reach you for future inquiries or issues. Include relevant links or references, such as your website or customer service email.


