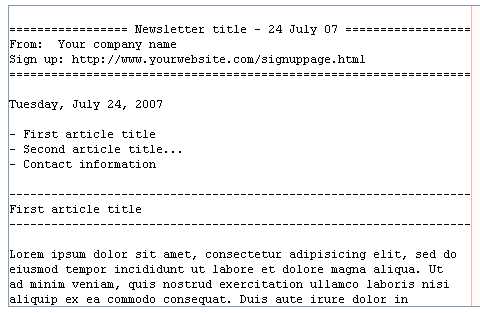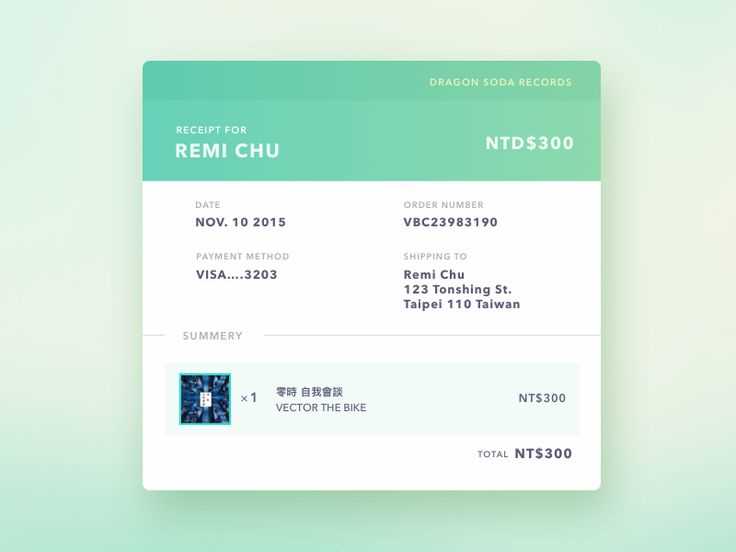
When setting up email receipts for your Stripe transactions, use a clean, simple template that includes all necessary details for your customers. A well-structured email not only confirms the payment but also enhances the customer experience by providing clear and relevant information.
The template should start with a clear subject line such as “Your Payment Receipt from [Your Company Name].” It immediately informs the recipient about the purpose of the email. Ensure the transaction details are easily visible, including the amount, transaction ID, payment method, and date of the transaction. This helps the customer quickly verify the purchase.
Another key part of the receipt is your company’s branding. Including your logo and contact information reinforces trust. Additionally, give your customers a brief message of thanks, perhaps with a note about the product or service they purchased. You can also include a direct link to your support page or a return policy for added clarity.
By keeping the template simple yet informative, your customers will feel confident in the transaction, and you can ensure that all critical details are delivered effectively.
Here are the corrected lines:
Make sure to adjust the API call to properly retrieve the email receipt for Stripe transactions. Use the correct object key `receipt_email` to specify the recipient email. Ensure that your template includes placeholders for dynamic data such as the transaction amount, date, and customer information. Here’s an example of the corrected snippet:
Example:
{
"transaction_id": "{{ transaction.id }}",
"customer_email": "{{ customer.email }}",
"amount": " format_currency }",
"date": " format_date }",
"receipt_email": "{{ customer.receipt_email }}"
}
Additionally, ensure that you are using the correct template engine for dynamic data replacement. For example, if you are using Liquid or another templating language, confirm that the syntax is correct and matches your Stripe integration.
- Email Receipt Template for Stripe
To create a Stripe email receipt template, follow these steps for clear, informative communication with customers:
1. Personalize the Email Subject Line
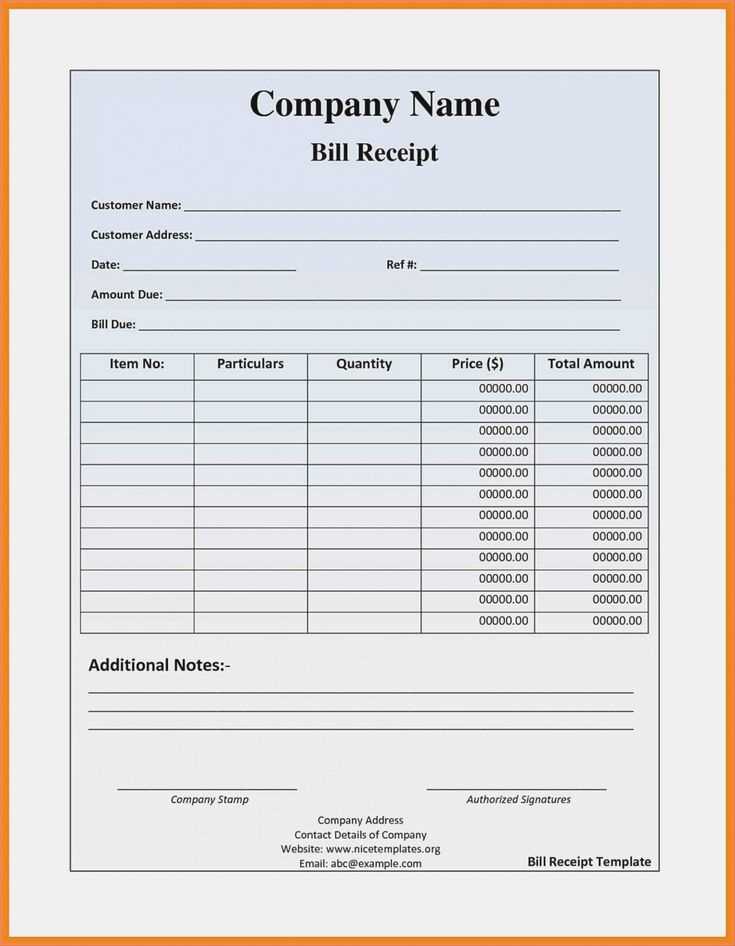
- Use a straightforward subject, such as “Your Receipt from [Business Name]” to make it clear and professional.
- Include key details, like the date or invoice number, to help customers easily find their receipts.
2. Set Up the Header
- Include your business logo and name to establish brand consistency.
- Ensure the email starts with a friendly message such as, “Thank you for your purchase!” to maintain a positive tone.
3. Transaction Details
- Clearly list the transaction details:
- Payment method (e.g., Visa, MasterCard)
- Transaction ID
- Amount charged (with currency)
- Product/service purchased
- Purchase date and time
4. Add Contact Information
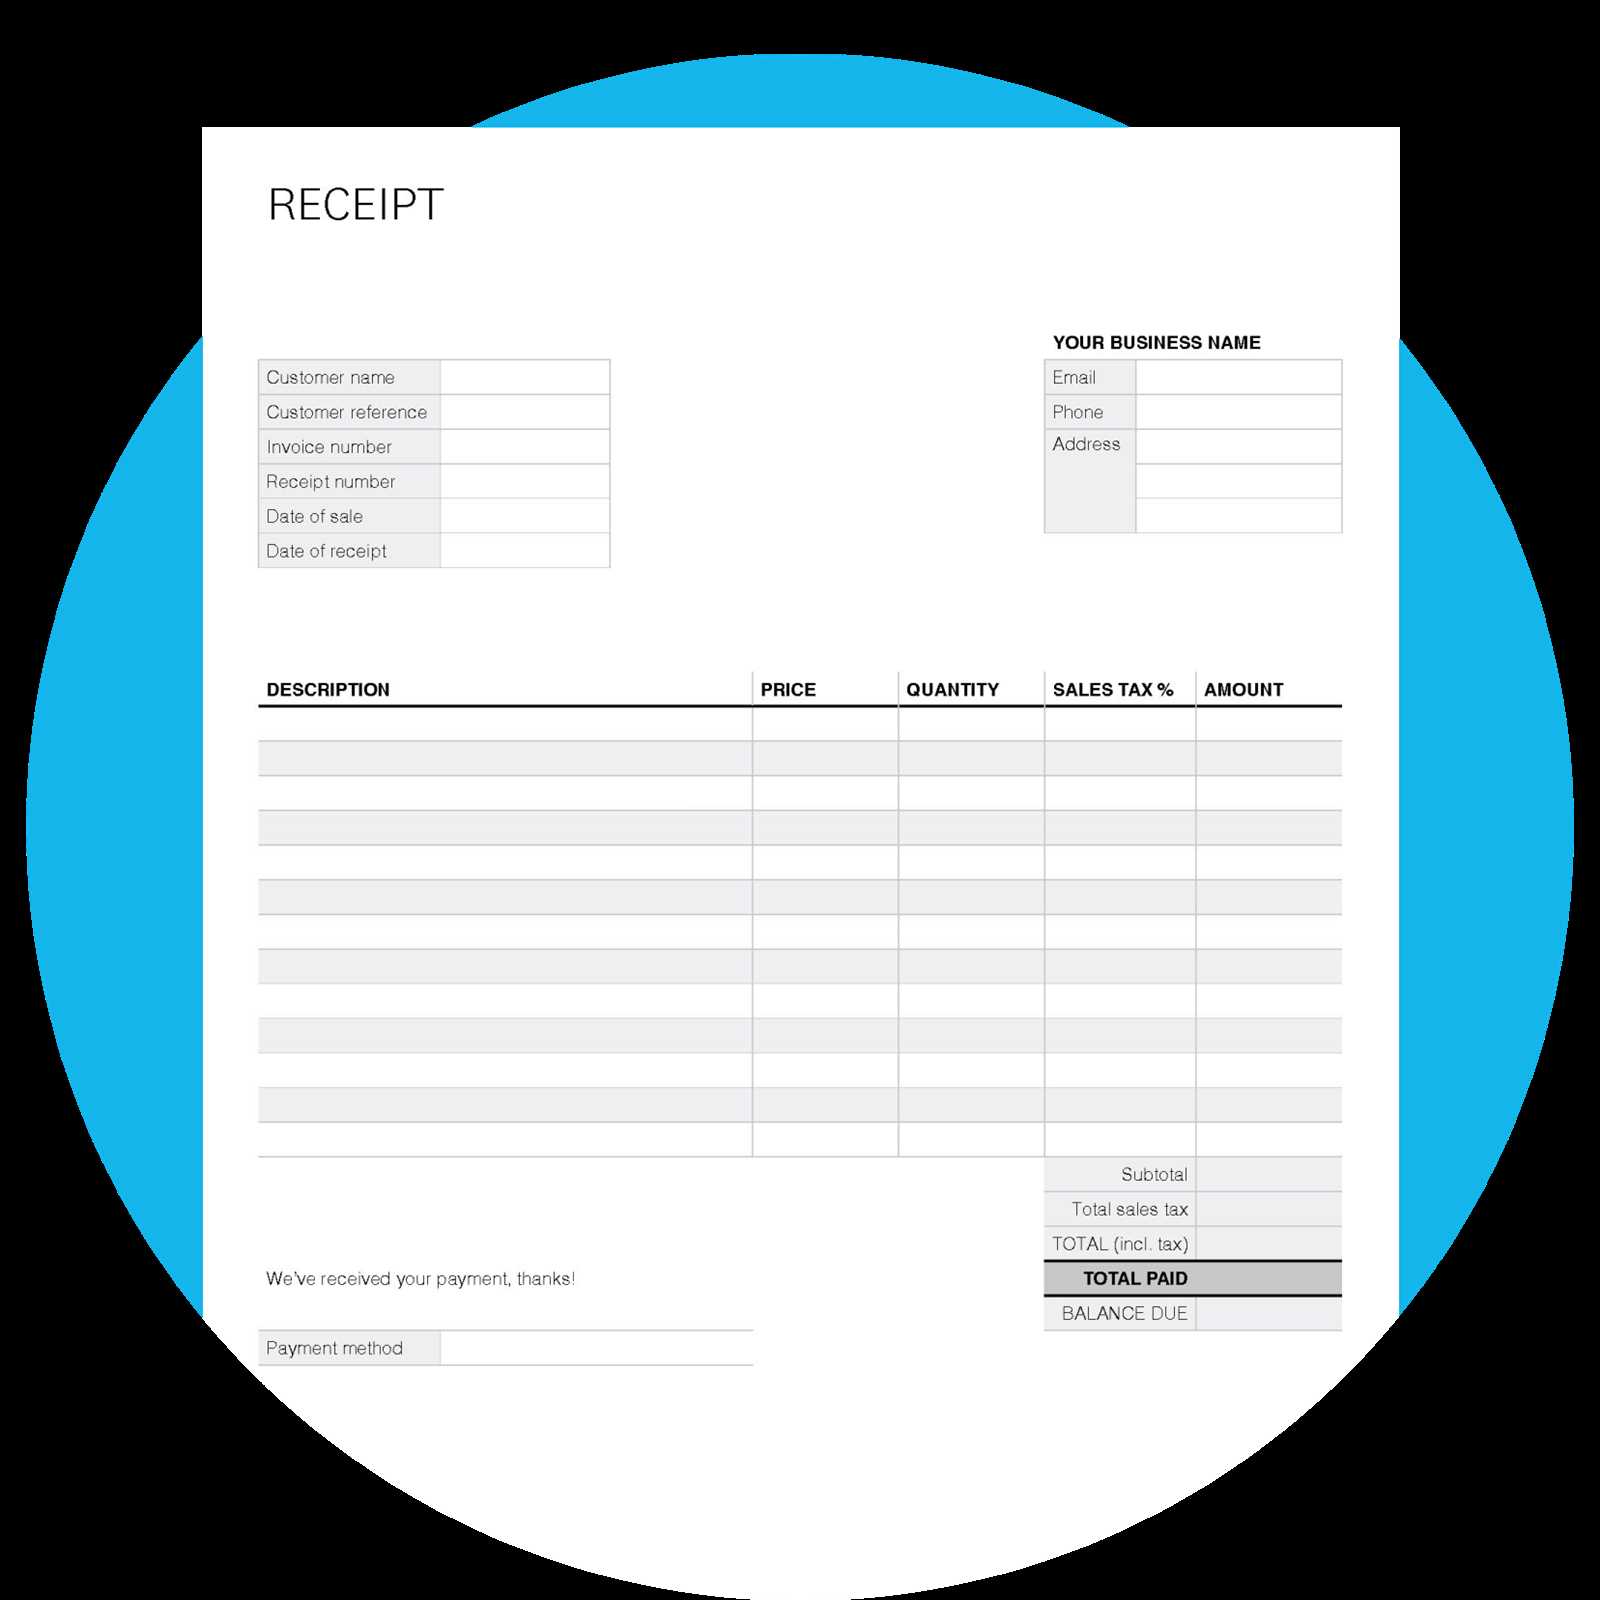
- Include customer support details, such as email and phone number, for inquiries.
- Provide links to your refund or return policy, as needed.
5. Clear Footer
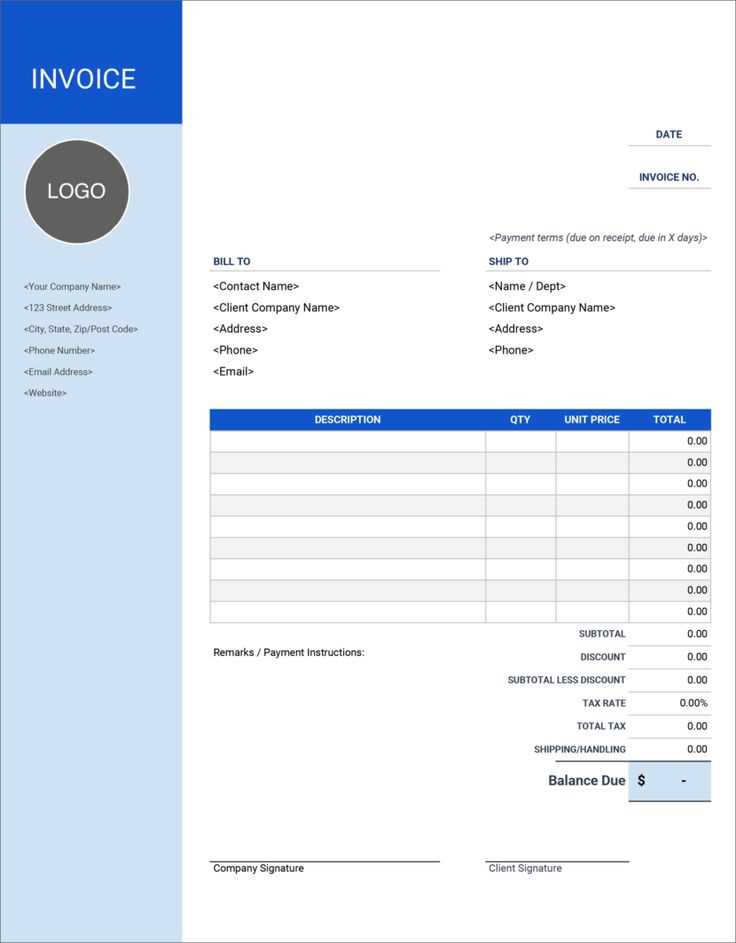
- Reiterate your business contact details, including physical address, if required for compliance.
- Ensure an easy way for customers to unsubscribe from marketing emails, if applicable.
Ensure the template is mobile-responsive and properly formatted for readability. Test it across multiple devices before use.
Stripe allows you to adjust the layout of your email receipts through a straightforward customization process. You can modify several key elements, such as the header, footer, and receipt details. Here’s how to approach it:
Header Customization: Use Stripe’s dashboard to upload your company’s logo. This adds a professional touch to the email receipt. Navigate to the “Branding” section under “Settings” and upload a logo that reflects your brand. Ensure the logo size fits well within the email layout to avoid distortion.
Footer Customization: You can add your business contact details, including email and phone number, in the footer. In the same “Branding” section, add any additional legal or privacy information that may need to appear at the bottom of the email. These elements can be configured for all receipts sent to customers.
Receipt Layout Adjustments: Stripe offers limited control over the receipt layout itself, but you can influence the display of certain data points. For example, you can customize what’s displayed in the “Item Description” field, such as product details or service information. Use the “Receipt Settings” to toggle visibility of taxes, discounts, and shipping information based on your business needs.
Custom Receipt Fields: Stripe allows you to include custom fields in your email receipts by leveraging the API. If you need additional information, such as order numbers or custom notes, these can be integrated into your receipts programmatically. Use the “metadata” feature in your Stripe API requests to attach extra details to each charge or payment.
Testing Your Customizations: Once you’ve made adjustments, test how the receipt looks by performing a test transaction. This ensures your customizations are displayed as expected before sending them to real customers. Regularly review and update your design as your business evolves.
The customization options are intentionally minimal to maintain consistency across Stripe receipts, but the flexibility through branding and additional fields can make a notable difference in customer experience.
| Customizable Element | Action |
|---|---|
| Logo | Upload via “Branding” section |
| Footer | Add contact info and legal text in “Branding” section |
| Receipt Information | Toggle visibility in “Receipt Settings” |
| Custom Fields | Use API’s metadata feature |
To provide clarity and transparency, include these specific payment details in your receipt:
Transaction Information
- Transaction ID: Ensure each payment has a unique identifier.
- Amount Paid: Display the full payment amount, including taxes, shipping, and discounts.
- Payment Method: Specify the method used (e.g., credit card, PayPal).
- Payment Status: Indicate if the payment was successful, pending, or failed.
Order and Customer Information
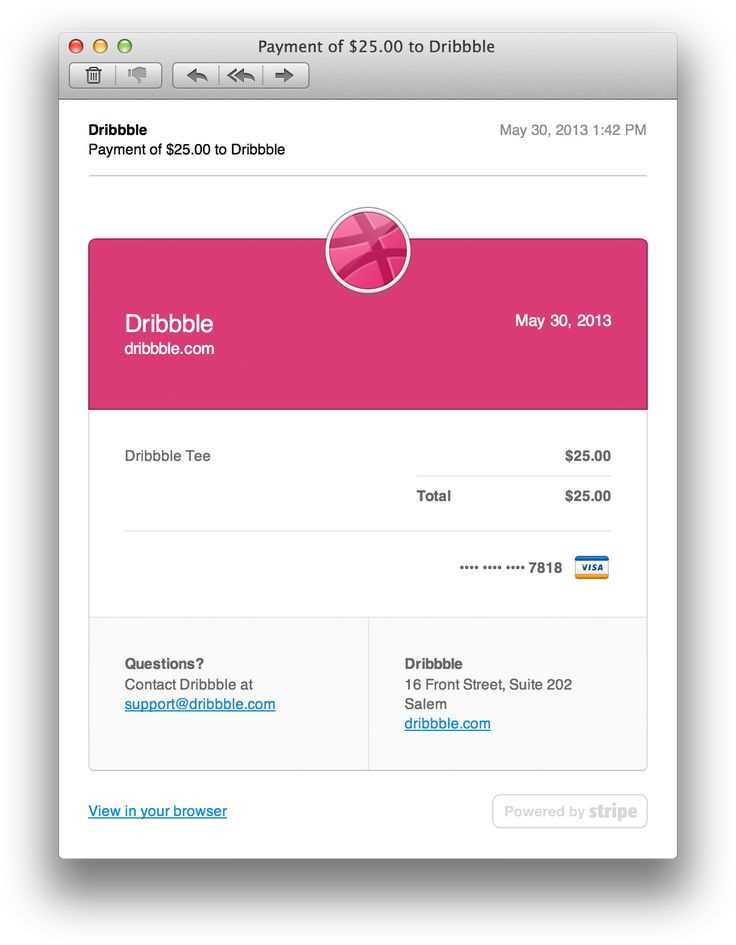
- Order Number: Include a reference number for tracking.
- Items Purchased: List the items, their prices, and quantities.
- Shipping Address: Include the recipient’s shipping information if applicable.
- Billing Address: Display the billing address associated with the payment.
Support and Contact
- Customer Support Contact: Provide a way for customers to reach out with any questions or issues.
Including these details ensures your customers have everything they need for tracking their payment, improving communication and satisfaction.
To automate the generation of email receipts for transactions in Stripe, integrate the Stripe API with your backend. Enable the receipt feature by configuring your Stripe account settings and ensuring that receipts are sent automatically after each transaction. This will save you time and improve the customer experience.
Setting Up Stripe for Automated Receipts
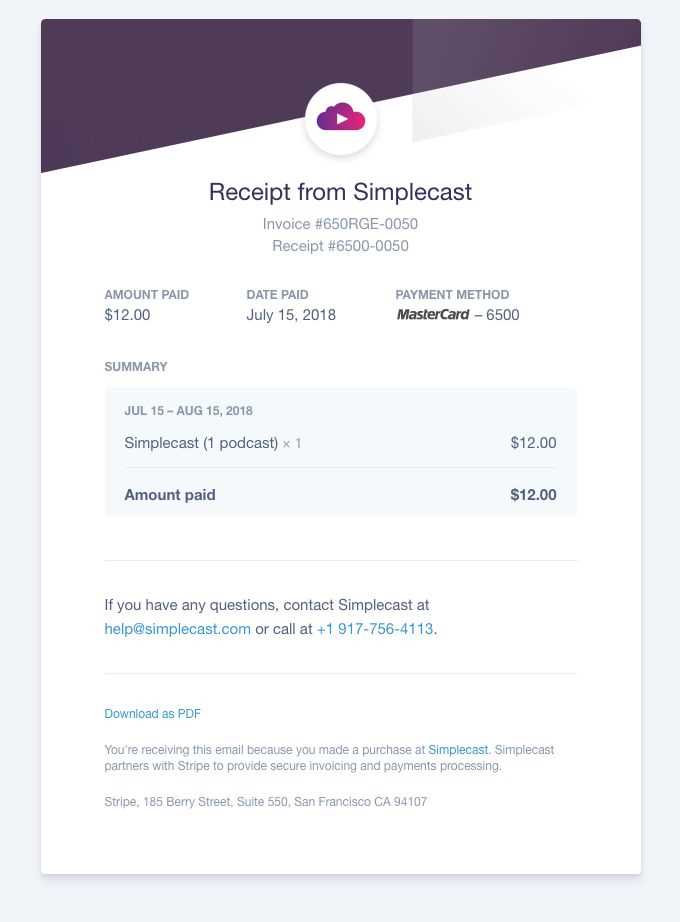
First, log into your Stripe dashboard and navigate to the ‘Email Receipts’ section under ‘Business Settings’. Here, enable the option to automatically send receipts for successful payments and refunds. This ensures that receipts are sent without requiring manual intervention for each transaction.
Customizing Email Receipts
Stripe allows you to customize the email receipt template through the dashboard. While basic customization options such as logo insertion and company information are available, you can also adjust the design and content of the emails using the Stripe API to fit your branding.
If you need specific details or changes that are not available in the default settings, use webhooks to trigger actions for more complex automation workflows. For instance, you can send additional emails or attach custom messages by subscribing to Stripe’s ‘invoice.payment_succeeded’ and ‘invoice.payment_failed’ events through your backend system.
By setting up automated email receipts, you streamline your process and ensure that your customers receive timely and consistent documentation for their transactions.
To ensure a clean and effective email receipt template for Stripe, ensure that you close the ordered list (</ol>) tag correctly at the end of the list. This helps avoid any HTML rendering issues in the email body. A misplaced or missing closing tag can break the structure and impact the display of the email.
Here’s an example of how the closing </ol> tag should be used:
- Item 1
- Item 2
- Item 3
After the list is complete, always close it with </ol> to maintain proper formatting:
- Item 1
- Item 2
- Item 3
Ensure the placement is at the correct spot to prevent unwanted layout issues. Testing the template in different email clients also ensures compatibility across platforms.
