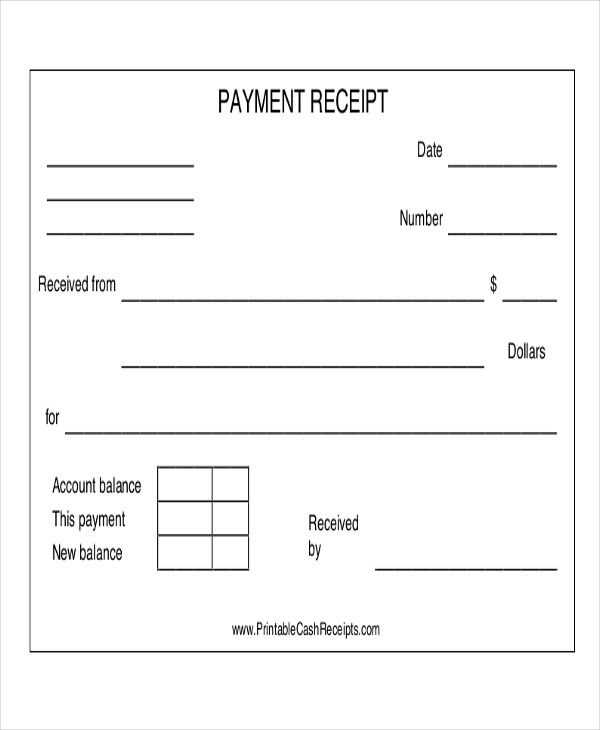
Creating an acknowledgment receipt template in Word saves time and provides a clear record of transactions. A simple format ensures all necessary details are included while remaining easy to use. When you design a receipt template, focus on including key information such as the date, item or service received, the quantity, and the name of the recipient.
Start with a header that identifies the document as an acknowledgment receipt, followed by a section for the recipient’s name and contact details. In the body, provide a description of the goods or services, their condition, and the total value. You should also add a space for the recipient’s signature and the date they received the item, confirming the transaction.
To make the process even smoother, consider adding a table for itemized entries, especially if multiple items are involved. This keeps everything organized and easily accessible for both the recipient and the issuer. Use bold text for important sections, like the total amount or the name of the party receiving the goods.
By keeping your template simple yet complete, you ensure clarity in every transaction. Adjust the template as needed for different situations, but always keep the format consistent to avoid confusion in future uses.
Acknowledgement Receipt Template Word
To create an acknowledgement receipt template in Word, follow these practical steps to ensure clarity and simplicity in the document layout.
Key Elements to Include
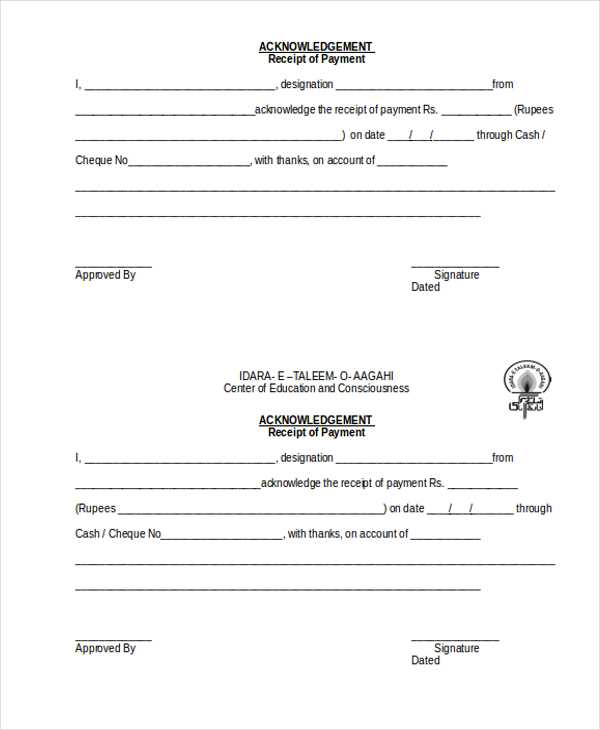
When drafting an acknowledgment receipt, make sure the following components are clearly stated:
- Date – The date the receipt is issued.
- Receipt Number – A unique number for record-keeping.
- Recipient’s Information – Name and contact details of the person receiving the item or service.
- Issuer’s Information – Name and contact details of the person or company issuing the receipt.
- Description of Items – Clear description of the items or services being acknowledged.
- Amount – Amount, if any, associated with the transaction (if applicable).
- Signature Line – Space for the recipient to sign, confirming receipt of the items/services.
How to Format in Word
Use simple formatting to keep the document easy to read. Follow these tips:
- Title Placement – Place the title “Acknowledgement Receipt” at the top, centered for clarity.
- Table Structure – Consider using a table for the recipient and issuer information to keep it neat and aligned.
- Clear Spacing – Leave enough space between sections for readability and to allow for easy filling of information.
- Use of Bold – Bold the key headings such as “Date,” “Description,” and “Amount” for emphasis.
Once the template is set up, save it as a reusable document to ensure consistency for future receipts.
- How to Create a Simple Receipt in Word
Open Microsoft Word and start with a blank document. Create a header with your business name or personal details, including address and contact information. Position it at the top of the page for easy identification.
Next, add the receipt title. Use a clear, bold font to label it “Receipt” or “Acknowledgement Receipt” so it’s immediately recognizable. Make sure the title stands out by increasing the font size.
Include the transaction details such as the date, receipt number, and payment method. Align these details to the left side or use a table for better organization.
List the items or services provided with their corresponding amounts. A table works well here for clarity–one column for the description and another for the price. Ensure you include the total at the bottom, calculated correctly.
Below the transaction, include a section for signatures. Leave space for both the issuer and recipient to sign, confirming the transaction details.
Finally, save the document as a template so it can be reused for future receipts. Use “Save As” and select “Word Template” from the options.
Adjusting your acknowledgment receipt template can significantly improve its clarity and relevance, depending on the specific use. For example, if you are acknowledging a payment, make sure to include fields like payment method, transaction ID, and date of payment. For goods receipt, adding columns for item descriptions, quantities, and serial numbers ensures both parties have a clear record of the transaction.
Adapting for Different Industries
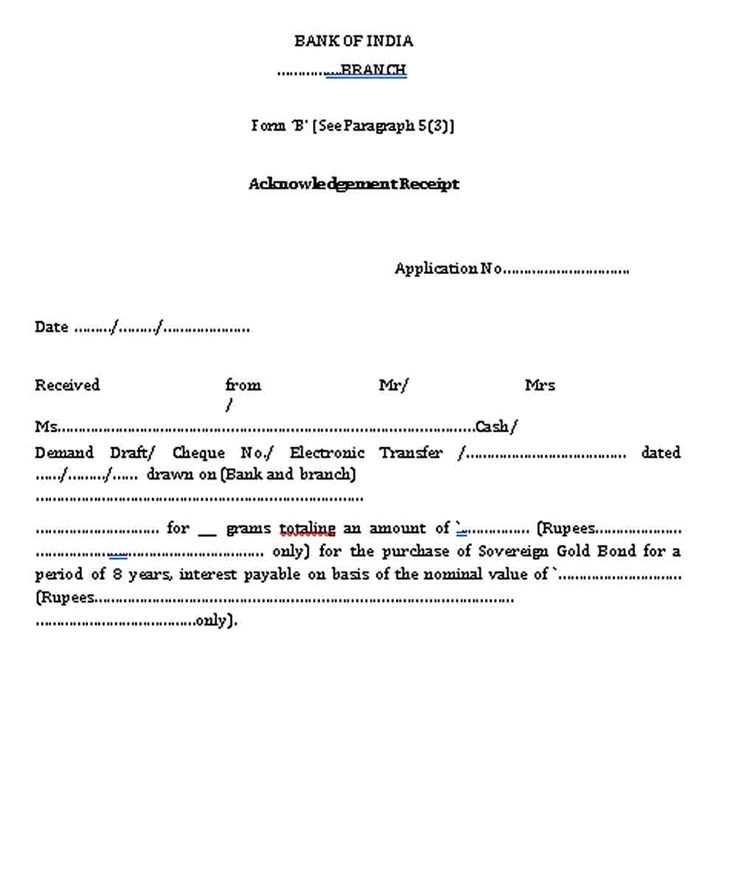
Templates should reflect the unique needs of each industry. In a retail setting, it’s crucial to highlight product details and return policies, while for a legal agreement, you may need a section to include signatures and witnesses. Modify the layout to accommodate essential information, making sure your template communicates clearly to both parties involved.
Adjusting for Formal or Informal Transactions
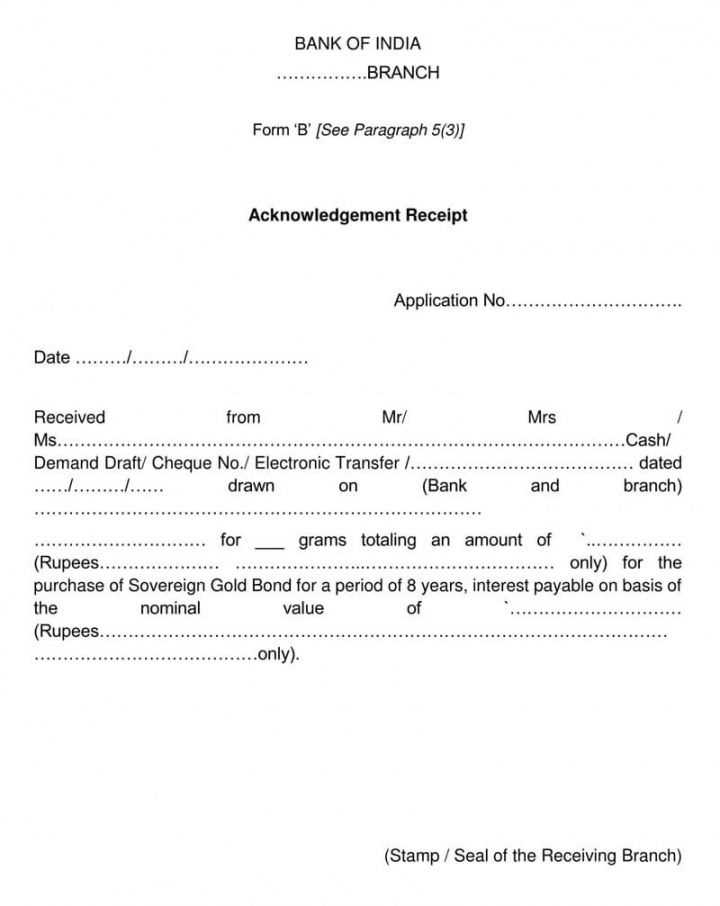
The tone of your template also varies based on the formality of the transaction. A corporate acknowledgment might require a more formal structure, including titles, company names, and official signatures. Conversely, informal exchanges like personal item receipts can benefit from a more straightforward and concise approach, focusing on the essential details without extra formalities.
To save a receipt template in Word, click on “File” in the top-left corner of the document. From the drop-down menu, select “Save As.” Choose the location on your computer or cloud storage, then name your file and select “Word Document” (.docx) as the file format. Click “Save” to store the document.
Sharing the Template
Sharing the template is straightforward. To email it, open the saved document, click “File,” then “Share.” You can either attach it directly to an email or select a cloud storage option such as OneDrive for easy sharing with others. Alternatively, you can use the “Copy Link” option for sharing via messaging apps or other platforms.
Using Cloud Storage for Easy Access
Cloud storage platforms, like Google Drive or OneDrive, offer a seamless way to access and share your receipt template across multiple devices. Upload your Word document to the cloud, then share the link with others or access the file from anywhere. This ensures the template is always available for editing or reuse.
Acknowledgement Receipt Template Tips
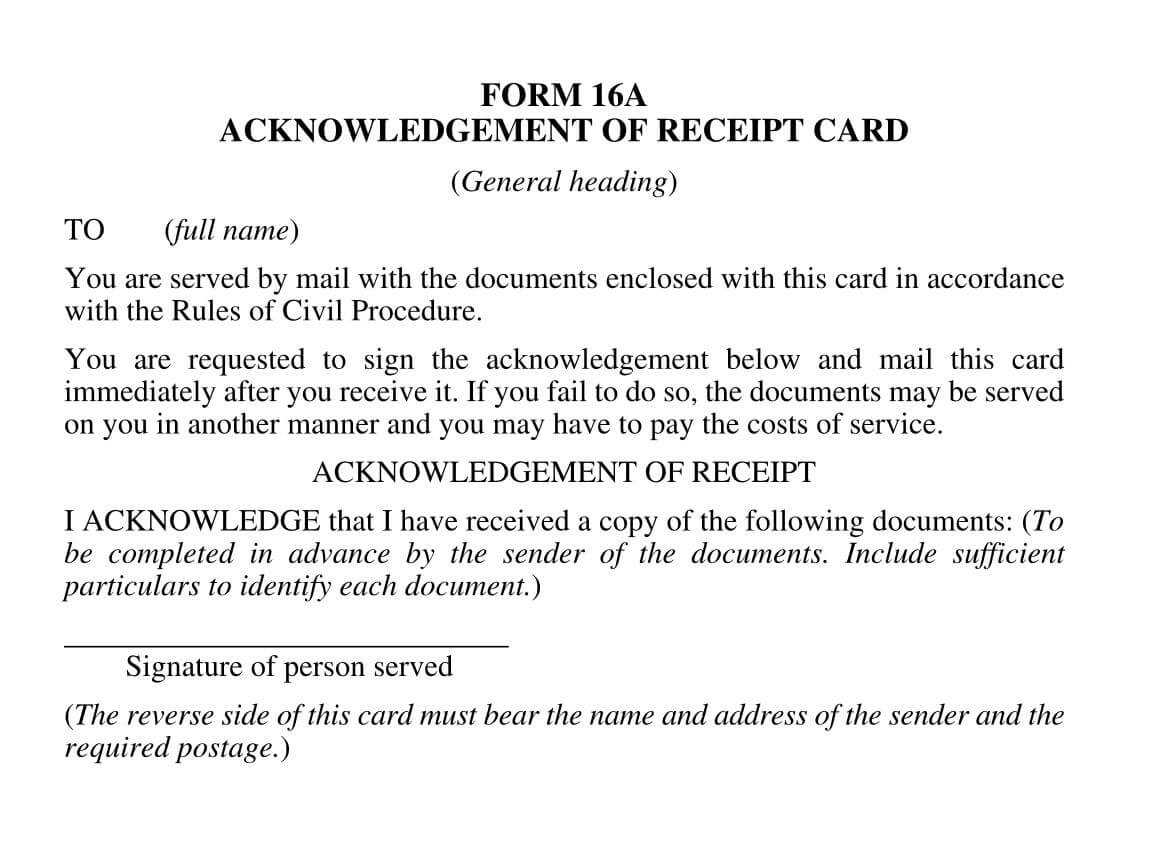
Use a clean and simple layout for an effective acknowledgment receipt. Begin by including the date of issuance, followed by the recipient’s name and contact details. List the items or services received with precise descriptions, and specify any amounts or values if necessary. Finish with a signature line where the recipient can confirm receipt.
Key Elements to Include
- Date of Issuance – Include the exact date to avoid confusion.
- Recipient’s Information – Full name and contact details should be listed clearly.
- Description of Items/Services – Provide a detailed description to ensure transparency.
- Amount/Value – Clearly state any amounts, whether monetary or in quantity.
- Recipient’s Signature – Include a space for the recipient to sign and acknowledge receipt.
Formatting Recommendations
Keep the receipt organized and easy to read by using a clean font and consistent spacing. Ensure that all sections are clearly defined with bold headings for each. This structure will help the recipient quickly understand and verify the information presented.


