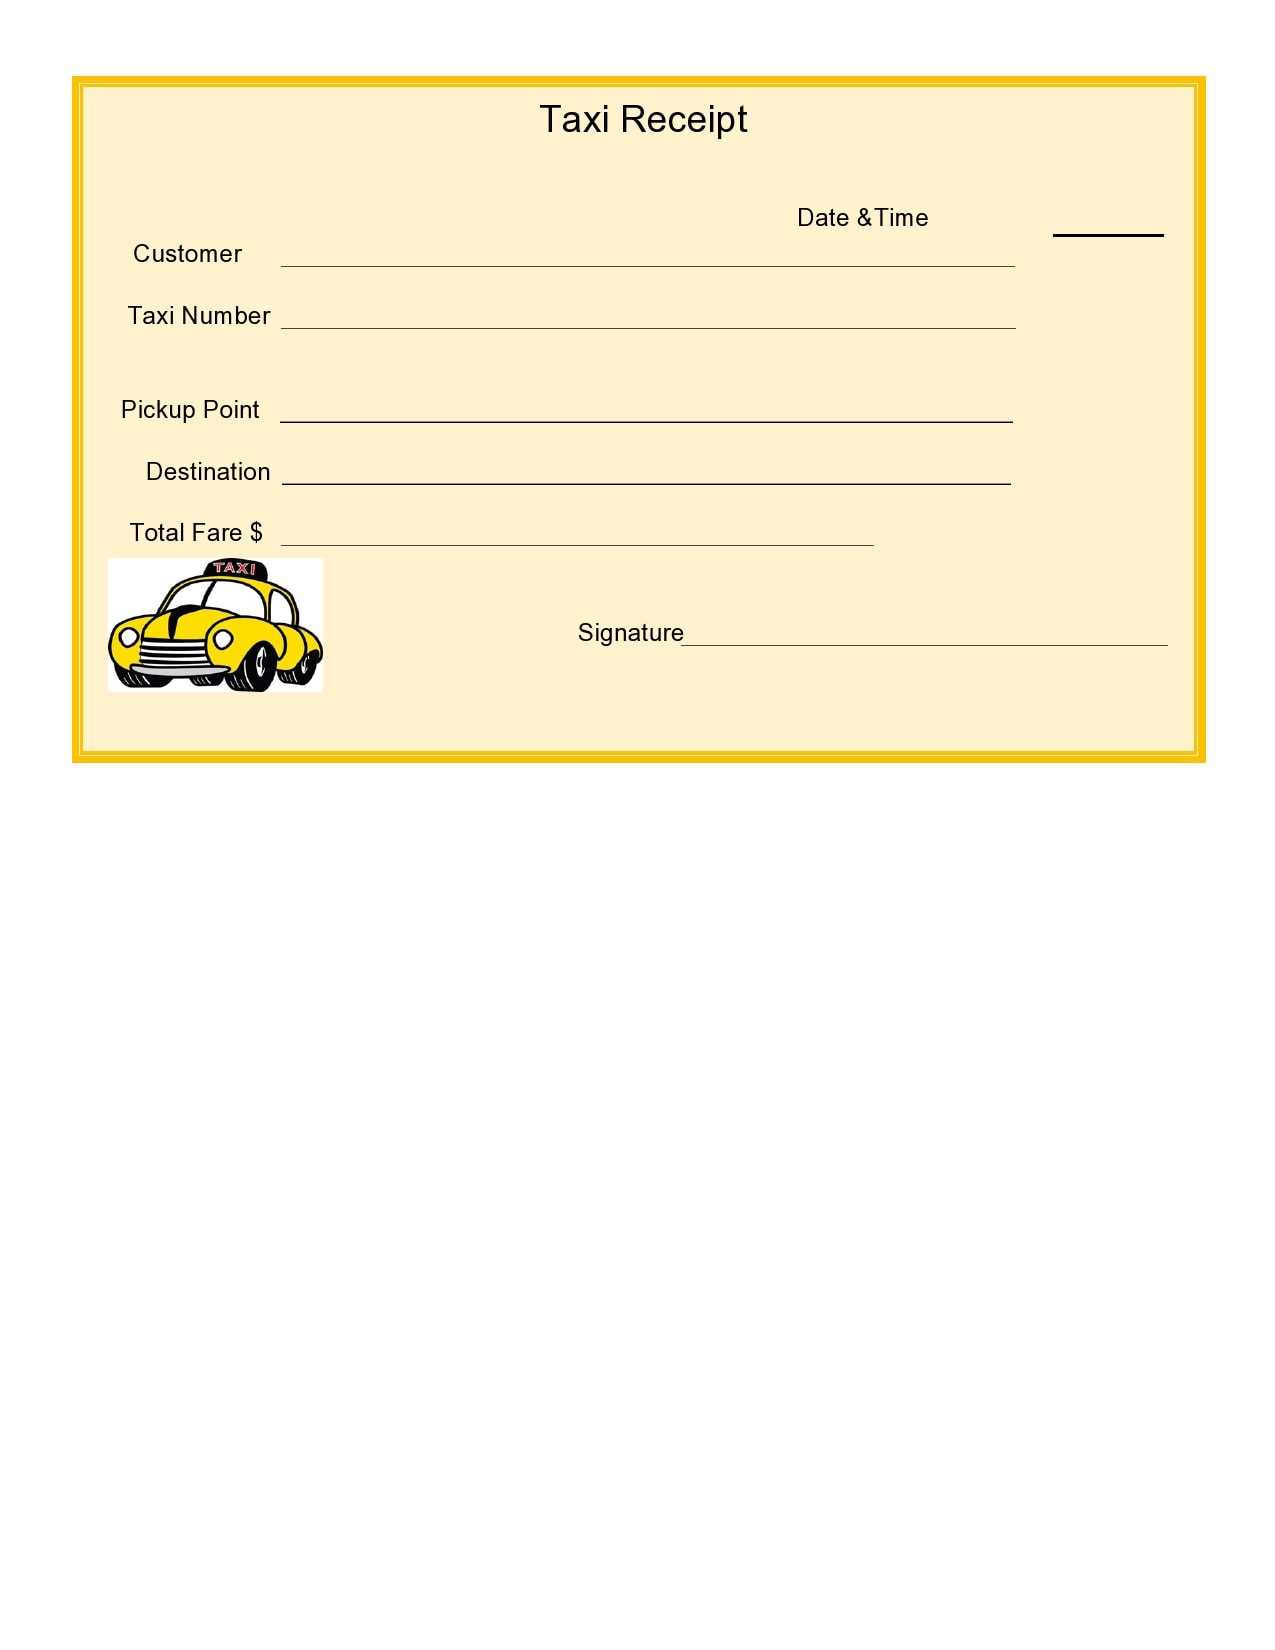
A blank itemized receipt template offers a quick and straightforward way to create detailed receipts for transactions. Whether you’re a small business owner or just need a simple receipt for personal use, having a template on hand saves time and ensures accuracy.
Start by including the necessary fields: date, buyer and seller details, a clear list of items or services, their prices, and total amounts. This transparency avoids confusion and provides a clear breakdown of the transaction.
With a clean layout, you can customize each template for specific needs. Some templates include space for tax rates, discounts, or additional fees, giving you flexibility while keeping the format organized and professional.
For ease of use, consider downloading a pre-designed template that suits your needs, or create your own in a word processor or spreadsheet application. Keep the template simple and free from clutter, focusing on the essential details that make the receipt clear and functional.
Here’s the improved version with minimal repetition:
To create a clean and easy-to-understand blank itemized receipt template, ensure you include key sections like date, item description, quantity, unit price, and total price. Each entry should have clear labels to avoid confusion. Keep item descriptions brief yet precise, with no redundant wording. Avoid unnecessary columns–only include those that add value to the receipt.
Organizing the Receipt

Arrange information logically. For example, place the total at the bottom for easy access, and break down each item with its corresponding cost next to it. Use consistent formatting throughout to enhance readability and minimize clutter. This structure ensures that anyone reviewing the receipt can find necessary details quickly.
Final Tips

Make sure the template is flexible. Allow space for potential discounts, taxes, and additional notes if needed. The cleaner the layout, the easier it is for users to interpret. Keep it simple and functional without adding redundant features that might overcomplicate the process.
- Blank Itemized Receipt Template
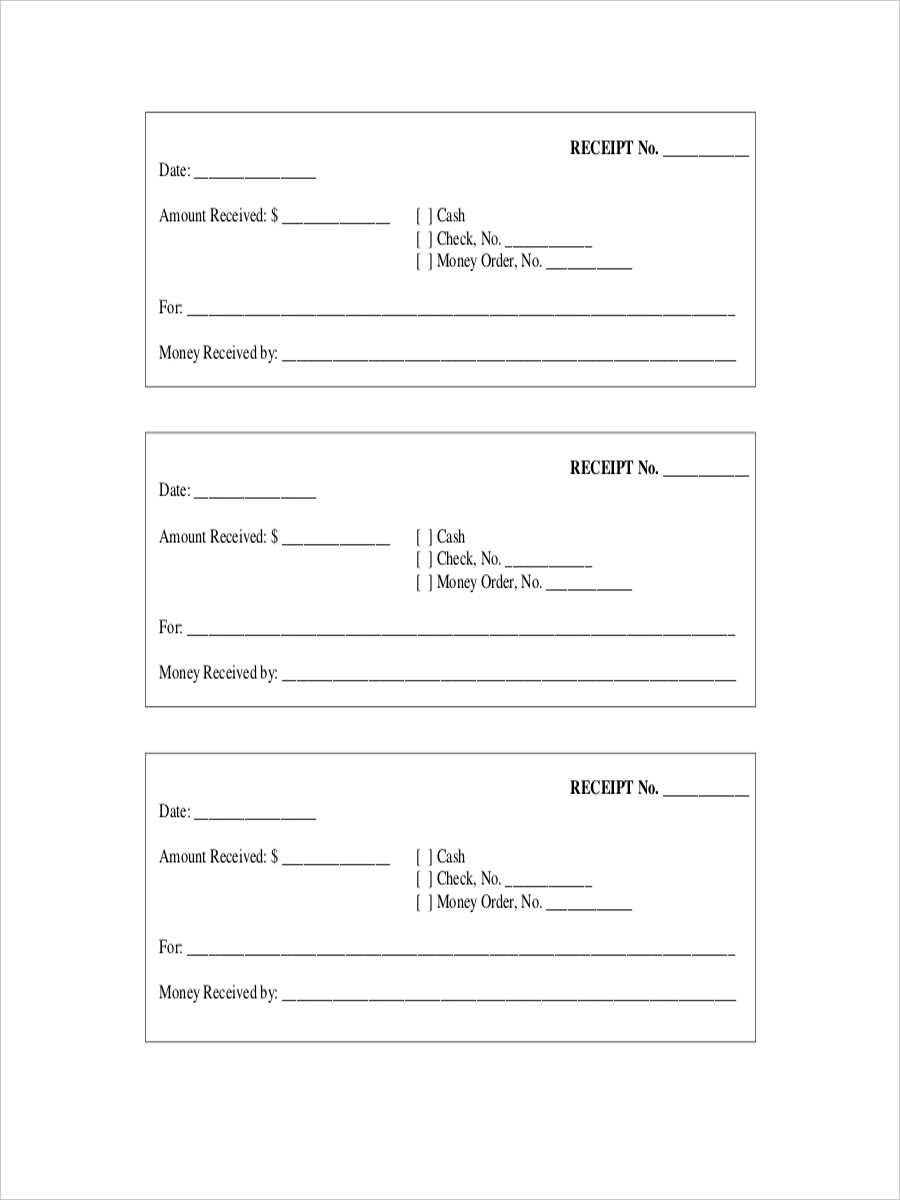
To create a blank itemized receipt template, ensure all necessary fields are included for both the seller and the buyer. These fields should capture transaction details in a clear and concise format. Start by providing space for the business name, address, and contact details at the top. Below that, include a section for the transaction date and receipt number for easy reference.
List each item in a table format with columns for item description, quantity, unit price, and total price. Ensure there is space for the subtotal, taxes, and any discounts applied. Add a final total section at the bottom for the grand total of the purchase.
Provide a space at the bottom for the buyer’s signature or acknowledgment of receipt. This adds a layer of verification to the transaction, making the receipt more formal. Be sure to leave room for payment method details, such as credit card or cash, if relevant.
Having all the necessary details in a well-organized template allows both parties to track transactions accurately. The receipt should be simple, with an easy-to-read layout that doesn’t include excessive details. The clearer the receipt, the easier it is for customers to verify purchases and for businesses to maintain organized records.
Create a blank receipt template by focusing on the key fields that make the document functional. Begin by defining the structure: a header section, transaction details, and a footer. Each section will contain relevant placeholders for easy customization.
Start with a header that includes placeholders for the business name, address, contact information, and the receipt number. This will identify the receipt and give the customer necessary details.
Next, create a table for the transaction details. This table should include columns like ‘Description of Items’, ‘Quantity’, ‘Unit Price’, and ‘Total’. Each row will correspond to an item purchased or a service rendered. The final row should sum up the total amount due.
| Description | Quantity | Unit Price | Total |
|---|---|---|---|
| [Item Description] | [Quantity] | [Unit Price] | [Total Price] |
| Total | [Total Amount] | ||
Finally, add a footer with space for additional details like payment method, terms, and signature if required. Leave room for custom notes or disclaimers that the business may wish to include.
Ensure that the layout is clear, with enough space between each section for readability. With this simple structure, the template can easily be modified or printed as needed for each transaction.
Each item listed on the receipt should include a clear description and quantity. The product or service should be named precisely, avoiding abbreviations that may confuse the buyer.
Ensure that unit prices are displayed next to the description of each item. This helps buyers verify the individual cost of each product or service before totals are calculated.
Incorporate the subtotal of all items before taxes. This separates the itemized costs from the additional charges, providing clarity on the final pricing.
Clearly list taxes applied to the subtotal. Include both the tax rate and the exact amount calculated, so customers can easily confirm the tax breakdown.
Include the total amount due, which reflects the subtotal and taxes combined. This should be prominent on the receipt for easy reference.
List payment method details, such as credit card type or cash payment. This confirms the mode of payment used for the transaction.
Provide the date and time of purchase. This helps both the customer and vendor track the transaction and confirm the timeline of the sale.
The receipt should feature the vendor’s contact details, including name, address, and phone number. This offers transparency and gives customers an easy way to reach the business for any issues.
Optionally, include any return or exchange policy to inform customers of their rights. Clear guidelines on how to return or exchange items can prevent confusion and disputes later.
A blank receipt template serves various practical purposes in both personal and business settings. It simplifies the process of documenting transactions without the need for complex software or printed forms.
Small Businesses: Small business owners often use blank receipt templates to quickly issue proof of purchase. This can be especially helpful for cash-based transactions or when a customer requests a receipt on the spot, but the system doesn’t automatically generate one.
Freelancers: Freelancers frequently need a customizable receipt template for client billing. By using a blank template, they can tailor the document to include relevant details such as services rendered, rates, and any applicable taxes or discounts.
Donations: Nonprofit organizations or individuals accepting donations may find a blank receipt template useful. It allows them to acknowledge contributions without a dedicated donation tracking system, making it easier to keep records for tax or auditing purposes.
Personal Transactions: For personal exchanges, such as selling items online or renting equipment, a blank receipt template can provide a simple yet professional way to confirm payment and item transfer between parties.
Event Management: Event planners or organizers use blank receipt templates to document ticket sales or vendor payments. This ensures accurate tracking of finances during events like conferences, trade shows, or fundraisers.
Warranty and Refund Documentation: A receipt template can also be helpful when issuing warranty information or processing returns and refunds. Providing customers with clear documentation helps avoid confusion in case of future claims.
Blank and Itemized: Maintaining Clarity in Your Receipt

When creating a blank itemized receipt template, it’s important to strike a balance between simplicity and functionality. Focus on clear categorization of the items and their respective prices without overcomplicating the layout.
Step 1: Template Structure
- Ensure that the layout is clean and offers ample space for item details.
- Divide the receipt into sections: seller information, buyer details, itemized list, and totals.
- Include a section for taxes and discounts, if applicable, for better organization.
Step 2: Itemization

- List each purchased item individually with its description, quantity, and price.
- Make sure each item is aligned for easy readability, ensuring consistency in formatting.
- For longer transactions, consider breaking the items into categories to avoid clutter.
This method not only ensures a readable template but also maintains transparency in all transactions.