If you are using QuickBooks and need to create a sales receipt, the default template is already set up to meet most business needs. This template includes key sections like the customer’s name, date of transaction, items sold, and the total amount, making it quick to generate and ready for use. Customizing it to fit specific business needs is simple, and can help streamline your sales process.
To get started, go to the Sales Receipt section and choose the default template from the available options. You can then modify fields such as item descriptions or pricing as required. Adjusting the layout is straightforward, and you can add your company logo, change fonts, or re-order sections with just a few clicks.
For businesses that need more specific data on their receipts, QuickBooks allows you to add custom fields. For example, you might want to include payment terms or notes about the transaction. These customizations allow you to make your receipts more informative, without complicating the process.
QuickBooks Default Sales Receipt Template
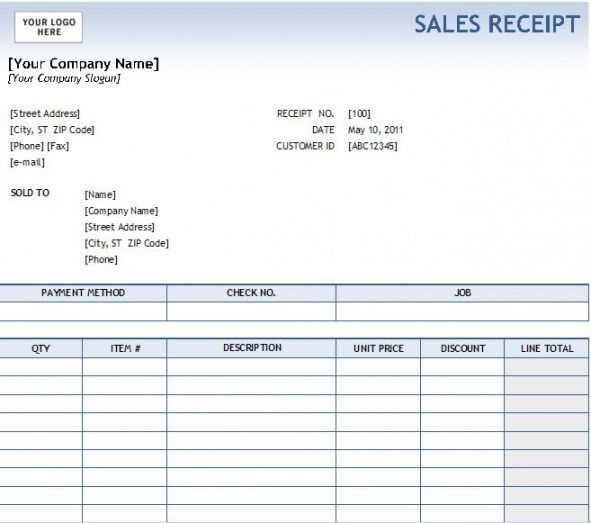
The QuickBooks default sales receipt template provides a clear and straightforward format for documenting sales transactions. It automatically includes fields for customer information, items purchased, quantities, and prices, allowing you to easily track sales. You can modify this template to suit your business needs, adjusting elements like logos, payment methods, and additional notes.
To make the most of this template, ensure that you customize the “Payment Method” section. This will let you quickly capture whether the sale was made via cash, credit, or other payment types. Additionally, take advantage of the “Item Details” section to add any relevant tax or discount information that applies to the sale.
If you want to add more branding to the receipt, consider inserting your business logo in the header section. This small adjustment enhances the professionalism of the document. You can also choose whether to include the full customer address, depending on the level of detail you wish to display.
QuickBooks allows you to save and print these receipts as PDFs, making it simple to send them to customers via email or store them for future reference. For consistency, set your template as the default, ensuring that every sales receipt generated follows your preferred format automatically.
Overall, customizing the QuickBooks default sales receipt template helps streamline your sales process and improves the accuracy of your records.
Customizing the Default Template for Your Business Needs

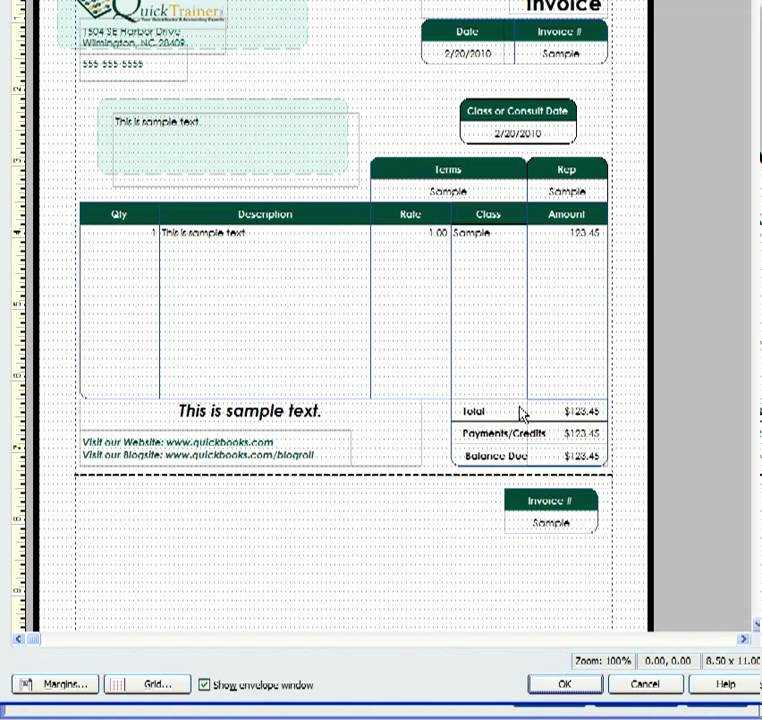
To tailor QuickBooks’ default sales receipt template for your business, begin by adjusting the layout to reflect your brand identity. Go to the “Custom Form Styles” section, then select “Edit” next to the default template. From here, you can modify the font, colors, and logos to align with your company’s design guidelines.
Next, focus on the fields that appear on the receipt. Depending on your business, you may need to add or remove specific details like terms, shipping information, or item descriptions. Customize the headers, footers, and body sections to ensure that the most relevant details are easy to spot for your customers.
If you need to adjust the size of certain elements, like line spacing or font size, these options are also available in the “Layout” section. Keep the design clean and readable by maintaining consistency across all receipts. Test the template by sending a sample receipt to yourself to ensure everything displays correctly before using it with customers.
For businesses that handle taxes differently, make sure the tax-related fields are set up accurately. You can add tax rates, exempt options, or specific tax descriptions to suit your operations. This step ensures that your receipts comply with local tax regulations without extra manual input.
Save your custom template once you’ve made these adjustments. Now, when you issue sales receipts, QuickBooks will automatically apply the changes, creating a personalized and professional experience for your customers every time.
How to Add Payment Methods and Taxes to the Sales Receipt

To customize your sales receipt in QuickBooks with payment methods and taxes, follow these straightforward steps.
Adding Payment Methods

1. Open your QuickBooks account and navigate to the “Sales Receipt” section.
2. In the payment section of the receipt, click on the dropdown menu labeled “Payment Method.”
3. Select the payment method, such as “Cash,” “Credit Card,” or “Bank Transfer.” If your payment method is not listed, click “Add New” to create a custom option.
4. After selecting the payment method, confirm the payment amount and move on to the next section.
Adding Taxes

1. In the same sales receipt screen, locate the “Tax” field. QuickBooks automatically applies sales tax based on your default settings, but you can customize this by clicking “Edit” next to the tax calculation.
2. If you need to adjust the tax rate, select the correct tax agency and tax rate from the available options. You can also add multiple tax types if required.
3. If no tax is required, uncheck the “Tax” box for that specific item. If tax applies to only certain items, be sure to adjust the tax settings for each item individually.
4. Once you’ve added or adjusted the tax rate, review the sales receipt for accuracy before saving or sending it to your customer.
By following these steps, you’ll ensure that payment methods and taxes are accurately reflected on your sales receipts. This minimizes errors and ensures proper accounting for your transactions.
Steps to Apply Discounts and Multiple Item Types on the Receipt

To apply a discount to an item, open the sales receipt and locate the item in the list. Click the “Discount” field next to the item, and enter the discount amount or percentage. QuickBooks will automatically adjust the price based on the input. If you’re applying a percentage discount, make sure to enter it with the ‘%’ symbol, e.g., 10%.
For multiple item types, select the “Add Item” button to add different products or services to the receipt. You can mix inventory items, non-inventory items, and services. Each item can have its own price, tax rate, and discount, which allows flexibility in creating accurate receipts.
For better clarity, ensure the description of each item is detailed and reflects the type of goods or services being provided. This helps both you and your customer understand the charges on the receipt.
If you’re offering a quantity discount, you can adjust the quantity field for specific items, and QuickBooks will automatically apply the discount to the total price based on the quantity entered. Be mindful of the total discount value to avoid confusion during finalization.
Once all items and discounts are added, review the receipt to confirm that all information is correct. Adjust the total if needed, and finalize the transaction. QuickBooks will automatically update the totals, including taxes and discounts, ensuring accurate pricing for the customer.


