Use this simple receipt invoice template to quickly create professional receipts for your business transactions. This template is customizable and easy to use, allowing you to include necessary details like the buyer’s information, product or service descriptions, pricing, and payment methods.

Start by filling in the recipient’s name, address, and contact information. Add the date of the transaction and a unique invoice number for tracking. Clearly list the items or services provided, specifying quantities, rates, and any applicable taxes or discounts.

For a smooth process, calculate the total amount due and ensure that payment details are clear, including payment method and terms. This template helps avoid confusion and ensures transparency in financial records for both you and your clients.
Here is the corrected version:
When creating a receipt invoice, ensure that the date, invoice number, and payment details are clearly stated. Include the full name of the business or individual issuing the invoice, along with contact information such as email or phone number. Add a list of items or services provided, each with its corresponding price. Ensure taxes are calculated properly and stated separately. Double-check the total amount to avoid any errors before finalizing the document.
Tip: Keep the layout clean and straightforward, focusing on readability. Use bullet points for itemized lists and bold for key sections like the total and payment due date.
- Receipt Invoice Template
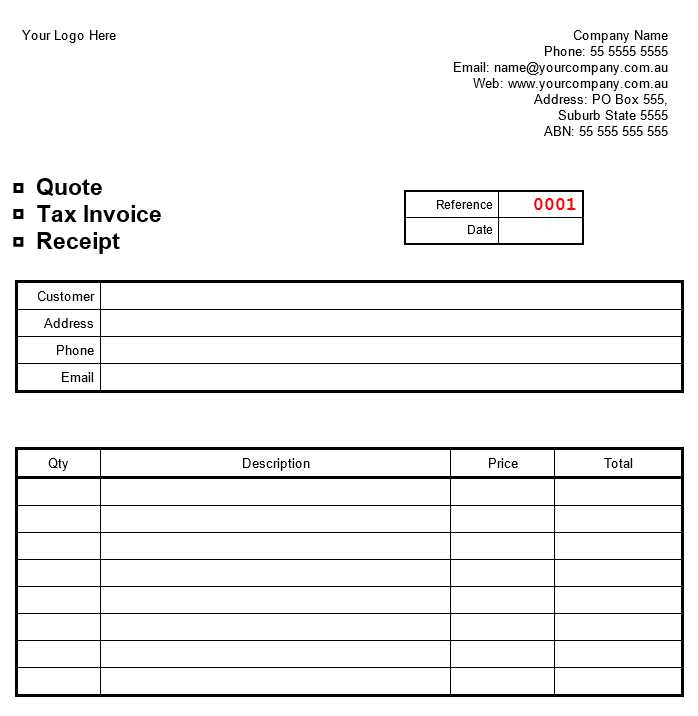
A well-structured receipt invoice template simplifies tracking transactions. Include the following key elements:
- Invoice Number: Assign a unique identifier for each transaction.
- Seller Information: List your business name, address, and contact details.
- Buyer Information: Include the buyer’s name, address, and contact details.
- Date of Transaction: Clearly state the date of the sale or service.
- Description of Products/Services: Provide a breakdown of items or services purchased, including quantity, price per unit, and total cost.
- Total Amount: Display the sum of all items/services, including any applicable taxes or discounts.
- Payment Method: Specify how payment was made (cash, credit card, etc.).
Here’s an example of how to format the details:
| Description | Quantity | Unit Price | Total |
|---|---|---|---|
| Product A | 2 | $10 | $20 |
| Service B | 1 | $30 | $30 |
| Total Amount | $50 | ||
Make sure the template is clear and easy to read. Adjust the layout to fit the needs of your business and the complexity of the transactions.
Begin by opening Excel and creating a blank workbook. First, set up the headers in the first row. In cell A1, type “Invoice Number,” in B1 “Date,” in C1 “Client Name,” in D1 “Description,” in E1 “Quantity,” in F1 “Unit Price,” and in G1 “Total.”
Next, adjust the width of the columns to fit the data. Click the letter at the top of each column and drag the boundary to resize. Now, enter sample data in the rows beneath your headers to make the template look complete, such as a client name, item description, and prices.
For calculations, use Excel’s formulas. In the “Total” column (G), type the formula =E2*F2 to calculate the total cost for each line item. Drag the formula down for the rest of the rows to automatically calculate the totals.
To make the template more professional, add borders and shading. Highlight the header row, right-click, and choose “Format Cells” to apply bold text and background color. You can also apply a grid to the entire invoice for better readability.
Finally, save the file as an Excel template (.xltx) for future use. You can now easily fill in the fields for each new invoice you create.
Adjust your receipt template to reflect your business’s specific needs and enhance customer experience. Focus on elements that directly relate to your industry and transaction types.
- Include Business Branding: Customize the receipt with your logo, business name, and contact information. This helps reinforce brand identity.
- Specify Product or Service Details: Tailor the line items to suit the products or services you offer. Use clear descriptions that your customers will recognize.
- Adjust Payment Information: Include necessary payment details such as transaction method, payment processor, or check number for better tracking.
- Tax Breakdown: Include tax rates specific to your location or product categories. Customize tax calculations to match local tax laws.
- Payment Terms: If your business offers installment payments or credit, clearly display due dates and amounts outstanding on the receipt.
These tailored elements can make your receipts more functional, professional, and aligned with your business operations.

Double-check the invoice date. Forgetting to update it can lead to confusion about payment terms, affecting the clarity of the transaction.
Avoid incomplete item descriptions. Each product or service should be clearly described with its quantity and price. This prevents misunderstandings and helps avoid disputes later.
Ensure accurate calculations. Miscalculating totals or tax rates can lead to overcharging or undercharging your clients, which could damage your reputation.
Don’t forget to include payment terms. Specify how and when the payment should be made, such as through bank transfer or credit card, to avoid delays or confusion.
Be mindful of your contact details. Make sure your name, business address, and phone number are clearly visible, so clients can reach out easily if needed.
Keep your invoice numbers sequential. Using random or repeated invoice numbers can create confusion, especially during tax time or when you need to track payments.
Ensure that the payment due date is reasonable. If it’s too soon or too far off, clients might struggle to pay on time, which can lead to late payments or misunderstandings.

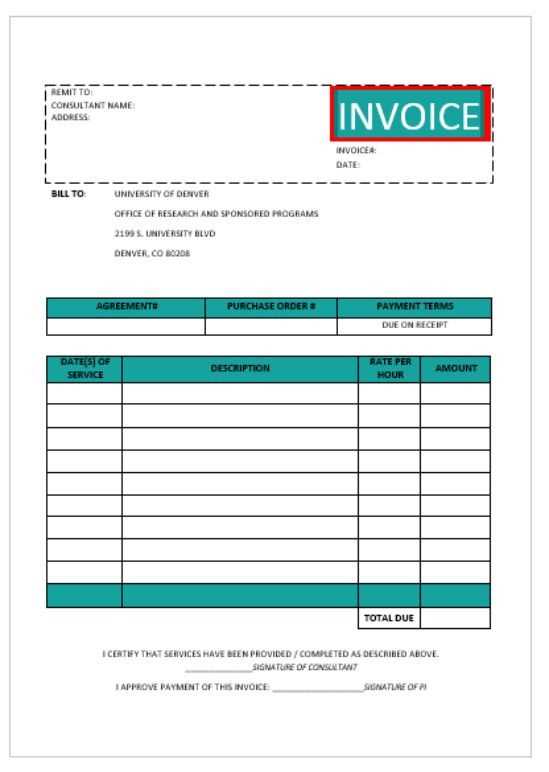
When designing an invoice receipt template, include a clear section for itemized details. This ensures both the buyer and seller have a precise record of the transaction. List the product or service name, quantity, unit price, and the total for each item. After that, summarize the subtotal, taxes, and the final total. Make sure to leave space for the payment method and terms of payment to avoid confusion later on.
Another useful section to add is a unique invoice number. This helps in tracking receipts and simplifies the record-keeping process. Also, incorporate the business’s contact information, including the address, phone number, and email. A section for customer details can be helpful too, especially in cases where refunds or customer inquiries are involved.
Lastly, consider adding a thank-you message or a note about return policies. This creates a more personalized experience while offering customers an opportunity to contact you in case of any issues.