Customize your Microsoft RMS receipt templates to fit your business needs with ease. Whether you are managing a retail store, restaurant, or any other business, adjusting receipt templates will help streamline transactions and enhance customer experience.
Start by selecting a template that aligns with your business model. Microsoft RMS provides a range of pre-built templates, but it’s often necessary to make minor adjustments for specific details such as store information, branding, and transaction summaries. Tailoring these aspects improves clarity for your customers.
Focus on including relevant data like tax calculations, discounts, and payment methods. By carefully selecting the items to display, your receipt templates become more intuitive and professional. Ensure the fonts, colors, and logos reflect your brand’s identity to reinforce recognition with every transaction.
Lastly, regularly check if the template layout fits well across different printers and screen sizes. This ensures that every receipt maintains readability and consistency, regardless of the device used to print it.
Microsoft RMS Receipt Templates

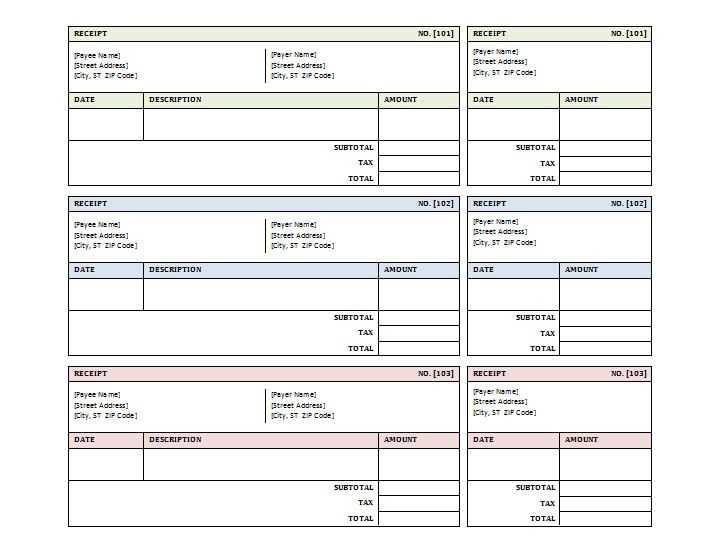
To create personalized and functional receipt templates in Microsoft RMS, focus on defining the layout and adding specific data fields that will streamline your transaction process. Customizing the receipt template ensures it meets your business needs, while also providing your customers with clear and professional documentation of their purchases.
Customizing the Template

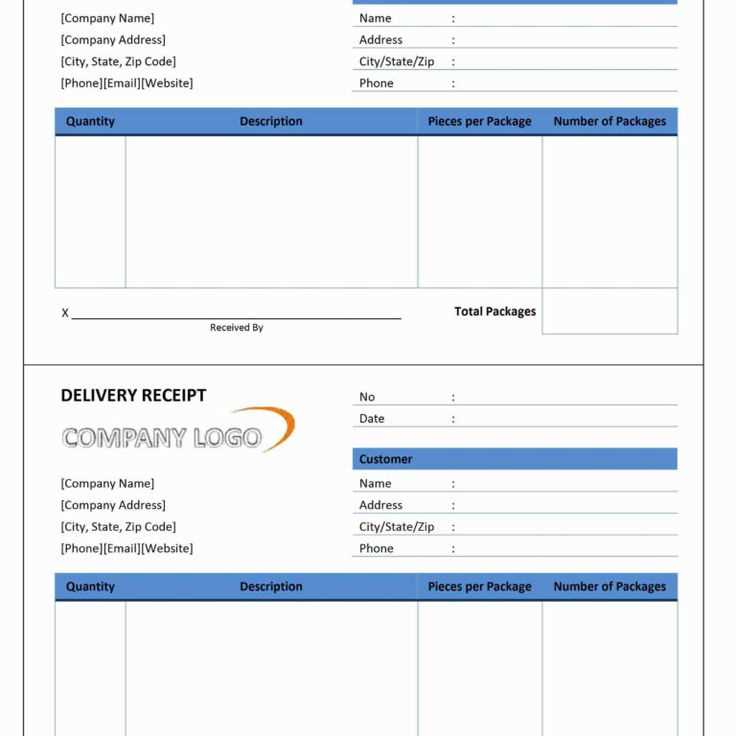
Start by adjusting the receipt template through the Microsoft RMS settings. Select a base template and modify it by incorporating your store’s logo, return policy, and any other custom text or legal information. You can also change fonts and colors to match your branding. Always test the receipt printout to verify that the adjustments align properly on paper.
Incorporating Dynamic Data

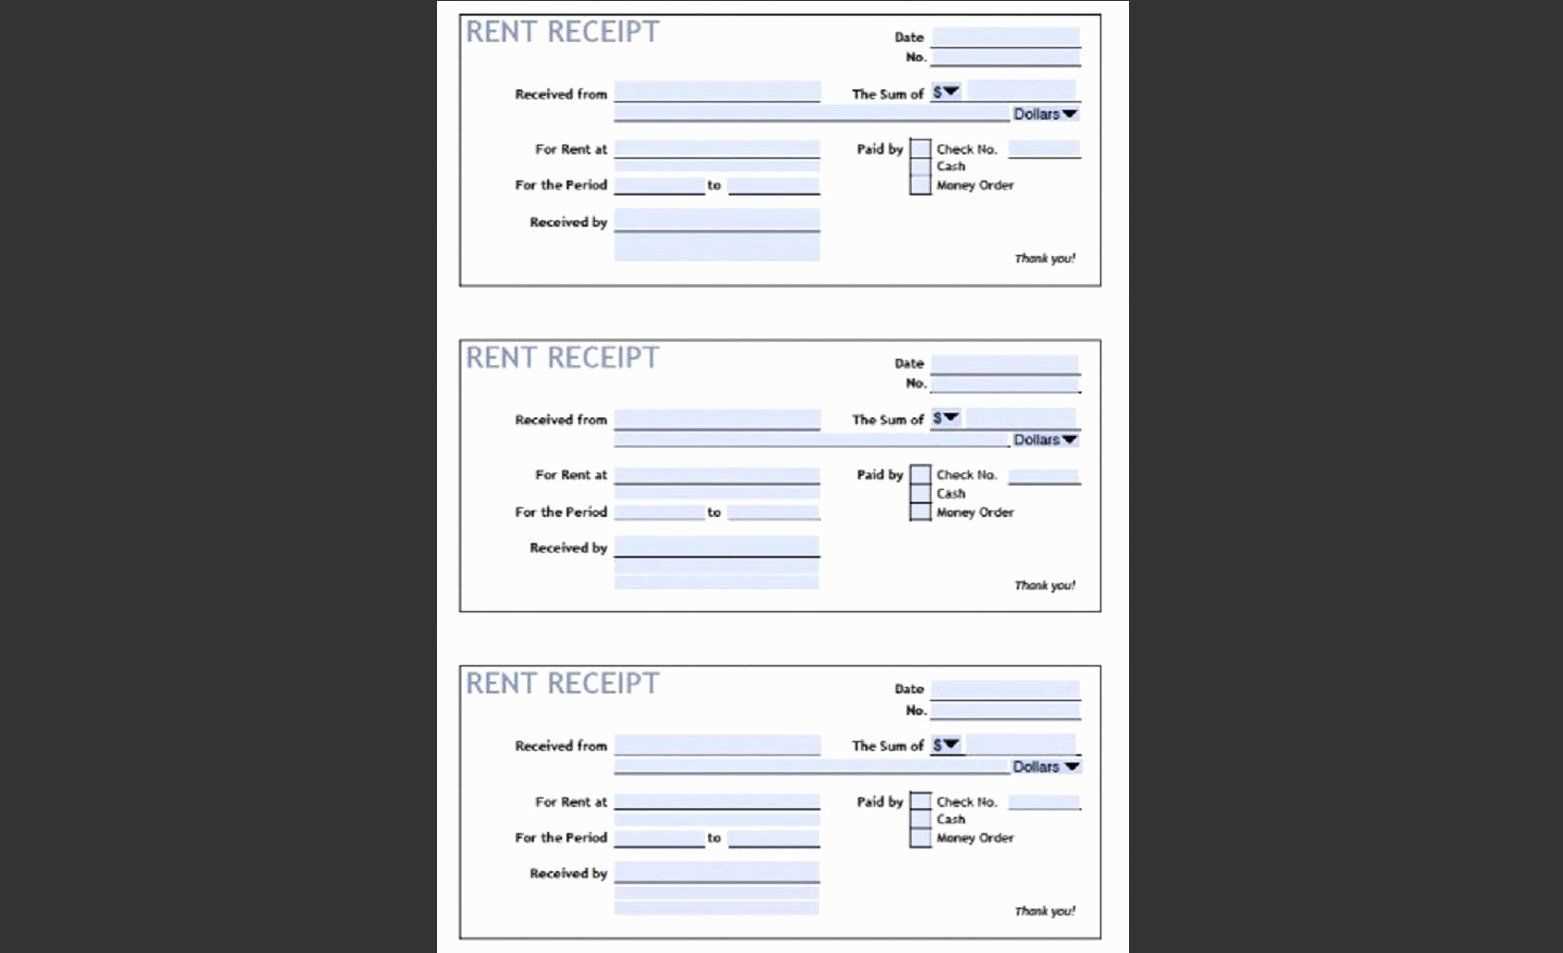
Microsoft RMS supports the insertion of dynamic fields like item names, quantities, prices, discounts, and totals. These fields automatically populate when transactions occur. To ensure your template is useful, include space for transaction details such as the cashier’s name, date, and store location. Make sure the total section is clearly marked for easy reading.
Customizing Layouts for Specific Retail Needs
Adjust your receipt layout to match the unique requirements of your retail business. Focus on the details that matter most to your customers, whether it’s adding custom fields for loyalty programs or tailoring the design for better product visibility.
Adjusting for Branding and Design
- Use your store’s colors and logo to create a cohesive visual identity across all receipts.
- Ensure the font type and size align with your brand’s tone for easy readability.
- Consider adding promotional messages or special offers directly on the receipt.
Adding Custom Fields
- Incorporate customer details such as membership number, total purchase points, or reward information.
- Include specific product details like size, color, or serial numbers for high-ticket items.
- Add any additional transaction-related information such as delivery options or payment method.
By focusing on these aspects, your receipts become more than just a transaction record; they enhance customer experience and reinforce your brand’s presence.
Integrating Logo and Brand Elements into Receipts
Include your logo prominently at the top of receipts. Position it near the company name to make sure it’s instantly visible. A clean, high-quality image ensures that the brand is recognized immediately. Use transparent background logos for a more seamless fit with the receipt’s design.
Incorporate brand colors into the text and borders. Align the color scheme with your brand guidelines to maintain consistency. For example, apply primary colors to headers, footers, or total amounts for immediate brand recognition. Avoid overwhelming the design–subtlety works best.
Fonts should align with the style used on your website and other business materials. Choose legible, professional fonts that mirror your company’s identity. Stick to one or two font types to keep the look clean and simple. This enhances readability without compromising visual appeal.
Consider adding a slogan or tagline, but only if it fits the layout without cluttering the space. A short, memorable phrase reinforces the brand’s message and reminds customers why they chose your product or service.
Don’t forget the importance of consistent placement. Keep logos and brand elements in the same spot on every receipt. This consistency builds brand recognition and gives receipts a polished, professional look.
Troubleshooting Common Receipt Template Issues
If the receipt template doesn’t display correctly, verify the template settings first. Double-check the data fields and ensure that each one is correctly mapped. Incorrect mapping can cause fields to appear blank or incorrectly populated.
Fixing Missing or Misaligned Text
Text that doesn’t align properly or disappears could be due to font size mismatches or template layout issues. Review the font settings for consistency and ensure that all text fields are within the allocated space. Adjust margins and padding to make room for text if necessary.
Addressing Incorrect Calculations or Totals

If calculations are wrong, check the formula configurations. Make sure that the calculation fields reference the correct data points. Validate that your template is using the appropriate currency and number formatting, as these settings can impact calculations.