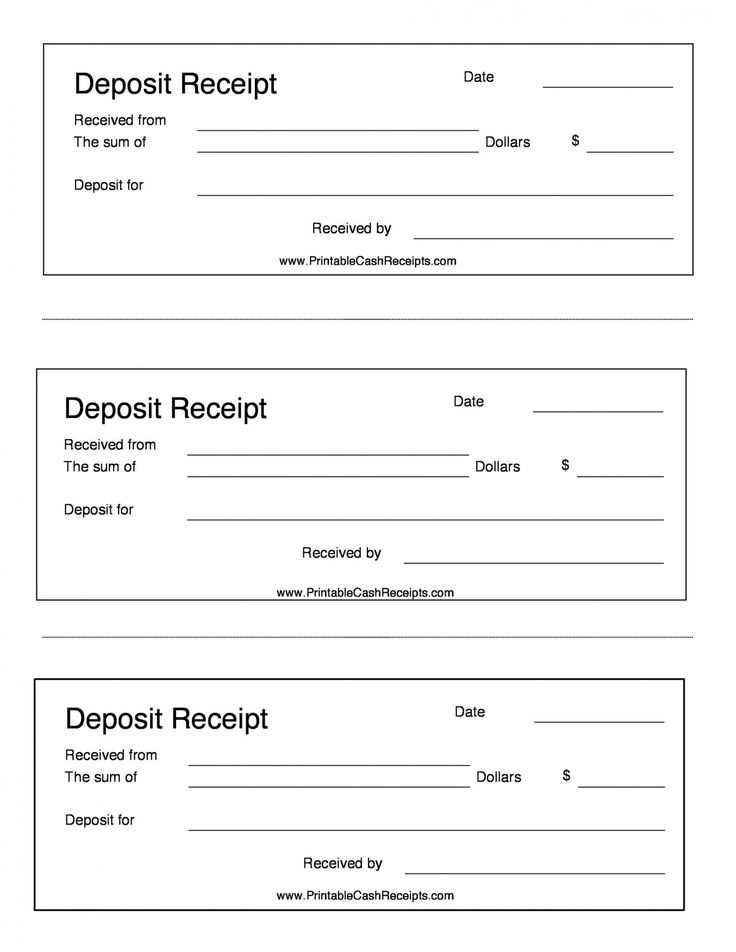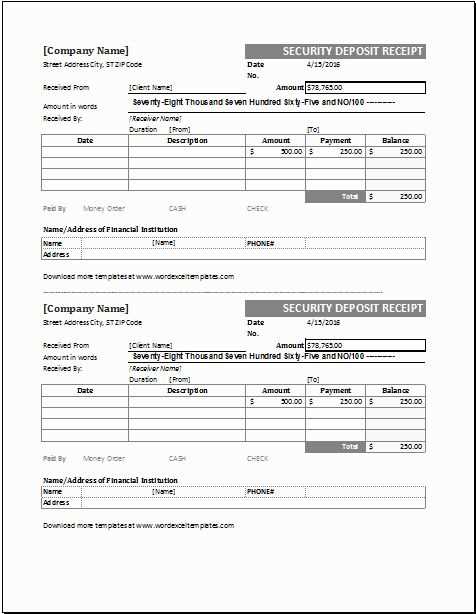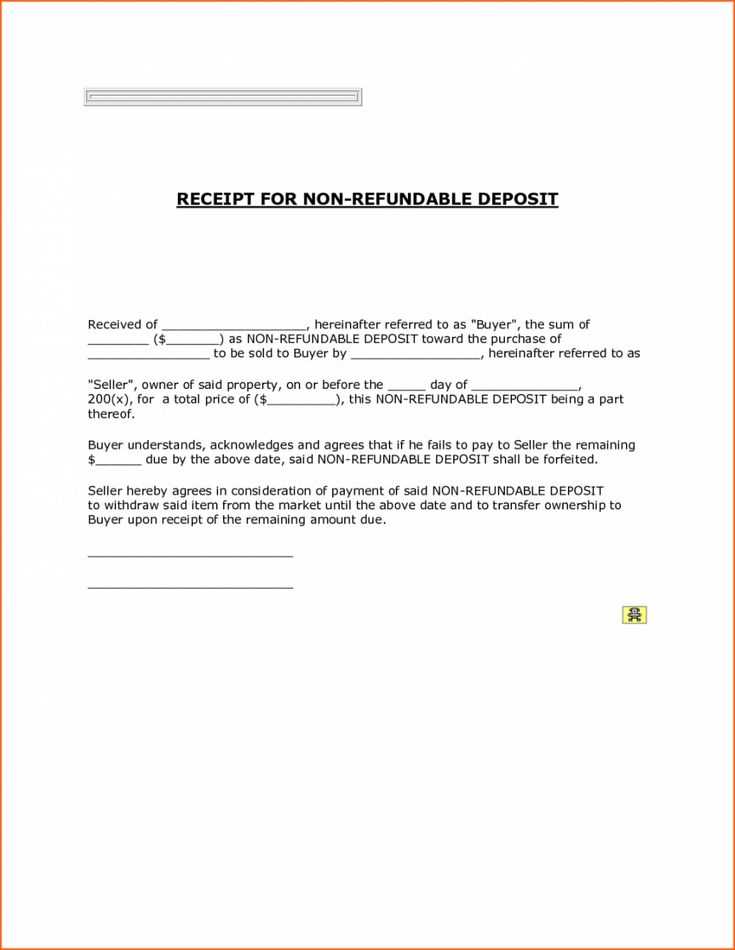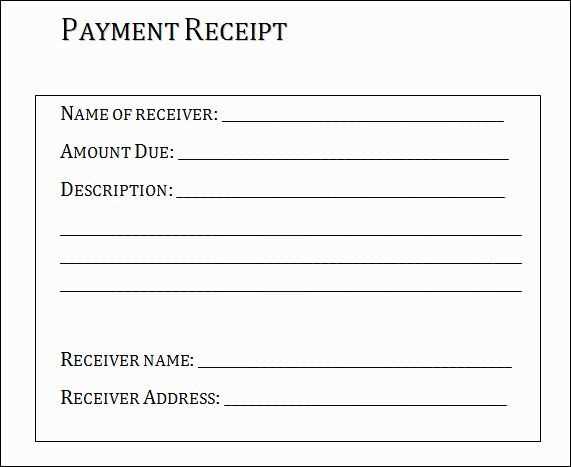
A clear and straightforward deposit payment receipt template ensures smooth transactions and effective record-keeping. Make sure your receipt includes the necessary details like the amount paid, payment method, and the recipient’s information. This template can be customized based on your needs while maintaining consistency in format.
The header should include your business name, logo, and contact information for easy identification. The body of the receipt should specify the deposit amount, date, and a breakdown of what the payment covers. For transparency, it’s also helpful to include the balance due, if applicable, and any relevant transaction IDs or references.
Use a concise and easy-to-understand layout that clearly separates different sections. This ensures that both parties have a clear understanding of the payment details. A well-organized receipt not only protects your interests but also builds trust with clients.
Deposit Payment Receipt Template

Use the following details when creating a deposit payment receipt template:
Basic Information

Include the payer’s name, the date of payment, and a unique receipt number. These details confirm the identity of the payer and the payment transaction.
Transaction Details
Clearly list the amount of the deposit, the purpose of the payment, and the method used (e.g., cash, check, bank transfer). Ensure the total matches the specified deposit amount to avoid confusion.
Incorporate a signature field for both parties. This provides confirmation that both sides agreed to the deposit terms and acknowledges the receipt of payment.
Finally, ensure there’s a statement clarifying any further actions required, such as pending balances or next steps in the transaction process.
How to Create a Custom Template for Deposit Payment Receipts
Designing a custom template for deposit payment receipts begins with choosing the necessary information to display. Start by including the following key elements:
- Receipt number
- Business name and contact details
- Customer name and contact details
- Deposit amount and payment method
- Date and time of payment
- Description of the transaction or service
Next, select a layout that suits your needs. Use clear, bold headings for each section. Group similar information, such as contact details and payment info, into distinct blocks for readability.
Choose a font style that is legible and professional. Avoid using more than two different fonts in the template to keep the design clean. Make sure the font size is consistent, except for headings, which should stand out.
Include a payment breakdown if applicable, such as taxes or additional fees. This can be presented in a simple list format or as a table to make it easy for both you and the customer to review.
Don’t forget to incorporate your business logo and any branding colors that reflect your company’s identity. This adds a personal touch and reinforces your brand’s presence.
Lastly, save your template in a format that can be easily reused, like a PDF or a Word document, for quick updates and edits. If you plan to use the template digitally, consider adding interactive fields where details can be entered automatically.
Key Information to Include in a Deposit Payment Receipt
Ensure the receipt includes the full name of the payer and the recipient, along with their contact details. This helps establish a clear record of both parties involved.
Clearly state the deposit amount, including the currency used. This avoids confusion about the payment’s value.
Include the date of the transaction to indicate when the deposit was made. This is especially useful for future reference or disputes.
Provide a detailed description of the service or product for which the deposit was made. This gives context to the transaction.
Include the payment method used (e.g., cash, credit card, bank transfer) to track the payment method and provide further clarity.
If applicable, mention any payment terms or conditions, such as balance due dates or refundable clauses, to prevent misunderstandings.
Make sure to assign a unique receipt number for easy reference in case the transaction needs to be verified or looked up later.
Finally, include a signature or digital verification to confirm that the receipt was issued by the recipient or their representative.
Formatting and Layout Tips for Clear and Professional Receipts

Keep your receipt layout clean and structured. Use a simple, easy-to-read font such as Arial or Helvetica, ensuring a balance between text and space. Avoid clutter by aligning information in a way that guides the eye naturally through the document.
Start with the most important details at the top, such as the business name, receipt number, and date. Use bold text for headings like “Amount Paid” or “Payment Method” to draw attention to key sections.
Group related information together. For instance, keep the itemized list of products or services separate from payment details. Each item should be clearly labeled with a description, quantity, and price. This ensures the customer can quickly verify the charges.
Use clear, well-defined columns to organize financial information. Align numbers to the right for easy comparison and to maintain a clean look. Consistency in spacing and alignment throughout the document helps maintain readability.
Consider adding a section for terms and conditions or return policies if relevant, but keep it brief. This should be placed at the bottom in smaller text, so it doesn’t overwhelm the core details.
Include a thank-you message or note of appreciation beneath the main information, leaving a personal touch while keeping it professional. The tone of your receipt should align with your business identity.


