If you’re looking for a simple and practical way to manage rent receipts, an Excel template can save you time and effort. Using a rent receipt template helps you keep a clear record of payments, ensuring transparency and organization for both landlords and tenants.
The UK rent receipt template in Excel format is designed to meet the specific needs of property owners and tenants in the UK. It includes essential fields such as the tenant’s name, payment date, amount paid, and property address. This template also allows for quick customization, making it a flexible tool for various rental agreements.
By tracking rent payments digitally, you reduce the risk of errors, and you can easily refer back to past transactions. The template also helps with tax documentation and financial management, ensuring you have a professional record when needed. With a straightforward layout, it’s user-friendly for both new and experienced landlords.
Here’s the corrected version:
For a simple and clean rent receipt template in Excel, follow these steps to make sure all necessary details are included. Start by creating clear sections for the tenant and landlord details, rental property address, payment amount, and payment date. Below is a sample structure you can use:
| Field | Description |
|---|---|
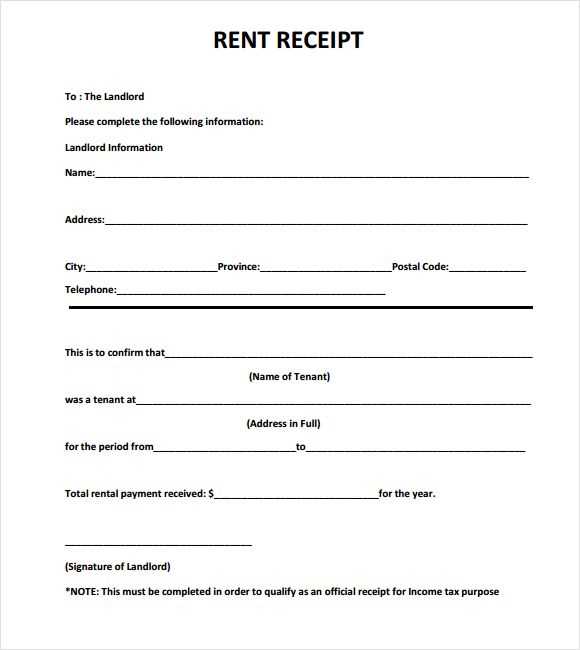
| Tenant Name | Enter the full name of the tenant. |
| Landlord Name | Enter the full name of the landlord. |
| Property Address | Provide the address of the rental property. |
| Payment Amount | Specify the rent amount paid for the given period. |
| Payment Date | Include the exact date when the rent payment was made. |
| Receipt Number | Assign a unique number to each receipt for record-keeping. |
| Signature | Include the landlord’s signature or a digital equivalent for verification. |
By keeping this format simple, you ensure clarity for both the tenant and landlord. The details above cover everything needed to make the receipt both accurate and legally sound in the UK. Adjust the layout as necessary, but ensure each field is easily readable and editable in Excel.
Rent Receipt Template UK Excel
For landlords in the UK, an Excel rent receipt template is a quick and easy way to document rent payments and ensure a smooth rental process. The template should include key information such as the tenant’s name, address, payment amount, and the payment date. Additionally, having space for the payment method (e.g., bank transfer or cheque) is a useful feature.
Use simple formulas in Excel to automatically calculate totals, such as monthly or yearly rent payments. This saves time and reduces errors. You can also create a running balance of rent payments, making it easier to track any outstanding amounts.
Ensure that the rent receipt template is customizable to accommodate various types of tenancy agreements. Including sections for deposit details or other charges can make the receipt more versatile for different rental arrangements. Finally, don’t forget to add a space for both landlord and tenant signatures, which ensures that both parties acknowledge the payment details.
To create a rent receipt in Excel, begin by setting up a clean, easy-to-read layout. Start with a header that includes your name or business name as the landlord, along with your contact details, such as phone number and address. Make sure these details are positioned clearly at the top for easy reference.
Step 1: Add the Tenant’s Information

In the next section, list the tenant’s full name, address of the rented property, and rental period. Specify the month or the specific dates the rent covers, as this will make the receipt more organized and clear. You may want to add the tenant’s contact information as well, if relevant.
Step 2: Record Rent Payment Details
Include a section for rent payment information. This should cover the total amount of rent paid, payment method (such as cash, bank transfer, or cheque), and any additional notes like late fees or early payment discounts. Ensure the date of payment is listed, along with a payment reference number if applicable. You can also include a space for your signature or stamp to verify the receipt.
Using Excel’s built-in table formatting tools can help you organize the data neatly. You can easily add columns for different payment details and adjust the width of columns to ensure everything fits properly. Once your layout is ready, save the template for future use, so you can quickly update it for each new payment.
Ensure your rent receipt includes clear details for both the tenant and the landlord’s records. Start with the tenant’s name, address, and the landlord’s contact information. This will help verify the transaction and identify both parties involved.
Amount Paid and Payment Period
Specify the total rent paid and the exact period covered by the payment (e.g., “for the month of February 2025”). Include the rent amount in both words and figures to avoid misunderstandings. If there are any additional charges, list those separately for transparency.
Payment Method
Indicate how the rent was paid, whether by cheque, bank transfer, cash, or another method. This helps confirm the transaction method and date. Always include any relevant transaction numbers or references for bank transfers.
Also, add the date the payment was made. This ensures clarity regarding the payment timeline. A brief statement about whether the payment was on time or late, if relevant, may also be included to avoid future disputes.
To tailor your rent receipt template to match the unique aspects of your rental agreement, focus on the key terms and specific conditions. Make sure that all essential information related to your agreement is included and formatted clearly. Below are some practical steps to guide you through customization:
1. Add Specific Payment Terms

- Clearly list the payment frequency (e.g., weekly, monthly, quarterly) as per the agreement.
- Include details about the rent due date and any late fee policies for delayed payments.
2. Incorporate Additional Charges
- List any extra charges such as utilities, maintenance fees, or parking fees.
- Specify whether these charges are included in the rent or if they are separate costs.
3. Include Rental Period Information

- Indicate the exact rental period covered by the receipt, including start and end dates.
- Adjust the template to reflect whether the rental period is short-term or long-term.
4. Highlight Security Deposits and Refunds

- Detail any security deposit amounts and refund conditions based on the rental agreement.
- Clarify whether any deductions from the deposit have been made for damages or cleaning costs.
By including these specific details, you ensure that your rent receipt aligns with the terms of the rental agreement and offers clear documentation for both the landlord and tenant.
Use Excel templates to create a clean and straightforward rent receipt. Start by entering key information: the landlord’s and tenant’s names, address, and payment details. Ensure the payment date, amount, and method are clearly visible. Make sure the receipt includes a unique reference number for tracking purposes.
For better organization, divide the template into sections, such as “Tenant Details,” “Payment Information,” and “Landlord Information.” Add drop-down lists for easy selection of payment methods (e.g., bank transfer, cheque, or cash). You can also include a column for the outstanding balance, helping both parties track payments more easily.
If you want to ensure consistency in formatting, lock certain cells (like the header row) so they cannot be accidentally edited. To make sure your template works for different time frames, add a section to calculate the rent for multiple months and show totals automatically using Excel’s SUM function.