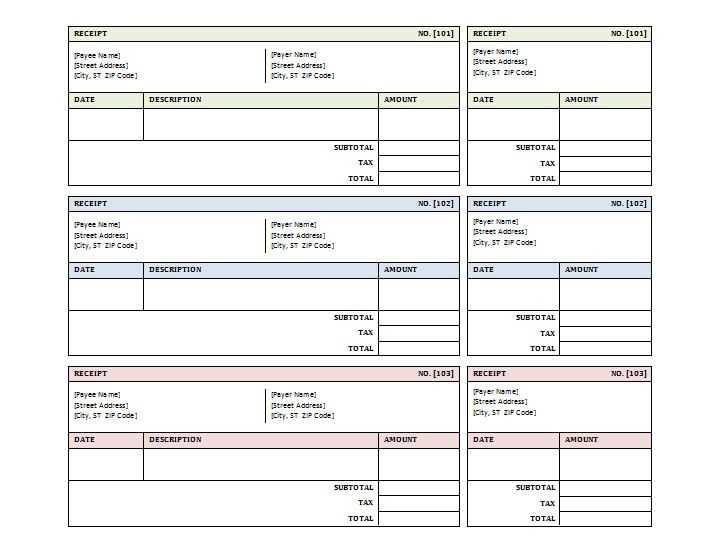
If you need to quickly generate professional-looking receipts, Microsoft provides a variety of online templates that can help you do just that. These templates are easy to customize, ensuring that you can create receipts that match your business’s branding or your personal style without hassle.
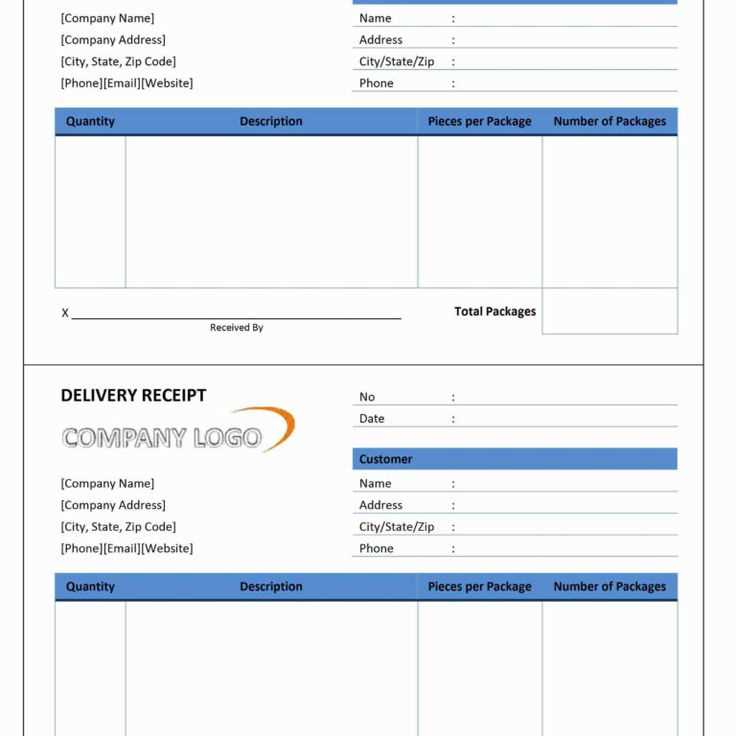
Accessing the templates is straightforward. Simply visit Microsoft Office’s official website or use Microsoft Word’s template gallery. You can choose from a range of receipt types, including basic purchase receipts, donation receipts, and invoices that resemble receipts. All templates are pre-designed, allowing you to focus on filling in the necessary details instead of formatting.
To make your receipt unique, adjust elements such as fonts, colors, and logos. Microsoft templates support a wide range of customization options. After making your changes, you can save the document for future use or print it directly from Word or Excel, depending on which template you select.
For added convenience, many of these templates include automatic calculations. For example, sales receipt templates can be set to compute totals based on the items you enter, streamlining your work. With Microsoft’s online tools, managing your receipts has never been simpler or faster.
Here’s the revised version with minimal repetitions:
To enhance readability and clarity, focus on structuring your content with concise headings and clear, direct points. Avoid redundancy by cutting out phrases that add no additional meaning. Instead of repeating similar concepts, consolidate related information into single, compact sections.
Organize Information by Categories

Group similar data under relevant categories. This approach helps reduce repetition and makes the content more digestible. For instance, rather than listing multiple examples of online templates separately, combine them into one detailed paragraph with bullet points outlining key attributes of each template type.
Use Precise Language

Stick to straightforward language and avoid over-explaining. Instead of restating obvious facts, focus on providing value through clear explanations. If a concept has already been introduced, don’t reintroduce it–refer back to it briefly if needed.
By refining your structure and language, you’ll keep the focus on what matters most while maintaining a smooth flow of information.
- Microsoft Online Templates for Receipts
To simplify receipt creation, Microsoft offers a variety of templates that are both easy to use and customizable. These templates are available through Microsoft Office applications like Word and Excel, providing flexibility in layout and design to suit different business needs. Templates allow for quick data entry, reducing the effort required to manually design a receipt from scratch.
How to Access Receipt Templates
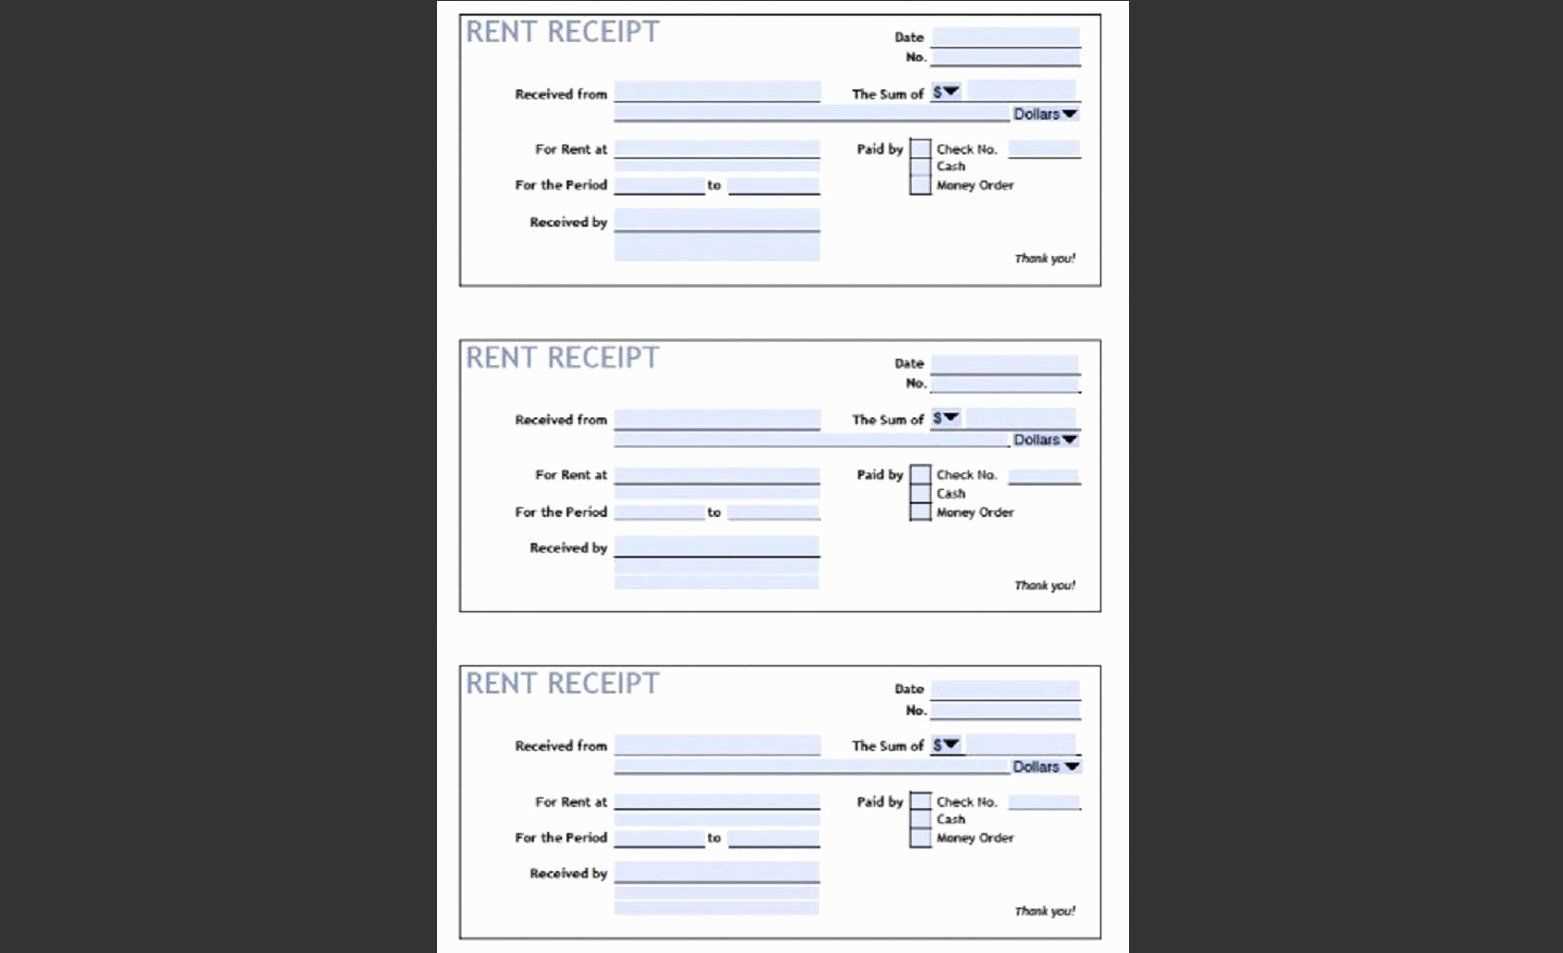
Access templates directly from Microsoft Word or Excel by navigating to the “File” tab, selecting “New,” and then searching for “receipt” in the template search bar. You will find options ranging from simple receipts for small businesses to more complex templates for specific industries. These templates often include placeholders for transaction details like dates, amounts, and payment methods, helping to ensure all relevant information is captured.
Customizing Your Template

Once you select a template, you can easily adjust fonts, colors, and layout to match your brand’s style. For businesses that require additional fields, Excel templates allow for easy expansion, enabling you to add custom columns or rows. Word templates are also customizable with pre-set formatting, so you can focus on entering the transaction data without worrying about the design.
Adjust the template’s text fields to include your business name, address, phone number, and email. Highlight these elements in the template and replace placeholder text with your information.
Customize the currency format to match your region by accessing the template’s settings. In Microsoft templates, this can typically be done through the “Insert” tab and modifying the currency symbol and number formatting.
Modify the itemized list to match the products or services you offer. Adjust the columns for description, quantity, price, and total. If needed, add or remove columns to reflect specific needs for your receipts.
To streamline the receipt, set up a predefined tax rate. Insert a formula into the template to automatically calculate taxes based on the subtotal, adjusting for your local tax rate.
For a personalized touch, add your company logo at the top of the receipt. Most templates allow you to insert images, so uploading a logo file from your computer is quick and easy.
Lastly, ensure the template’s layout is consistent with your branding. Modify font styles, colors, and borders to match your business’s design, ensuring the receipt aligns with your brand identity.
Open the receipt template in Microsoft Word. Once it loads, locate the fields that need customization. These are typically highlighted or labeled for easy identification.
Click on the text you want to modify. Replace placeholder information, such as the company name, address, or contact details, with your own. Use bold or italics to emphasize key elements like totals or dates, if necessary.
Adjust font size and style as needed to match your branding or personal preference. To modify the format, highlight the text, right-click, and select the Font option from the menu.
If you need to change the layout, access the Page Layout tab. Here, you can alter the page size, margins, or orientation to fit your needs.
For adding or editing tables, click inside the table and use the Table Tools tab. You can add new rows, columns, or modify cell properties such as alignment and borders.
Once edits are complete, save the template as a new file. Click File, then Save As, and choose your desired file format, such as .docx or .pdf, for easy sharing.
Review the document carefully to ensure all fields are updated and formatted correctly before finalizing it.
To streamline expense tracking, connect online templates directly with Microsoft Excel. This allows seamless updates to financial records and simplifies monitoring of your spending. Here’s how to integrate them efficiently:
1. Choose the right template: Find an online template tailored for expense management, such as those designed for personal finance or small businesses. These templates often come with pre-built categories and formulas, allowing you to track expenses automatically without the need for complex calculations.
2. Import into Excel: Download the template in a compatible format (e.g., CSV, XLSX) and open it in Excel. Alternatively, some templates can be accessed via Excel’s template gallery if you have an Office 365 subscription. For external templates, simply use the “Import” function under the “File” tab to load the data into Excel.
3. Link external data sources: To automatically update expenses, link your bank accounts or credit cards with Excel using services like Microsoft Power Query or third-party integrations. This will pull real-time transaction data into the template, saving time on manual entry.
4. Customize the template: Adapt the template to your needs. Add or remove expense categories and tweak formulas as necessary. Ensure the template reflects your specific financial structure and reporting preferences.
5. Analyze and visualize: Use Excel’s built-in tools like pivot tables and charts to visualize your expenses. This provides a clearer view of spending trends and helps with budgeting. Add conditional formatting to highlight unusual patterns or overspending in specific categories.
6. Automate reminders and updates: Set up reminders in Excel to update your expenses regularly. This ensures that you never miss tracking a transaction, and your records stay accurate throughout the month.
By linking online templates with Excel and automating data entry, you reduce manual work and improve accuracy in tracking your finances. Excel’s robust data analysis tools then allow you to quickly assess your spending habits and make informed decisions.
| Template Feature | Benefit |
|---|---|
| Predefined categories | Saves time in creating expense categories |
| Automatic updates | Reduces manual data entry and improves accuracy |
| Integrated financial data | Seamless tracking of expenses from external sources |
| Visual reporting tools | Easy analysis of spending trends |
To quickly find and use the right template for receipts, head straight to Microsoft Office’s online template repository. Select from a wide variety of customizable designs based on your needs. Here’s how to efficiently work with these resources:
- Browse Template Categories: Access the template section on Microsoft’s website and filter by category such as “Receipts” to narrow down your search.
- Choose a Template Style: Review available designs based on your business type or personal preferences. Templates range from basic designs to more detailed options, which include additional fields for tax, discounts, and notes.
- Download and Open: Once you find a template you like, download it to your device and open it in Microsoft Word or Excel. Both programs offer customizable fields and editing tools.
- Edit for Specific Needs: Customize text fields like dates, item descriptions, amounts, and payment methods. Be sure to adjust the currency format according to your location.
- Save and Print: After editing the template, save it in your preferred format. For receipts, you can easily print them directly or convert to PDF for electronic delivery.
Take advantage of the built-in tools in Microsoft Office to create receipts that align with your workflow. Templates are an easy way to maintain consistency and professionalism in all your transactions.