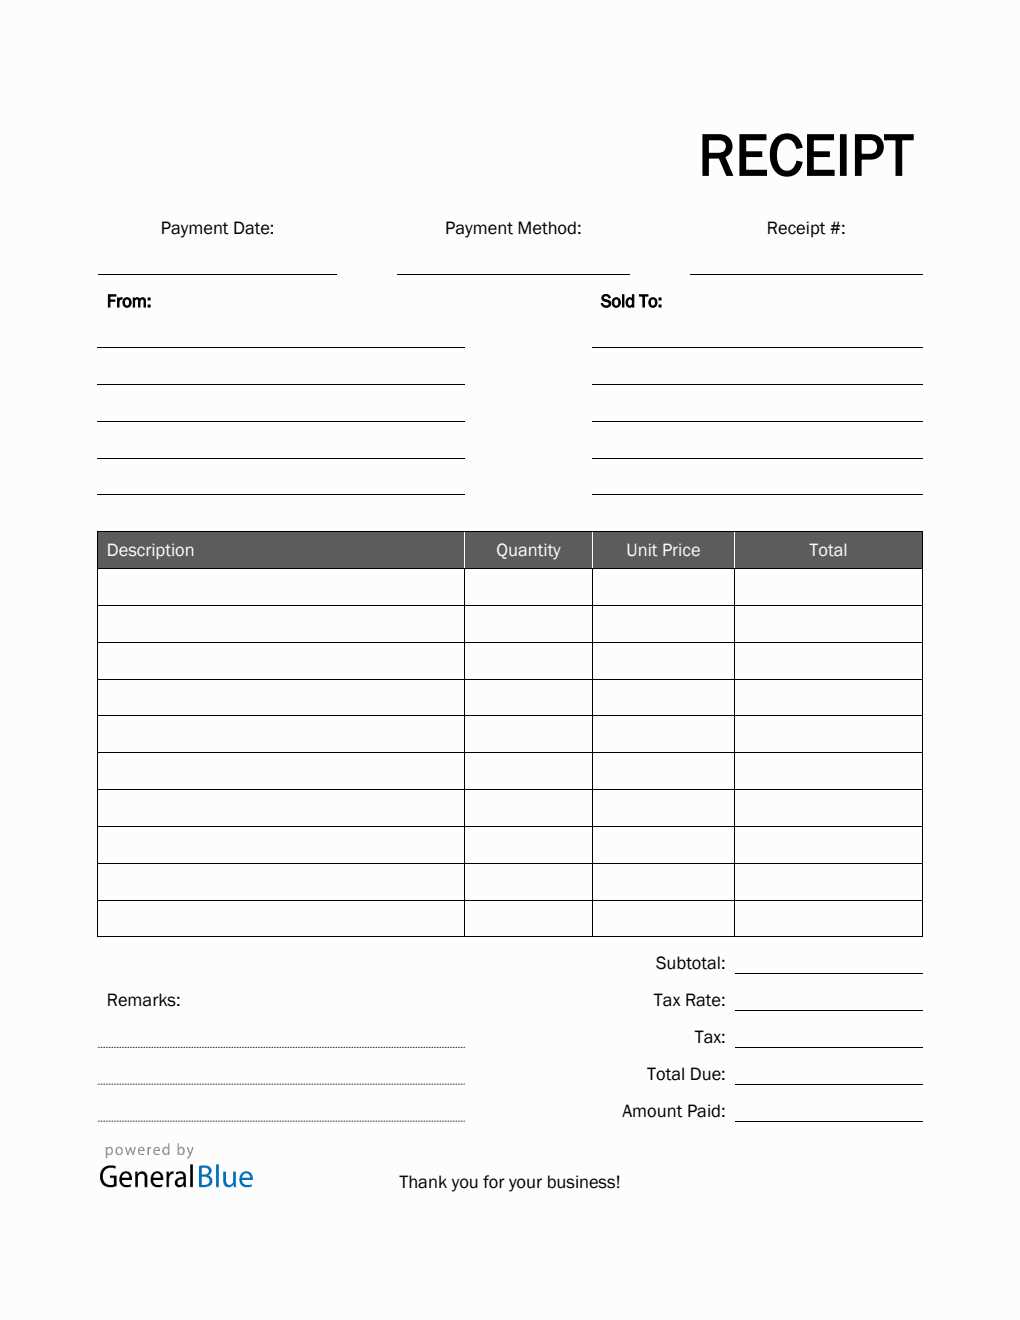
A printable itemized receipt template simplifies the process of documenting transactions with clear breakdowns of each purchase. Whether you’re managing small business finances or keeping track of personal expenses, using a well-organized template ensures that every item is listed, along with its corresponding price and total. This approach saves time and reduces the risk of errors.
Templates often include fields for important details like the business name, date of purchase, transaction number, and tax information. Itemized lists provide transparency by displaying the quantity, unit price, and subtotal for each product or service, which can be especially useful for returns, reimbursements, or tax filing purposes.
By customizing these templates with your business logo and other specific details, you create professional, consistent records. Having a reliable template on hand helps avoid delays and keeps your accounting process running smoothly. Try using a simple, straightforward design to keep things clear and easy to read for both you and your customers.
Printable Itemized Receipt Template
To create a printable itemized receipt, focus on the following structure:
- Header: Include the business name, address, contact information, and transaction date. Make it clear and easy to read.
- Receipt Title: Clearly label it as a receipt to distinguish it from other documents.
- Item List: List each item purchased along with its quantity and price. Ensure each item is easy to find and correctly priced.
- Subtotal: Show the total cost before taxes and discounts.
- Taxes: Calculate and clearly display applicable taxes.
- Discounts: If any discounts apply, clearly mention the amount deducted.
- Total Amount: Provide the final total, including taxes and any discounts.
- Payment Method: Indicate how the payment was made (credit card, cash, etc.).
- Footer: Optional. Include return policies, customer support information, or any additional remarks.
Ensure your template is easy to print by keeping the design simple. Avoid cluttering the document with unnecessary elements. Use a standard paper size (like A4 or letter-sized) to ensure it fits well on most printers.
Customize the template to suit your business, ensuring all relevant details are present without overwhelming the reader. Offering both a clean and informative layout builds trust with your customers and helps maintain clear transaction records.
How to Customize a Template for Different Business Needs
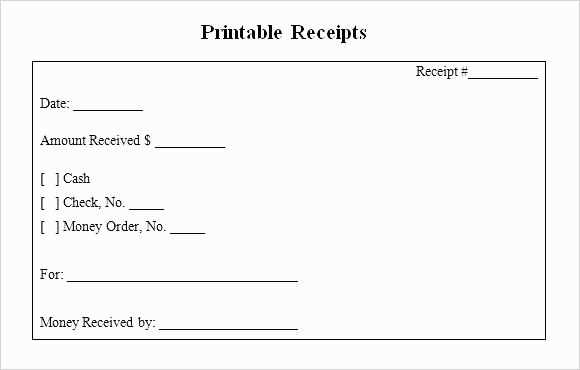
Adjust the layout of your receipt template to align with your business model. For service-based businesses, add a section for detailed service descriptions and hourly rates. For retail, include columns for product names, quantities, and prices. If your business offers discounts or promotions, allocate space for discount codes and total deductions.
Incorporate your business logo and brand colors to make receipts instantly recognizable. Use the header area for key business details like the company name, address, and contact information. This ensures customers have easy access to your details for any follow-up queries.
If your business involves tax calculations, ensure your template includes fields for tax rates and totals. Depending on your location, consider adding a VAT number or other relevant tax information. For businesses that handle returns, include a return policy section that customers can quickly reference.
For businesses with multiple locations, customize the receipt to show which branch the purchase was made at. This is especially useful for companies with a large presence or online stores that ship from different warehouses. Add tracking numbers or shipping details where necessary for e-commerce businesses.
Test your template with different products and services to ensure it remains clear and professional in all scenarios. Adjust spacing and font sizes for readability and ensure that all critical information is visible without overwhelming the page.
Step-by-Step Guide to Printing and Formatting Receipts
Choose a reliable template to ensure all relevant details are included, such as item descriptions, prices, taxes, and total amounts. Select the right font size and style to enhance readability. Use a monospaced font for better alignment of text, especially if you’re listing items and prices side by side.
Formatting the Receipt
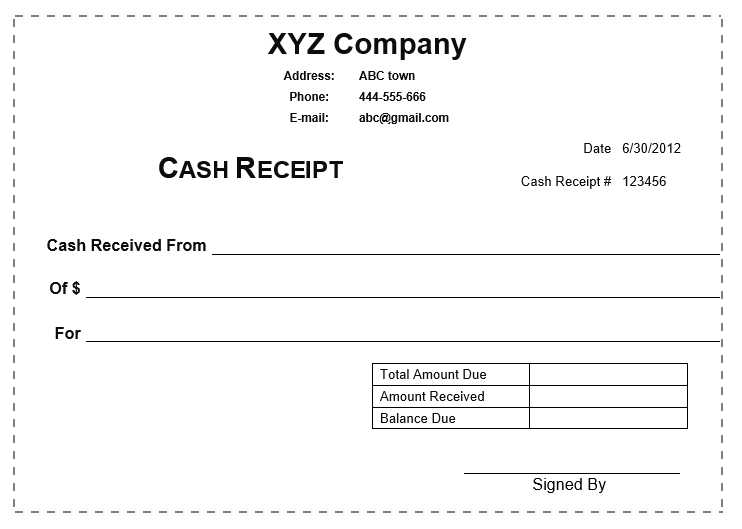
Start with the header section: include the business name, address, phone number, and website. Align these elements to the left or center based on your preference. Below the header, list the transaction details, including item names, quantity, unit price, and total for each item. Make sure to separate each piece of information clearly.
Printing the Receipt
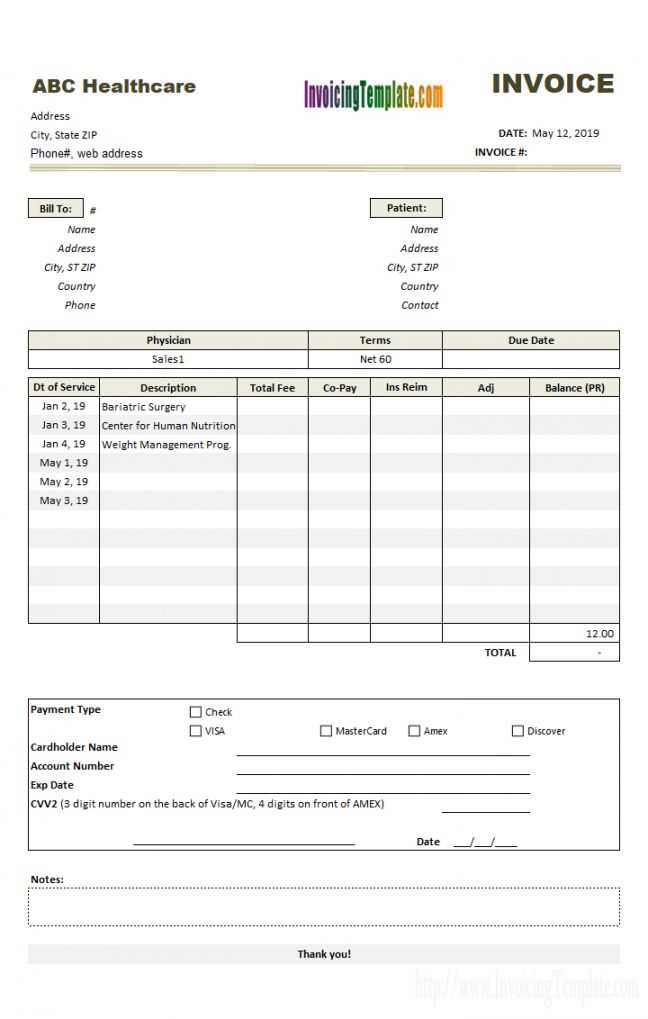
Set the print margins to ensure the content fits well on the page. If you’re using a thermal printer, adjust the paper size accordingly. Before printing, preview the receipt to check for alignment issues or cut-off text. If everything looks good, proceed with printing and test with a sample receipt to ensure clarity and legibility.
Common Mistakes to Avoid When Creating Receipts
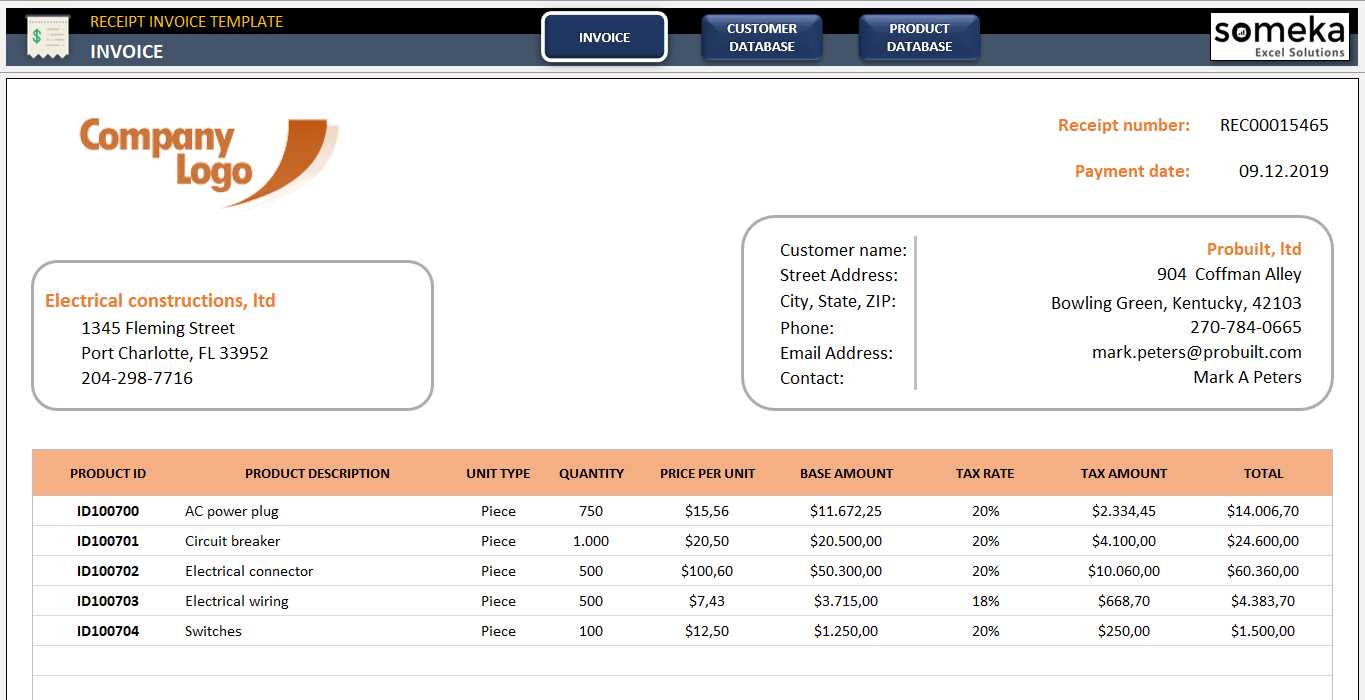
Ensure all required details are included. Leaving out key information like the business name, contact information, or transaction date makes receipts less reliable. Double-check for accuracy in these fields.
Incorrect Pricing or Amounts
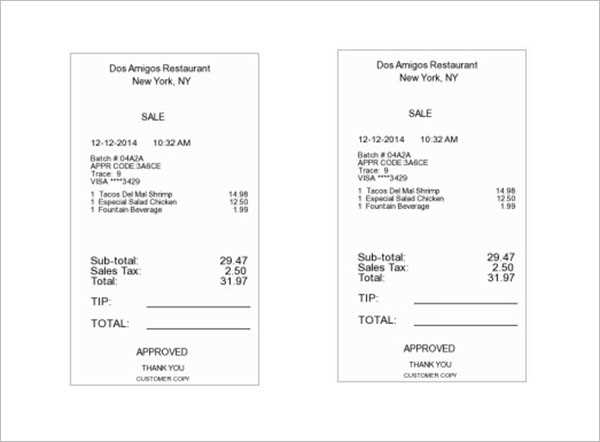
Verify all prices and totals. A simple error in calculation can lead to confusion or disputes. Always cross-reference the individual item prices, taxes, and final total to avoid mistakes.
Unreadable or Confusing Formatting
A poorly formatted receipt can lead to misunderstandings. Use clear fonts, organize information logically, and space out sections properly to ensure everything is easy to read and find quickly.
Consistency in layout matters. If your receipts vary too much in style, it can create confusion for both customers and staff. Maintain a standard format that customers will recognize easily.
Don’t forget to include a unique transaction or receipt number. This makes it easier to track purchases and resolve any issues in the future.

