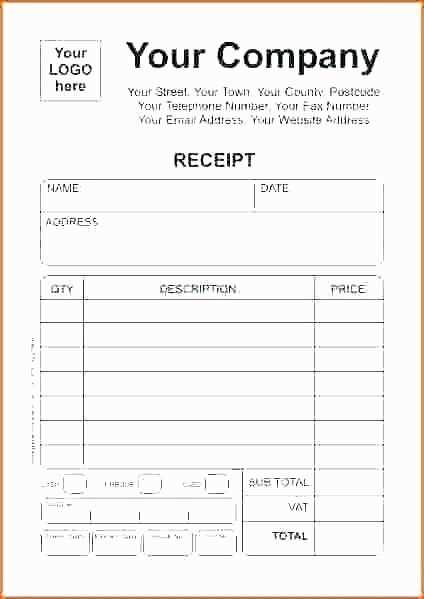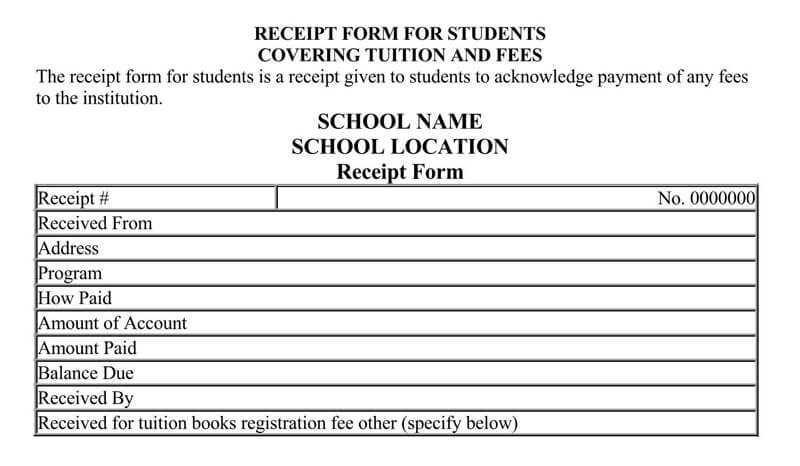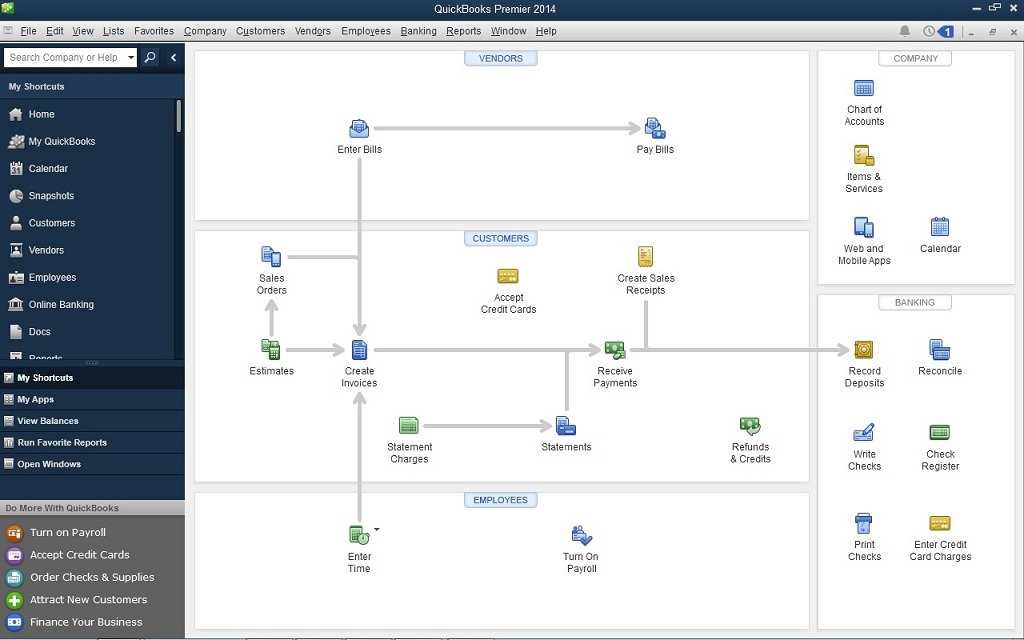
Creating professional and accurate receipts in QuickBooks Desktop is straightforward once you understand how to use the built-in template. The software offers an easy-to-use receipt template that ensures all necessary details are included, from itemized purchases to payment methods. By customizing this template, you can align it with your business needs and present a polished, consistent look for your clients.
To begin, access the receipt template within QuickBooks Desktop through the “Create Sales Receipt” option under the “Customers” menu. The default template is simple and covers the basic details, but you can modify it to reflect your brand’s specific requirements. Adjust the fields for tax rates, discounts, and payment terms as needed.
If you need to add logos or adjust the layout, QuickBooks Desktop allows you to upload custom designs. Just navigate to the “Edit” menu, select “Preferences,” and then go to “Sales & Customers.” From there, you can select the template you’d like to modify, making the necessary edits and saving them for future use. This flexibility helps ensure that your receipts are both functional and branded to match your business’s image.
Quickbooks Desktop Receipt Template Guide
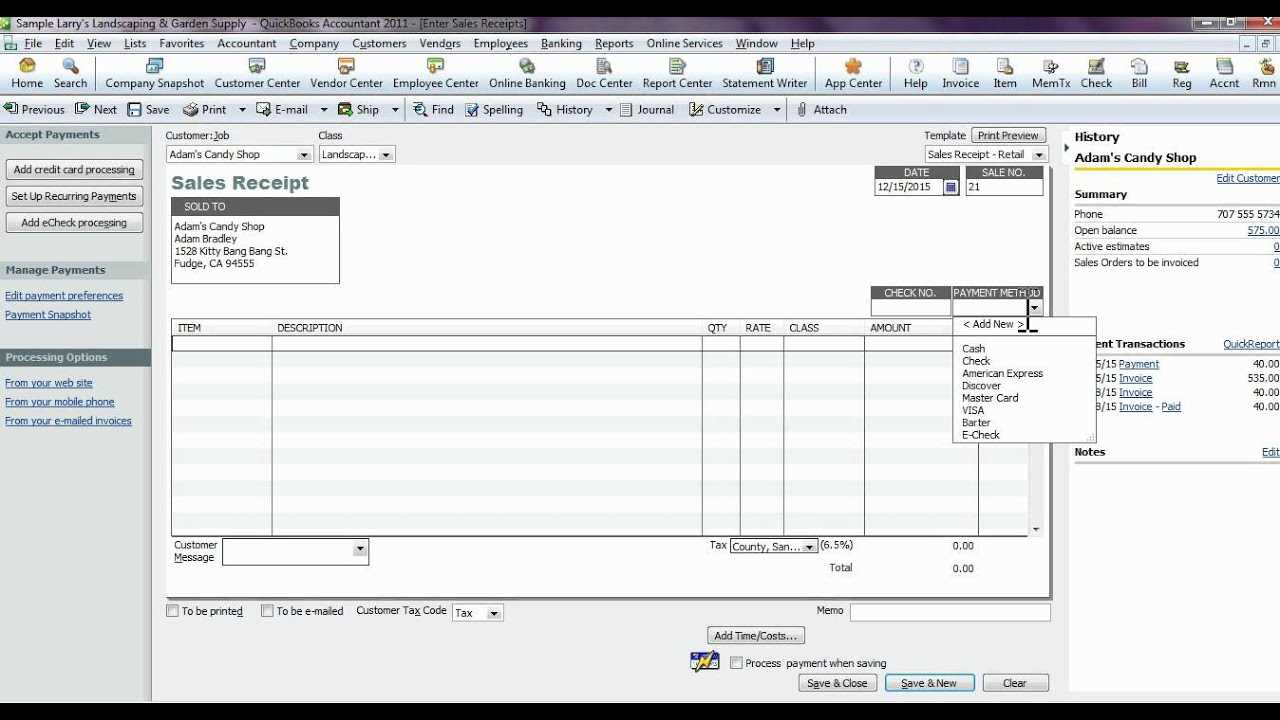
To create a customized receipt template in QuickBooks Desktop, follow these steps:
- Go to the File menu and select Templates.
- Click New Template, then choose Sales Receipt as the template type.
- Enter a name for your template in the Template Name field.
- Click OK to open the layout editor.
The template editor provides several customization options:
- Logo: Add your company logo by selecting Insert and then Image.
- Header: Customize the header section by adding fields such as company name, address, and phone number.
- Footer: Include any necessary details in the footer, like terms of service or payment information.
- Columns: Modify the column headers for products, services, or discounts as needed.
Once you’ve finished editing the template, click Save and select Use to apply the new receipt layout to your transactions.
For advanced customization, QuickBooks allows you to adjust font styles, colors, and positioning within the editor. Ensure that all key transaction details, such as payment methods and transaction dates, are clearly displayed on the receipt for both the business and the customer.
Creating a Customized Receipt Template
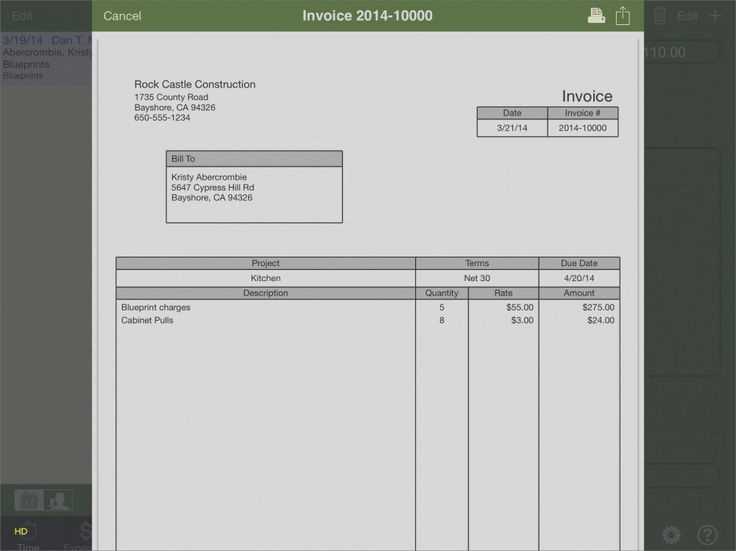
Open QuickBooks Desktop and navigate to the “Lists” menu. Select “Templates” to view existing templates. Click on the “Create New” button to start designing a new receipt template.
Customize the layout by adjusting the header, footer, and body sections. Add your company logo in the header section for a professional touch. Insert dynamic fields such as the customer’s name, address, and transaction details by selecting “Insert” from the toolbar and choosing the appropriate field from the dropdown menu.
Modify the fonts, colors, and alignment to match your branding. Use the “Design” tab to change font styles and sizes, ensuring readability. If needed, adjust the margins to fit your specific paper size.
To include additional information like terms or payment methods, use the “Insert” function to add text boxes or other custom fields. You can also insert items like tax or discount details in separate sections for clarity.
Save your template by clicking “OK” and choosing a name for easy reference. Once saved, you can apply the template to any future receipts by selecting it from the “Template” dropdown during the transaction process.
Integrating Payment Information and Taxes
To ensure accurate receipt generation, link payment details and tax calculations directly in QuickBooks Desktop. First, set up your tax rates in the system. Navigate to the “Sales Tax” section under “Lists” and create tax codes based on your business location and requirements. Ensure that taxes are automatically calculated during the sales process by selecting the relevant tax code for each item or service sold.
Linking Payment Methods
Connect payment methods to each transaction by selecting the appropriate option during receipt creation. QuickBooks Desktop supports various payment options such as cash, credit card, and bank transfer. Ensure payment entries are recorded accurately in the system to avoid discrepancies in both your income reports and tax calculations.
Applying Taxes to Receipts
When generating receipts, taxes are applied based on the itemized list of products and services. Make sure the tax rate assigned to each product or service is correctly reflected. This will automatically calculate the correct tax amount, which will appear on the final receipt. Double-check that all taxable items are marked for tax inclusion to avoid errors.
By integrating payment methods and tax calculations within QuickBooks Desktop, you streamline your invoicing process, ensuring that both payments and taxes are accounted for with minimal manual input.
Saving and Printing Your Receipt Template
After customizing your receipt template, save it to preserve your changes. To do this, go to the template settings, click on the “Save” option, and ensure that the correct file name is selected. This will keep your template for future use without losing any of the data you’ve added.
To print your receipt template, select the “Print” option from the same menu. You can adjust the print settings, such as paper size and margins, to fit your template. Once configured, click “Print” to generate a hard copy of your receipt. It’s recommended to preview the receipt before printing to make sure everything appears as expected.
| Action | Steps |
|---|---|
| Save Template | Click “Save” in template settings and select the file name |
| Print Receipt | Click “Print” in the menu, adjust settings, and preview |
