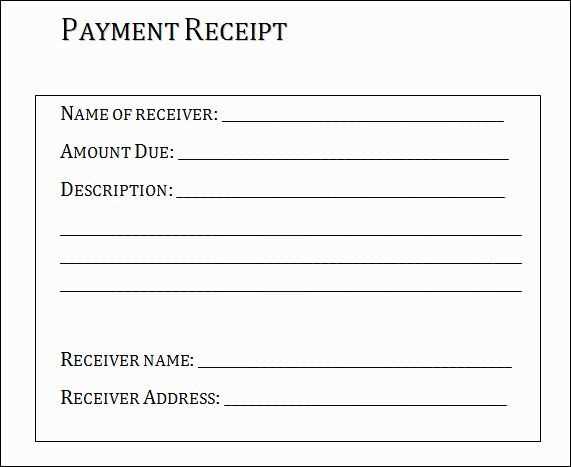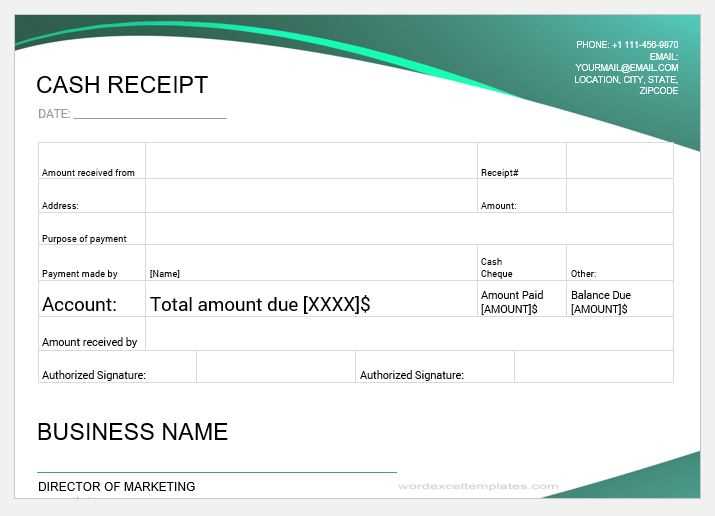
Setting up a Payment Receipt Template
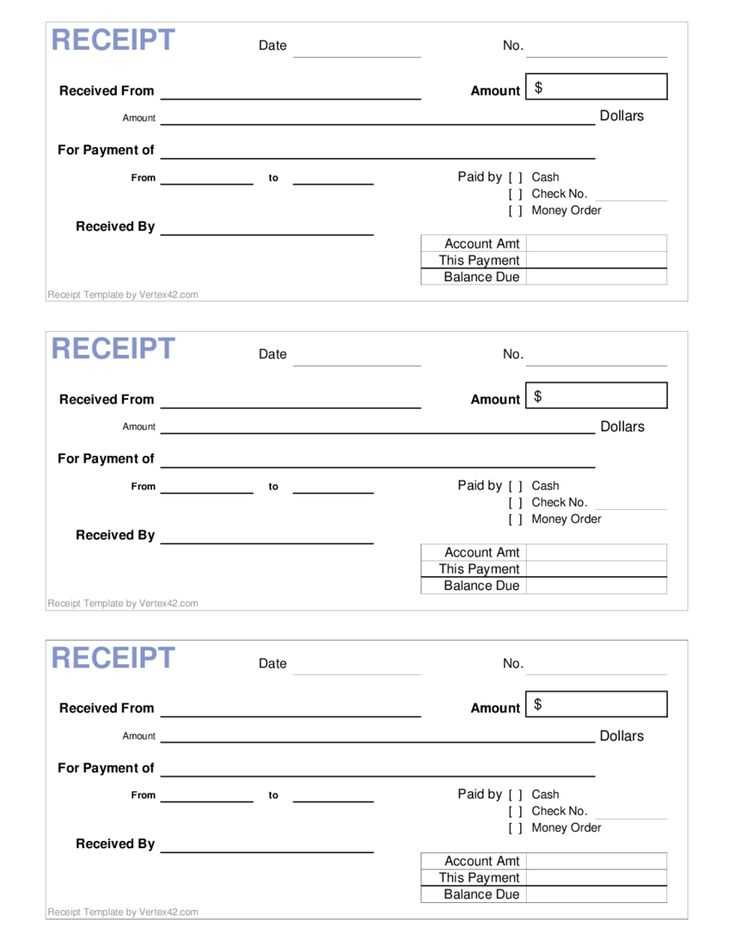
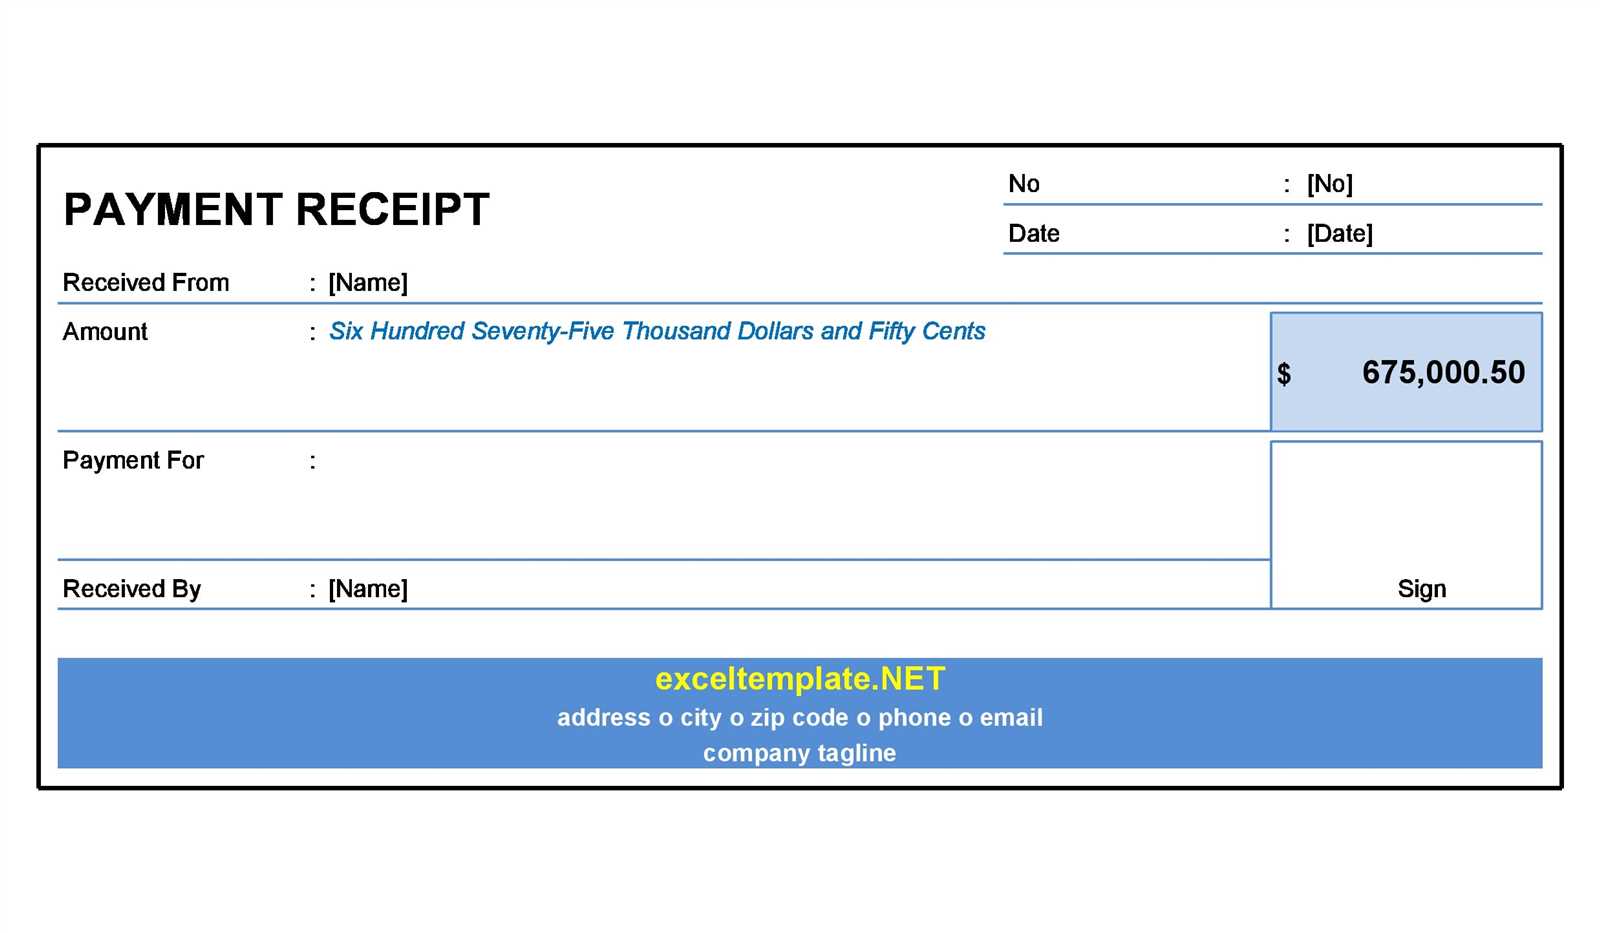
To create a payment receipt template in Microsoft Word or Excel, choose a clean, professional design. Begin with fields for the transaction date, payment amount, payer’s name, and the method of payment. You can easily customize these fields using Word’s table feature or Excel’s cell format options. Always ensure to include a unique receipt number for tracking purposes, and make space for a thank-you message to the customer. These elements give the receipt a polished look and keep everything organized.
Inserting Necessary Details
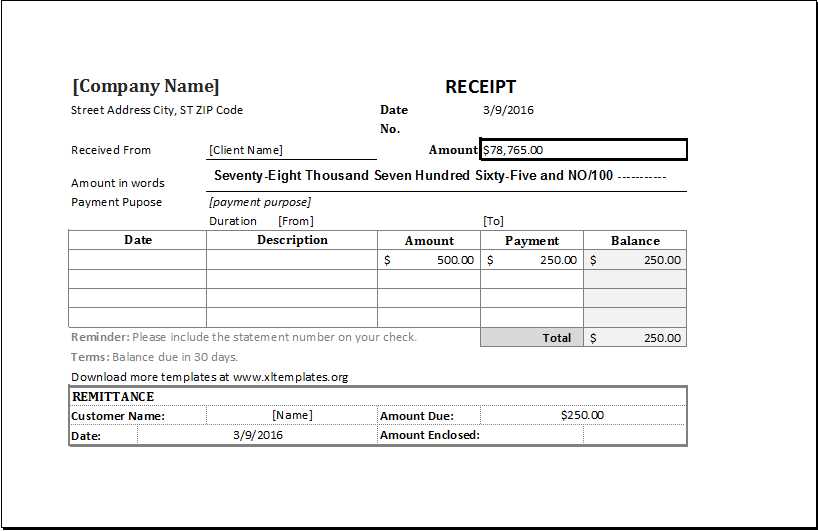
Ensure the template contains the following details:
- Date: Indicate when the payment was received.
- Payer Information: List the name of the person or business making the payment.
- Amount: Clearly state the payment amount.
- Payment Method: Include options like credit card, bank transfer, or cash.
- Transaction ID: A unique number for record-keeping.
Formatting and Customization Tips
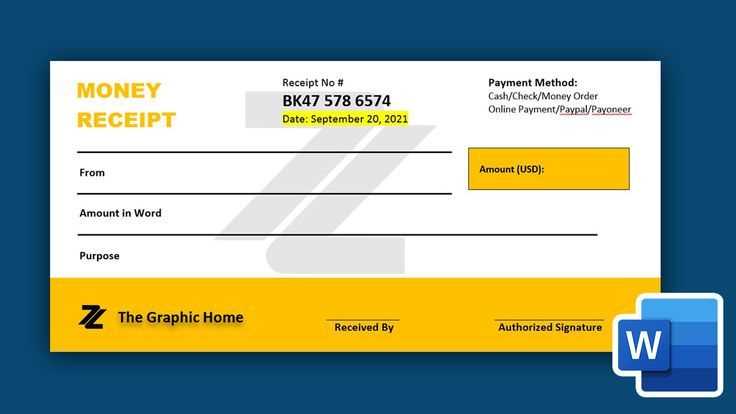
For easy readability, keep the layout simple. Use borders around the table or a light background color to separate key sections. In Excel, you can even use conditional formatting to automatically highlight the amount in bold when a payment exceeds a specific threshold. Add your business logo and contact information at the top or bottom of the document for personalization.
Utilizing Microsoft Excel for Detailed Tracking
Microsoft Excel is an excellent tool for keeping track of payments. Utilize columns for date, customer name, amount paid, and payment method. With Excel’s formulas, you can automatically calculate totals, creating a real-time overview of payments. The “SUM” function helps you quickly see how much money has been collected in a specific time period, and sorting features can help you view transactions by date or customer name.
Creating Automated Payment Records
To further streamline your payment receipts, automate repetitive tasks in Excel. Set up a template with pre-defined fields, so all you need to do is input the transaction details. Excel also allows you to create charts to visualize payment trends, making it easier to monitor financial activities.
Saving and Sharing Templates
Once your template is finalized, save it in a format that works for you. For shared access, save the document in OneDrive or SharePoint so that it’s accessible from any device. You can also convert the document into a PDF for easy sharing via email.
Microsoft Templates: Payment Receipt
How to Create a Receipt Template in Microsoft Word
Customizing Receipts for Your Business Needs
Incorporating Terms and Conditions into Receipts
Automating Receipt Generation in Microsoft Excel
Best Practices for Organizing Receipts in Digital Format
Ensuring Compliance with Legal Requirements in Receipts
To create a receipt template in Microsoft Word, open a new document, then insert a table to organize the receipt fields. Start by adding areas for the company’s name, address, contact info, date, and a description of the transaction. You can add fields for payment method, amounts, taxes, and the total. Customize fonts, colors, and borders to match your brand’s style. Save the template for reuse.
For a business that needs flexibility, customizing receipts is straightforward. Adjust the template to include items specific to your industry, such as service descriptions or customer loyalty numbers. Tailor the layout so it fits your needs, ensuring that the necessary fields are clearly labeled and easy to understand.
Adding terms and conditions can help protect your business. Incorporate a brief section at the bottom of the receipt for policies on refunds, returns, or warranties. This section should be concise but clear, giving customers the necessary information without overcrowding the receipt.
Automating receipt generation in Microsoft Excel allows you to quickly create receipts by inputting transaction details. Use formulas to calculate totals, taxes, and discounts. Excel templates can automatically populate customer information if you have it stored in a separate database, streamlining the process for regular transactions.
Once receipts are created, organizing them digitally can save time and space. Store them in a clear folder structure, categorized by year or customer. Consider using cloud storage for easy access and sharing, while also ensuring backups to prevent data loss.
To meet legal requirements, check your local jurisdiction’s rules for receipts. Ensure that all required elements, like tax numbers or business registration details, are included. Compliance can prevent issues with audits or customer disputes, so always stay updated on any legal changes in your area.


