To quickly create a Goodwill donation receipt, use a simple Google Docs template that fits your needs. Google Docs offers several customizable templates that can help you easily generate receipts for charitable donations. You can personalize these templates by including details like the donor’s name, donation items, and estimated values.
Start by searching for “Goodwill donation receipt” in the Google Docs template gallery. This will provide you with a basic framework, which you can modify according to your requirements. Make sure to include the date, a description of the donated items, and a statement confirming no goods or services were provided in exchange for the donation. This is important for tax purposes.
If you want to track donations more efficiently, consider creating a standardized template for all donations. You can also store these receipts in a Google Drive folder for easy access and management. It ensures both donors and organizations have clear records of the transaction.
Here’s the revised version:
Ensure the donation receipt includes the donor’s name, address, and the date of the donation. This helps in keeping clear records for both the donor and your organization. Clearly state whether the donation was in cash or goods, and describe the items with as much detail as possible. If the donor has contributed goods, include a brief description of each item. You don’t need to assign a value to the goods, but stating the condition (new, used, etc.) can be useful.
Itemizing Donations
If the donation includes multiple items, list them individually. For example, instead of saying “clothes,” specify “5 T-shirts, 2 jackets.” This ensures transparency and allows both parties to keep track of what was donated.
Tax-Exempt Information
Indicate that your organization is a tax-exempt charity and provide the tax-exempt ID number. This is necessary for the donor’s records when claiming tax deductions.
Lastly, include a statement confirming that no goods or services were exchanged for the donation, unless applicable. This final detail protects both your organization and the donor for tax purposes.
Goodwill Donation Receipt Template for Google Docs

To create a Goodwill donation receipt in Google Docs, follow these steps for an accurate and professional template:
- Open Google Docs and create a new document.
- Title the document clearly as “Donation Receipt” or “Donation Confirmation.” This helps both parties identify the document easily.
- Include the donor’s full name, address, and contact information at the top. This will be helpful for both tax records and future communication.
- Provide the date of the donation. Include the specific date when the goods or cash were received.
- Detail the items donated, including their condition (new, used, etc.) and a brief description. If it’s a cash donation, include the exact amount given.
- Specify the Goodwill organization’s name and address. This should match official records for tax purposes.
- Include a statement confirming that no goods or services were provided in exchange for the donation, if applicable. This is often required for tax purposes.
- Provide a unique receipt number or tracking code for easy reference.
- Sign the receipt, either digitally or manually, for authenticity.
By including these details, your template will be ready for use and meet the requirements for tax documentation and goodwill recognition. Adjust the layout as needed, but keep the information clear and easy to read.
To create a donation receipt in Google Docs, open a new document and follow these simple steps:
Step 1: Set Up the Header
Include your organization’s name, address, and contact information at the top of the receipt. This should be followed by the words “Donation Receipt” in bold for clarity.
Step 2: Input Donor Information

List the donor’s full name and address. Include a field for their email or phone number to make follow-up easy. Add the date of the donation as well.
Step 3: Detail the Donation
Clearly state the item or amount donated, along with a description of the donation’s value. If applicable, provide an itemized list. If it’s a monetary donation, specify the amount and currency.
| Description | Amount |
|---|---|
| Donation Amount | $100 |
| Item (Toys) | $50 |
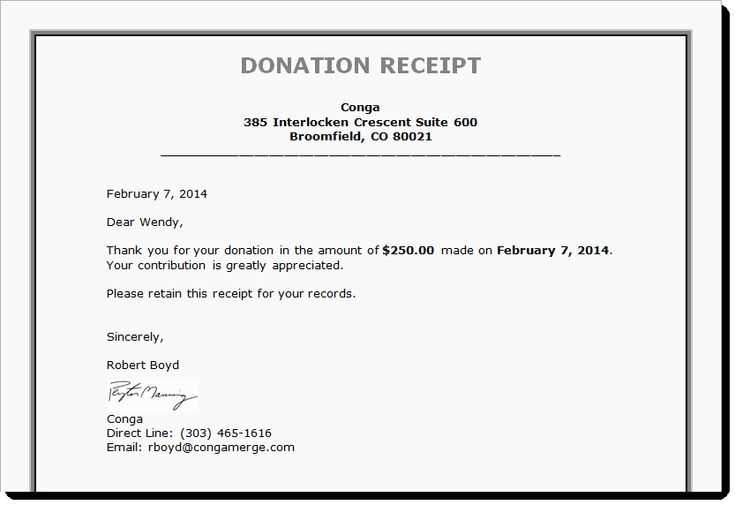
Step 4: Acknowledge the Donation
Write a brief message thanking the donor for their contribution and support. This can include a personalized note expressing your appreciation.
Step 5: Add Legal Information

If necessary, include a statement that the donation is tax-deductible. This can be a simple note like: “No goods or services were provided in exchange for this donation.”
Step 6: Save and Send the Receipt
Once completed, save the document and either email it to the donor or print it out. You can also use Google Docs’ sharing features to send it electronically.
For a donation receipt to be valid and useful for both the donor and the organization, it must include specific information. This ensures clarity and meets IRS standards for tax deductions. Below are the key elements to include:
- Donor’s Information: Clearly state the donor’s name and address to ensure accurate records.
- Date of Donation: Include the exact date the donation was received to ensure proper timing for tax purposes.
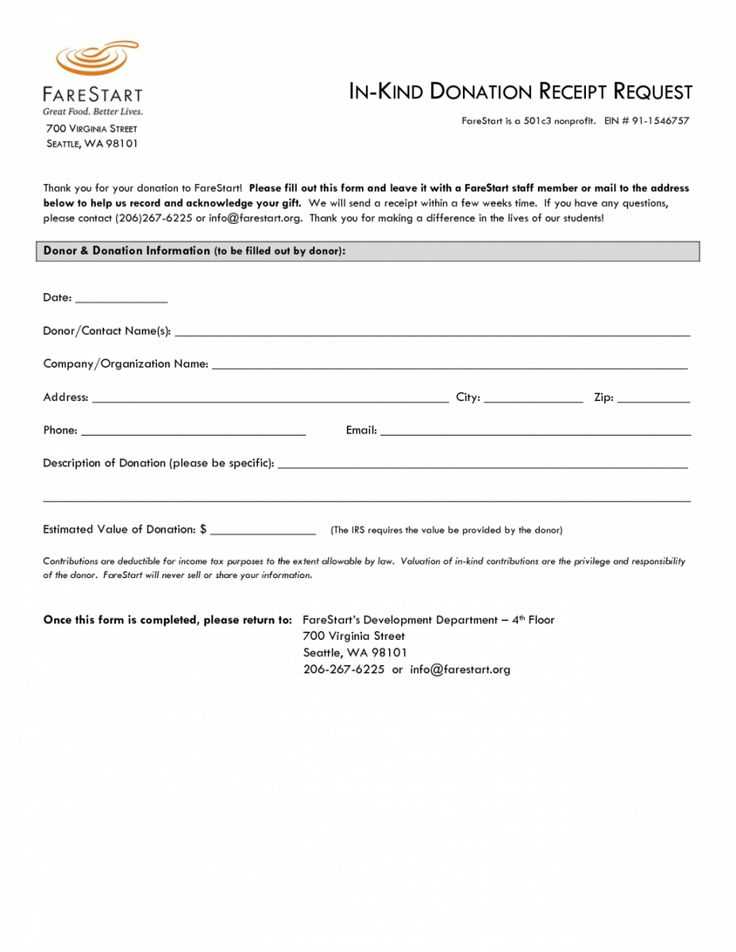
- Description of the Donated Item(s): Provide a brief description of the donated items, especially if they are in-kind. Avoid estimating the value of the donation, as it’s the donor’s responsibility.
- Estimated Value (if applicable): If the donation is in-kind, provide the estimated value of the items based on fair market value. Do not assign this value if it’s a monetary donation.
- Statement of No Goods or Services Provided: Include a statement such as “No goods or services were provided in exchange for this donation” if applicable. This confirms the tax-deductible nature of the gift.
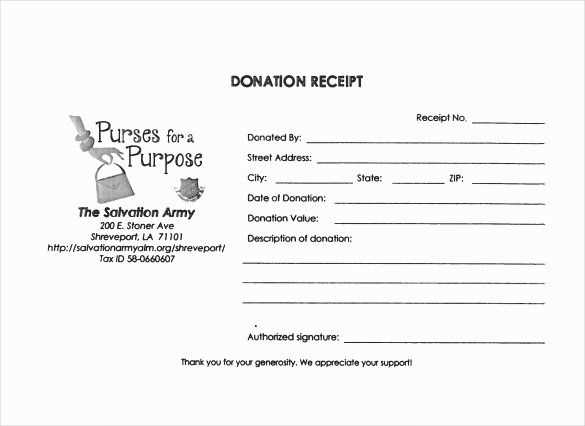
- Organization’s Information: Include the name of the organization, tax-exempt status (e.g., 501(c)(3)), and address to confirm legitimacy.
- Unique Receipt Number: Include a unique identifier or receipt number for record-keeping and to avoid confusion with other donations.
Providing these details ensures the donation receipt is both legally compliant and helpful for the donor’s tax filing.
To share your donation receipt template, click the “Share” button in the top-right corner of your Google Docs document. In the sharing settings, enter the email addresses of the individuals or groups you want to share it with. You can set permissions to either “Viewer,” “Commenter,” or “Editor” depending on the level of access you want to grant. For broader sharing, select “Get shareable link” to allow anyone with the link to view or edit the document.
For easy access and storage, organize your templates in a dedicated Google Drive folder. Create a folder titled “Donation Receipts” and upload or move the document there. To keep your documents organized, add subfolders for different years, organizations, or types of donations. Use clear naming conventions for each document, such as “Donation Receipt Template – 2025,” to quickly identify the most current version.
For efficient collaboration, allow others to comment or edit the document directly within Google Docs. All changes made will be saved automatically, so there’s no need for separate file versions. If needed, you can use the “Version history” feature to track document revisions or revert to a previous version at any time.
To create a Goodwill donation receipt template in Google Docs, begin by designing a clean and simple layout. Include the donation date, donor’s name, and a description of the donated items. Make sure to specify whether the donations were cash, goods, or services. Add a line for the donor’s signature to acknowledge the receipt.
For the item description, list each item separately along with its condition if applicable. For example, instead of just stating “clothes,” specify “2 pairs of gently used jeans” or “1 coat in good condition.” This detail ensures transparency for both the donor and Goodwill.
Include a statement confirming that the donation is tax-deductible, if applicable. If your template is used for a specific location or event, it’s important to include the address or contact details of the receiving Goodwill center. Don’t forget to add the tax-exempt organization number for official records.
Finally, place a section at the bottom of the template for the organization’s representative to sign, confirming receipt of the donation. This will finalize the process and provide the donor with proof for tax purposes.