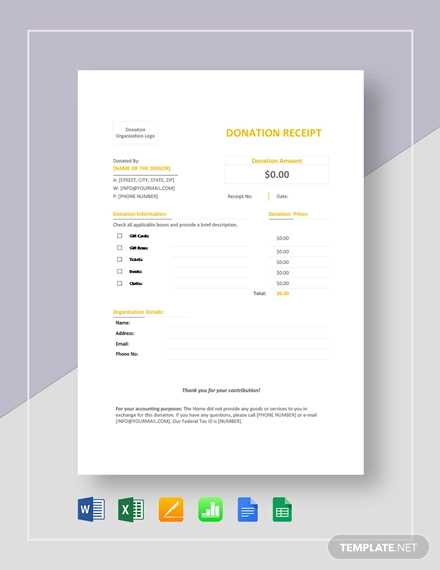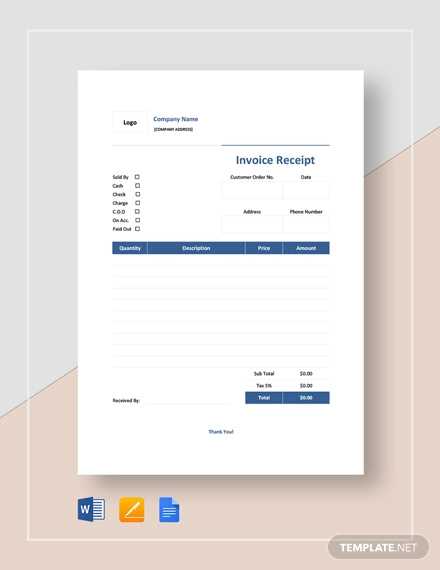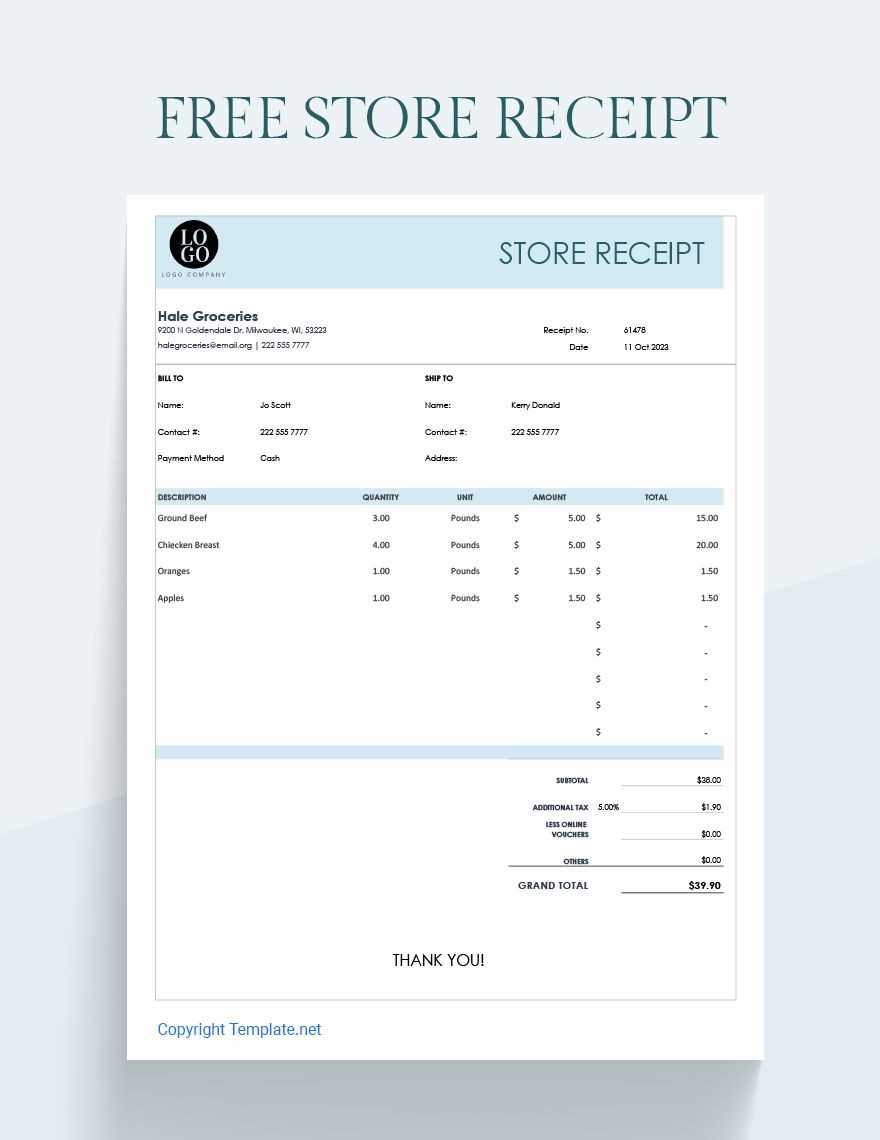
Create a Simple and Clear Receipt
Use Google Sheets to build a customized receipt template with ease. Set up columns to display the necessary details: date, item description, quantity, unit price, and total. This straightforward structure ensures clarity and prevents confusion when reviewing the receipt.
Step-by-Step Setup
- Column A: Enter the date of the transaction.
- Column B: List the item or service purchased.
- Column C: Include the quantity for each item.
- Column D: Add the unit price for each item.
- Column E: Calculate the total for each item by multiplying quantity and unit price. Use the formula =C2*D2, adjusting for the row number.
- Column F: Add any additional comments or notes if necessary.
Formula for Total Calculation
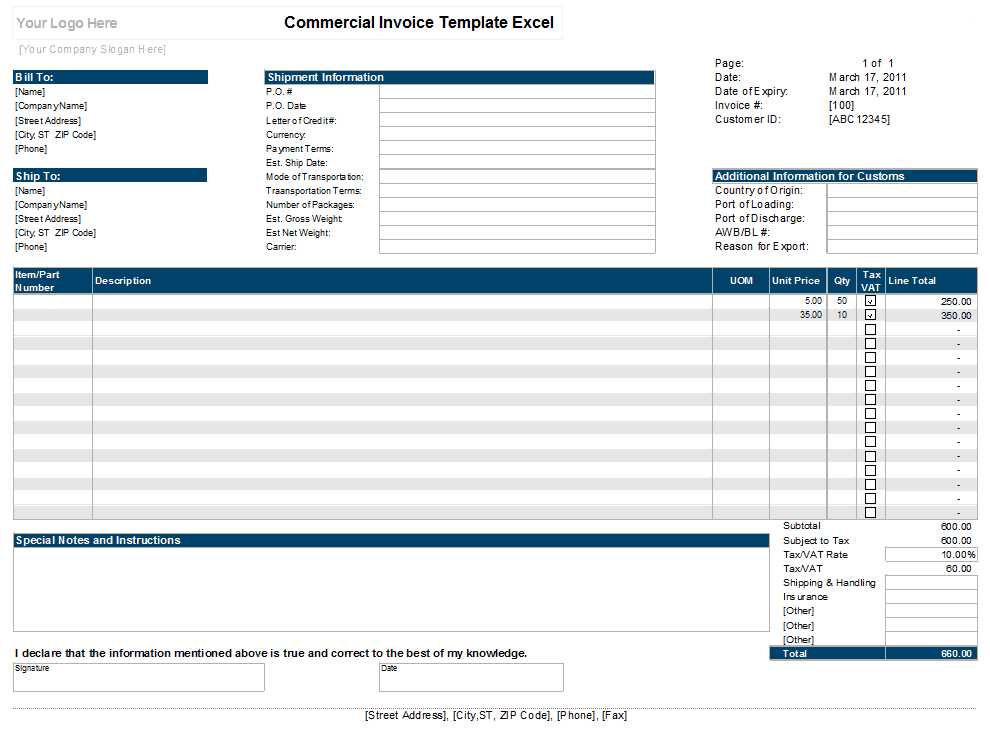
To quickly calculate the total amount for the receipt, set up a formula in the bottom row of the “Total” column. If your items are listed in rows 2 through 10, use the formula =SUM(E2:E10) to get the grand total. This automatically updates as you add or modify entries.
Make the Receipt Stand Out
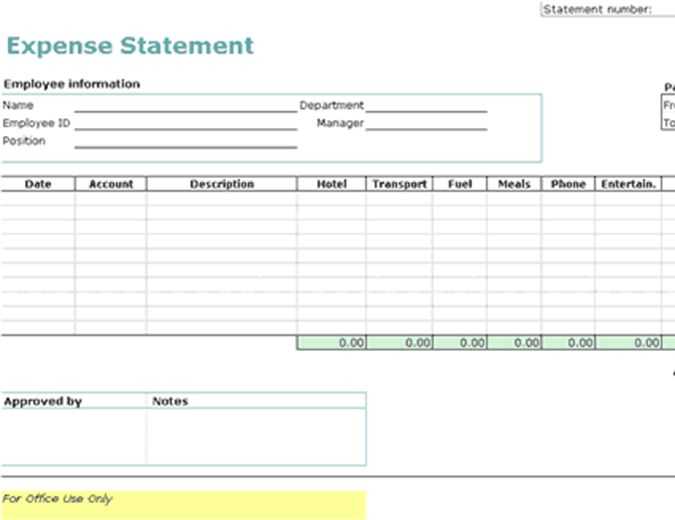
Highlight key information such as item totals and the grand total by using bold text or background colors. This helps the user quickly identify the most important details of the receipt. Add borders around the data to clearly separate different sections for better readability.
Final Touches
Ensure that the header includes your business name, address, and contact information. This gives the receipt a professional appearance and allows customers to easily reach out if they have any questions.
Once your template is complete, save it as a reusable file. You can easily duplicate the sheet for future use, modifying only the necessary fields for each new receipt.
Google Spreadsheet Receipt Template
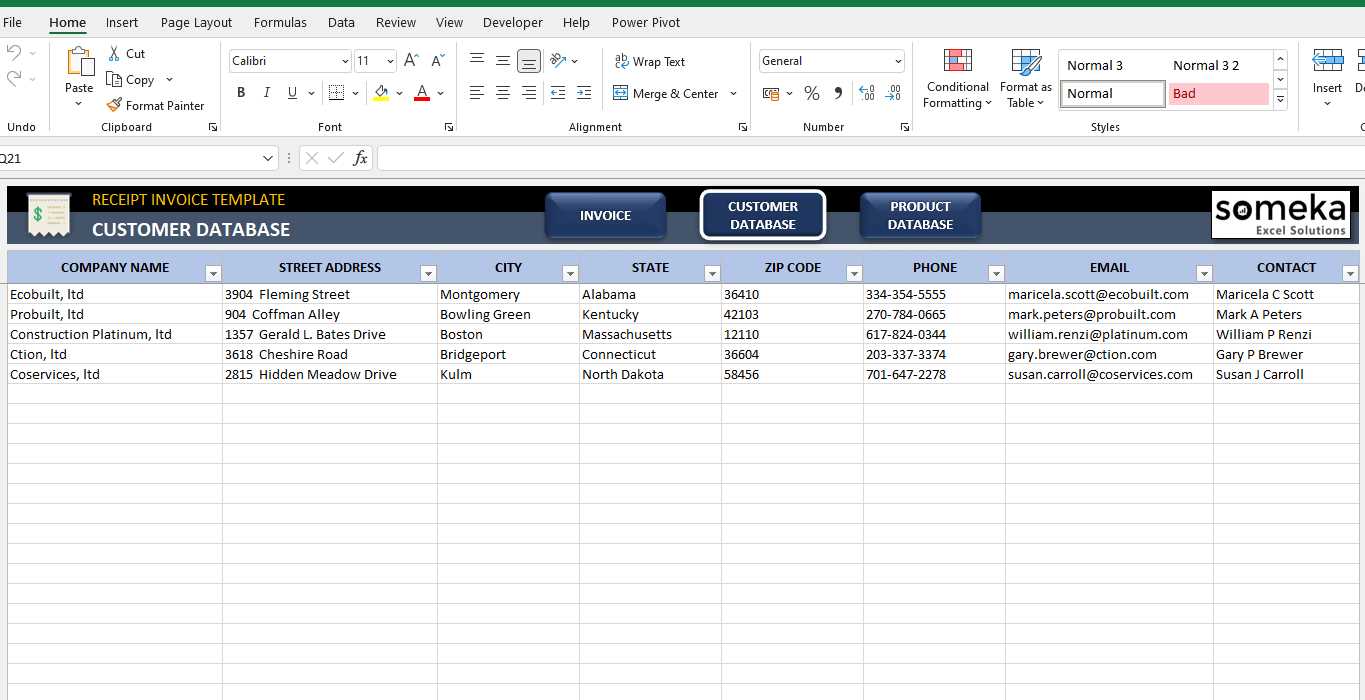
To create a simple receipt template in Google Sheets, start by setting up basic sections such as date, transaction details, item description, unit price, quantity, and total cost. Use columns for each element and format them for clarity. Make sure to leave space for a receipt number, and consider adding a signature field if necessary.
When customizing your template for business needs, include your company name, logo, contact information, and tax rates. Adjust the columns to fit your specific products or services, ensuring that customers can easily read and understand the document. You can also create dropdown lists for product categories or payment methods for faster entry.
Automating calculations within your template can save time and reduce errors. Use formulas like SUM for the total cost, and apply simple multiplication formulas to calculate item totals based on quantity and price. You can also set up conditional formatting to highlight overdue payments or any discrepancies in amounts. These features make your receipt process quicker and more reliable.
