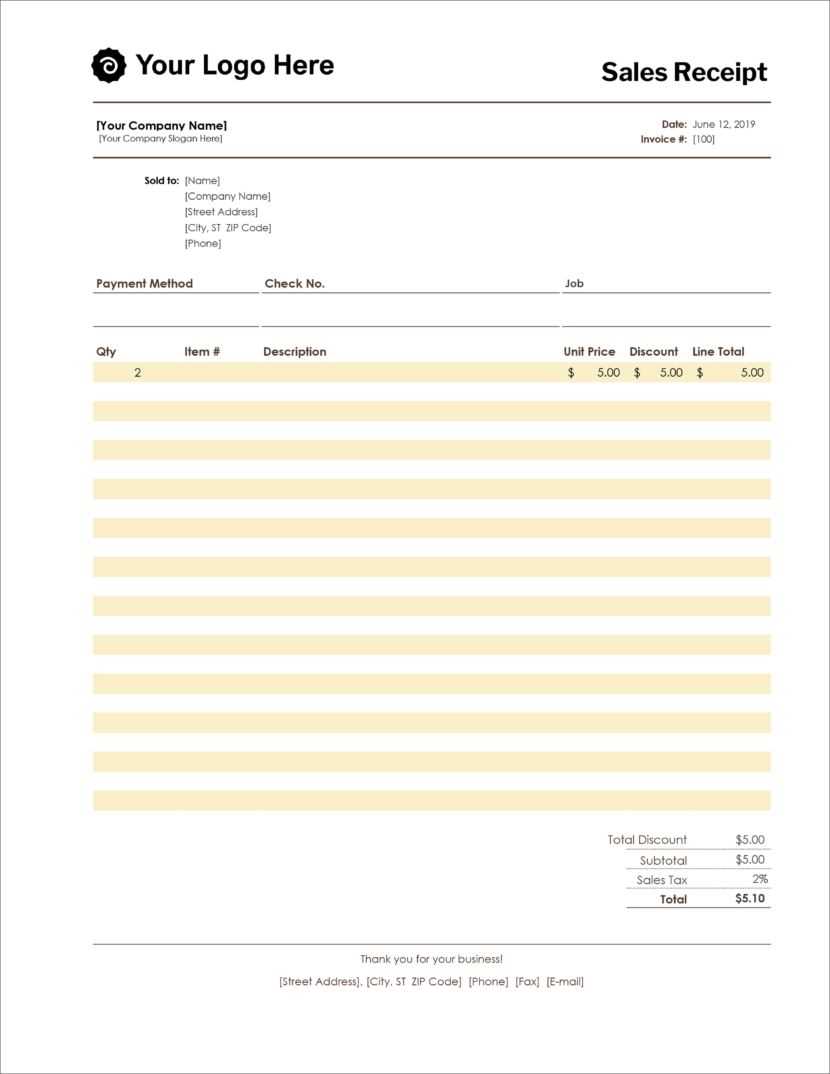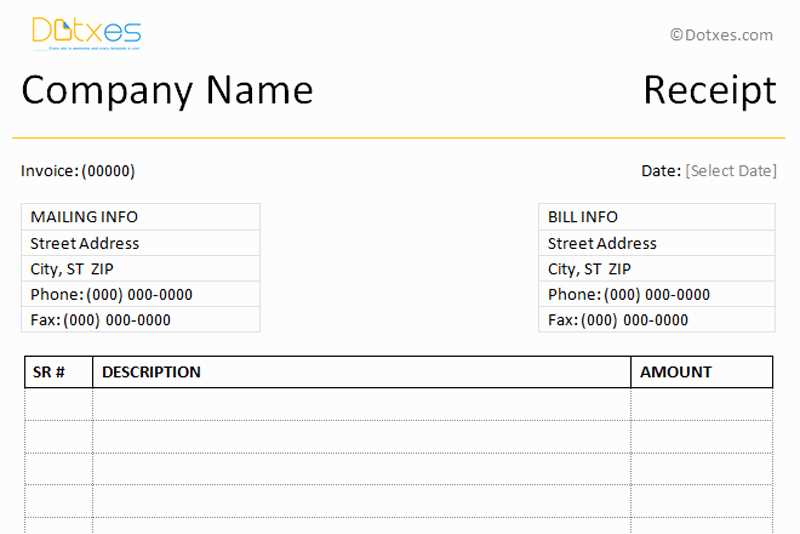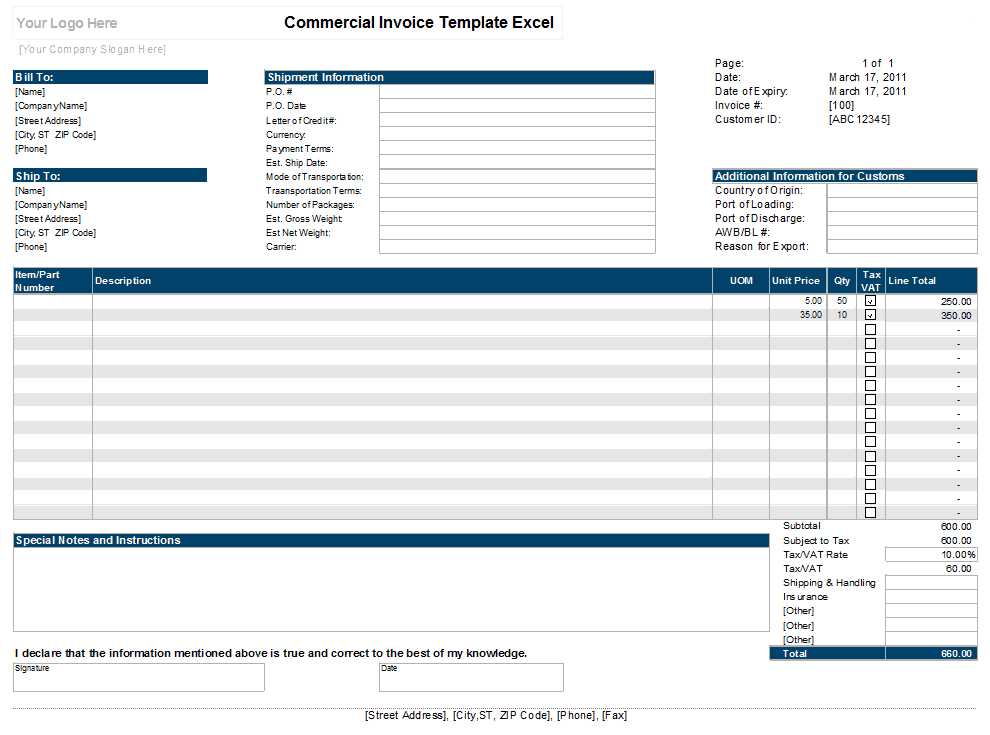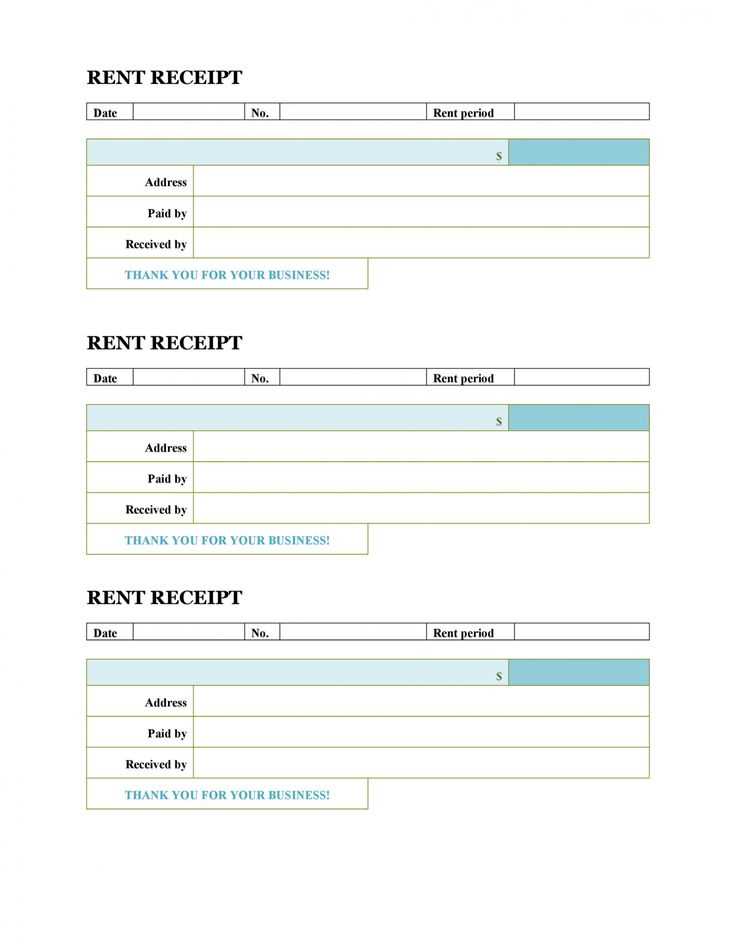
If you’re looking for a simple way to create receipts without spending time designing from scratch, using a free basic receipt maker template in Excel is a practical solution. This template allows you to quickly generate receipts by filling in the required fields, saving you time while ensuring all necessary details are captured.
The template includes sections for the recipient’s name, date, items purchased, amounts, and the total. You can easily customize it to suit your specific needs, whether you’re creating receipts for small businesses, personal transactions, or any other purpose. Plus, it’s fully editable, so you can adjust the layout, fonts, and colors as desired.
Download a free version of the Excel template and start creating receipts right away. With Excel’s built-in calculation functions, you can also automate the total calculation, reducing the risk of errors and making the process even faster. No complicated software or skills required – just enter the details, and Excel does the rest.
Here are the corrected lines:
To fix common issues with the basic receipt template, replace hardcoded values with cell references. For instance, instead of entering the date manually, use the formula `=TODAY()` to automatically display the current date.
If the template does not calculate totals correctly, ensure that each product’s price and quantity are linked to the correct cells. Use the formula `=Price*Quantity` in the total column to get accurate results.
To improve readability, make sure that the header row (with labels like “Item”, “Price”, and “Quantity”) is frozen. This can be done by selecting the row and clicking “Freeze Panes” in the View tab of Excel.
If you want to add tax calculations, enter the tax rate in a separate cell and use the formula `=Subtotal*TaxRate` in the final total row to calculate the tax amount.
Lastly, ensure that your receipt template has a consistent currency format. Select all currency cells and format them by choosing the “Currency” option from the Format Cells menu.
- Free Basic Receipt Maker Template in Excel
Use a free basic receipt maker template in Excel to create custom receipts in just a few steps. This template offers all the essential fields to generate a receipt without unnecessary complexities.
How to Set Up Your Receipt

First, open the Excel template and input basic details such as the business name, address, and contact information. Add the date, receipt number, and a description of the items or services provided. You can customize the fields according to your needs.
Key Sections of the Receipt

The template is designed to capture the following key sections:
| Field | Description |
|---|---|
| Receipt Number | A unique identifier for the transaction. |
| Date | The date of the transaction. |
| Seller Information | Business name, address, and contact details. |
| Buyer Information | Name and contact info of the customer (optional). |
| Items/Services | List of items sold or services provided. |
| Total Amount | The total payment amount, including tax and discounts. |
After filling in the details, you can adjust the layout and design as needed. Excel’s built-in formulas can also help calculate totals and taxes automatically, saving you time.
To begin, search for “free receipt template Excel” on your preferred search engine. Many websites offer templates that are easy to download and customize. Once you find a template that suits your needs, click on the download link. The file will typically download as an Excel (.xlsx) file. Save it to a location on your computer where you can easily access it later.
After downloading, open the template in Excel. If the template comes with pre-filled fields, review them to ensure they align with your business or personal needs. Customize the template by editing any labels, logos, or color schemes. For example, replace the placeholder company name with your own business name, and update the address or contact information if necessary.
Next, adjust the receipt fields such as date, item descriptions, quantity, price, and total. Most templates are set up with formulas that automatically calculate totals, but you can adjust the formulas if needed. Make sure all the required details are present and that the layout is easy to read.
If you plan to use the template regularly, save a copy with a new name so that the original remains unchanged. You can also save it as a template file (.xltx) for quick access in the future.
- Download from a trusted website.
- Open the template in Excel.
- Review and update template fields.
- Save as a new file or template for reuse.
Once your setup is complete, print the receipt directly from Excel or save it as a PDF for digital transactions. With these steps, you’ll be ready to generate professional-looking receipts in no time.
Adjust the template to reflect your business’s identity. Begin by replacing generic placeholder text with your company name, address, and contact details. Update the font and color scheme to match your brand’s visual style. You can change the cell sizes to accommodate longer product names or descriptions. Use the “Format Cells” feature to control text alignment, borders, and cell shading, making the receipt visually appealing and easy to read.
To tailor the items section, set up a dynamic system for tracking product prices, taxes, and discounts. Add or remove rows depending on your product range, and use formulas for automatic total calculations. Excel’s SUM and IF functions allow for quick tax calculations and discounts based on your inputs, saving time and minimizing errors.
For better tracking, customize the date and invoice number fields to fit your record-keeping system. Set up a consistent format for these fields, so the receipts remain uniform and clear. Adding a drop-down menu for payment methods (e.g., Cash, Credit Card, Bank Transfer) will allow for a quicker checkout process. Consider adding a field for customer notes if you want to include additional details, like order specifics or delivery instructions.
Finally, create a template that’s easy to reuse by protecting the layout and locking formula cells. This ensures that only editable fields remain, preventing accidental modifications. Once done, save the template as a reusable file to quickly generate receipts whenever needed.
One common issue with Excel receipt templates is misaligned columns, especially when modifying the template. To fix this, double-check the cell alignment for consistency and adjust column widths where necessary. You can do this by selecting the columns, right-clicking, and choosing “Column Width” to set a uniform size.
Formatting Errors

Formatting errors often occur when cells have conflicting styles. For example, a currency value might not display correctly due to different number formats. To solve this, select the problematic cells, right-click, and choose “Format Cells.” Then, select the appropriate number format, such as “Currency” or “Accounting.”
Calculation Issues

Another common problem is formulas not updating automatically when changes are made. This can happen when the calculation option is set to manual. To ensure your formulas recalculate as expected, go to the “Formulas” tab and select “Calculation Options.” Make sure it is set to “Automatic.”
If you have inconsistent cell references, Excel might not compute totals correctly. Ensure all formulas reference the correct cells. You can use absolute references (with a $ symbol) when necessary to keep references fixed while copying formulas.
Lastly, if the receipt template includes date or time fields that aren’t updating correctly, check the format settings. Use the “Format Cells” dialog to set the date or time format that works best for your needs, ensuring accuracy in all generated receipts.
To create a free basic receipt maker in Excel, start by setting up a simple structure that includes key fields such as date, item description, quantity, unit price, and total. You can then use Excel’s built-in formulas to automatically calculate totals based on quantity and price.
For ease of use, set up a table layout. Organize your data in rows and columns, where each row represents an item purchased. Use the following columns: Date, Item Description, Quantity, Unit Price, and Total. For the Total column, enter the formula =Quantity * Unit Price.
Include a section for the business name, address, and contact information at the top of the receipt. This ensures that important details are easy to find. To make it more professional, you can add a simple border or color highlights to separate different sections.
For frequent use, consider saving this template with placeholders so you can quickly input new information. This saves time for regular transactions while maintaining consistency across receipts.
Finally, don’t forget to add a small section for the payment method and a space for signatures, if needed. This adds an extra layer of clarity and formality to the receipt.


