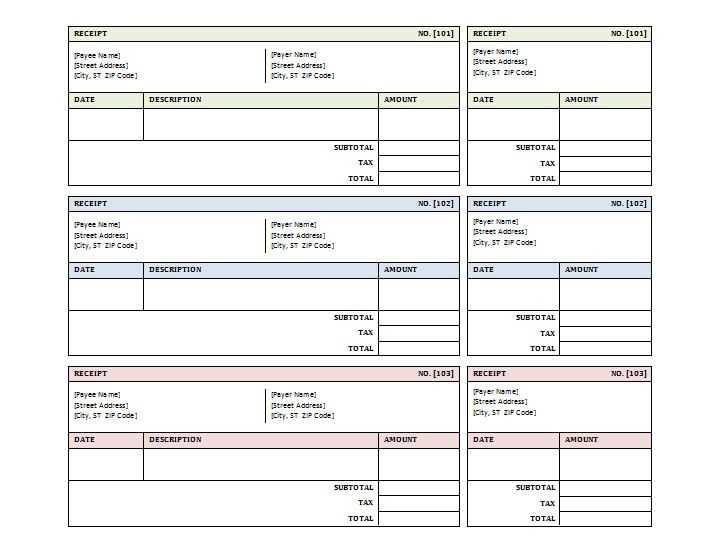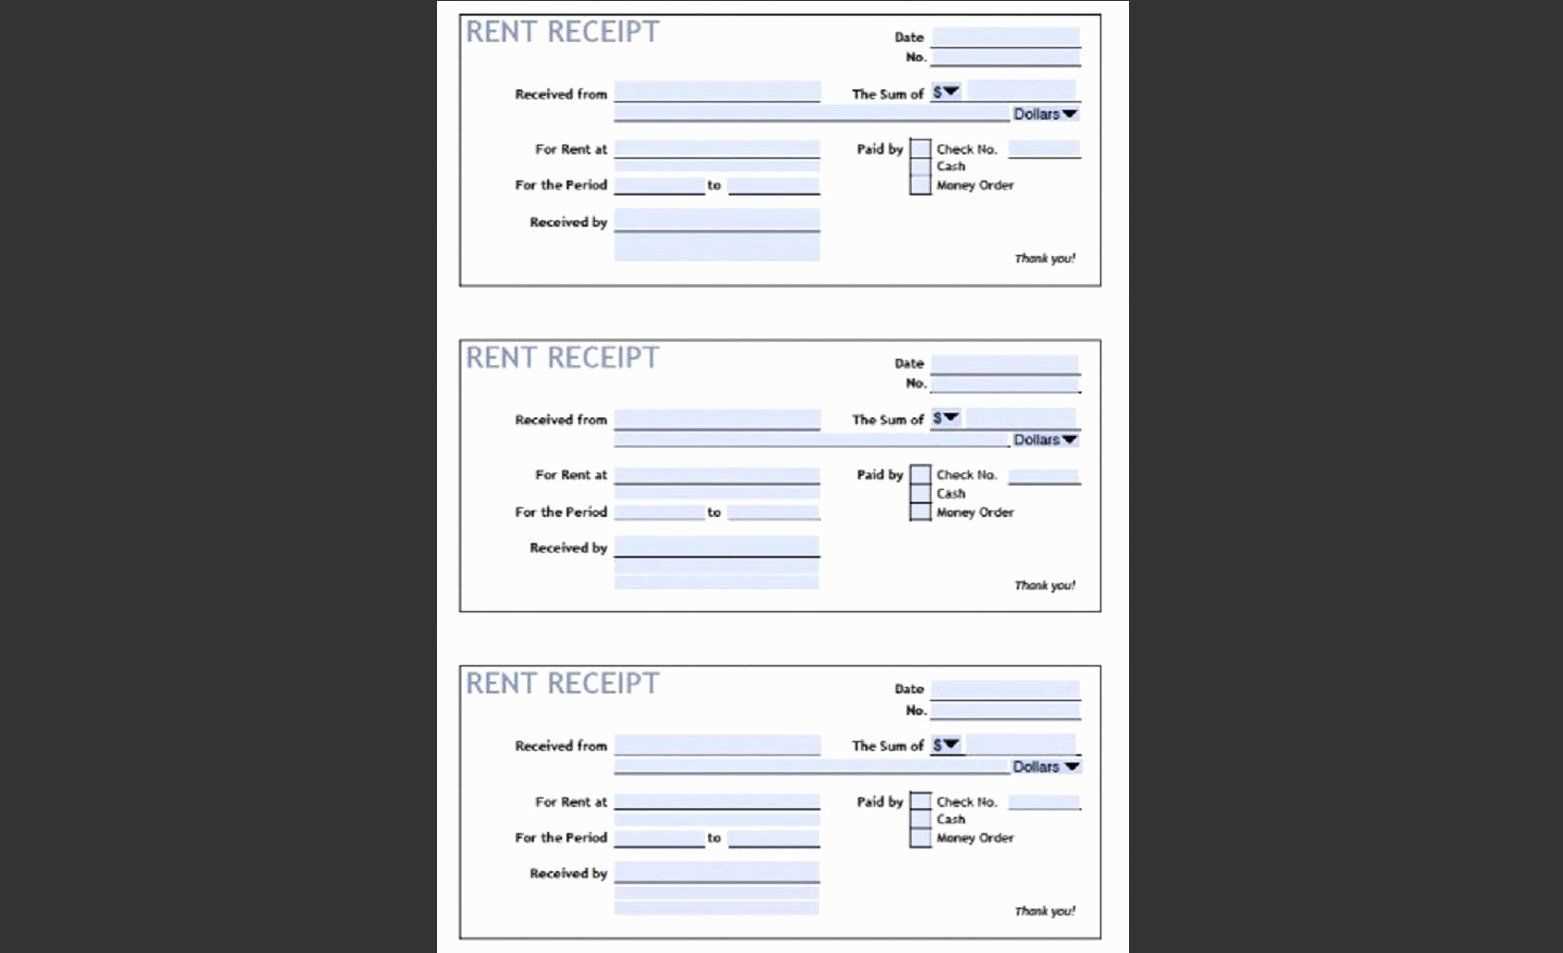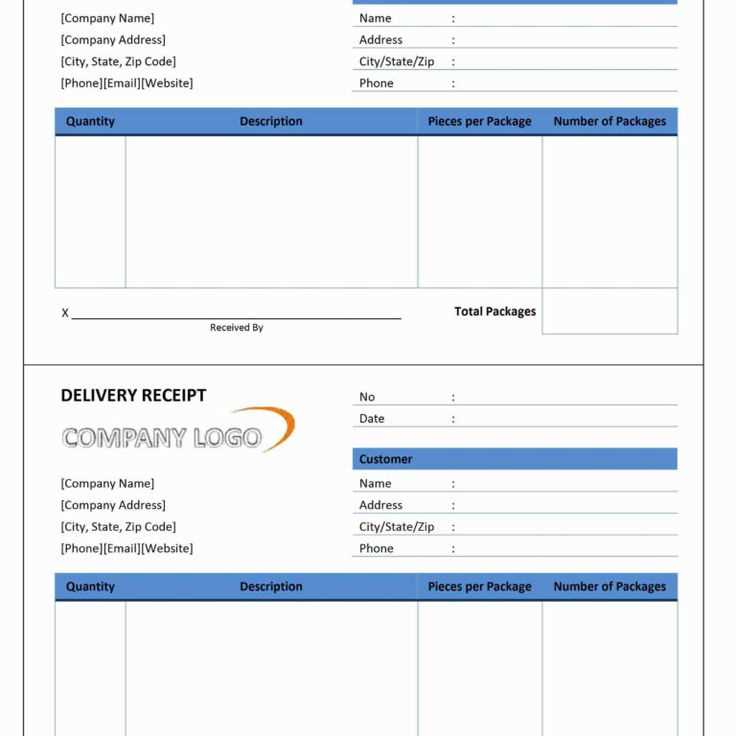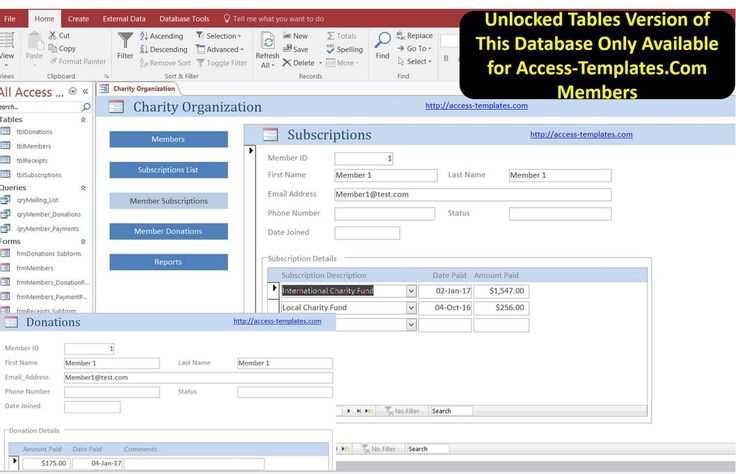
Use a Microsoft Access receipt database template to streamline the process of organizing and managing receipts. With the right template, you can efficiently record transaction details, track payments, and store necessary data in a way that’s easy to access and update. By implementing a ready-made template, you eliminate the need for complex database creation, saving time and resources while ensuring all necessary fields are covered.
The receipt database template offers a pre-structured design that allows you to quickly customize categories like transaction date, vendor name, amount, payment method, and more. This structure enables better record-keeping and offers simple sorting and filtering options, which help retrieve specific information swiftly. Whether for personal or business use, the template gives you the flexibility to adjust according to your unique requirements.
Maximize the benefits by ensuring you set up proper data validation rules. This way, you prevent mistakes like incorrect formatting and ensure the accuracy of the data entered. The design typically supports integration with other tools, making it easier to transfer data to reports or financial software when needed. Take advantage of the powerful search and reporting features that come with Access templates to track trends or audit past transactions without hassle.
Here is the corrected version:
To ensure a streamlined receipt management system in Microsoft Access, first, focus on creating clear and structured tables. A “Receipts” table should contain fields such as ReceiptID (Primary Key), Date, Amount, CustomerName, and PaymentMethod. This basic structure can be expanded later with additional fields like ItemDescription or Quantity depending on your needs.
Database Design Considerations:
- ReceiptID: Use an AutoNumber field to ensure each receipt is uniquely identified.
- Date: Store the transaction date in the Date/Time format for easy sorting and filtering.
- Amount: Set this field as Currency to handle financial calculations correctly.
- CustomerName: Text field for storing customer information. Consider linking this to a separate “Customers” table if needed.
- PaymentMethod: Use a drop-down list (ComboBox) for options like Cash, Credit Card, or Check to standardize entries.
Building Relationships:
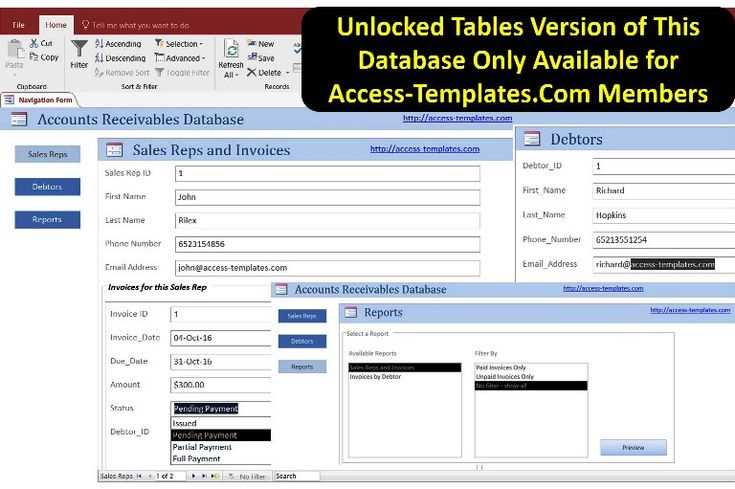
- Establish a one-to-many relationship between the “Customers” and “Receipts” tables, where one customer can have multiple receipts.
- Ensure foreign keys are set up correctly for smooth data retrieval and integrity.
Once your tables are set, create forms to simplify data entry. A Receipt Form will allow you to input all necessary information in a user-friendly layout. Use calculated fields to automatically sum amounts or apply tax rates, further enhancing the form’s functionality.
Finally, for reporting, build queries that extract specific receipt data based on parameters like Date Range or Customer. Use these queries to generate printable reports or summaries, which will aid in record-keeping and analysis.
- Microsoft Access Receipt Database Template
To create a streamlined receipt management system in Microsoft Access, start by setting up a table that captures essential transaction data. Include fields for receipt number, date, customer name, items purchased, quantity, price, and total cost. You can also add a field for payment method and any applicable taxes. This table will serve as the core for generating and storing receipts.
For easier navigation, build a form that allows users to input receipt data. Include drop-down lists for recurring fields like payment methods and customer names. Set up buttons for adding, editing, and deleting records to improve user experience. If you frequently generate reports, create a query that automatically pulls relevant data, such as receipts within a specific date range, total sales by customer, or itemized sales reports.
To enhance data integrity, enforce input validation rules. For example, ensure that the quantity and price fields only accept numeric values, and the date field is formatted correctly. Consider adding a calculated field for total cost that multiplies quantity by price, ensuring accurate data entry and eliminating manual calculations.
Once your database structure is in place, design a report layout to print receipts or sales summaries. Customize the report to include company branding, receipt formatting, and clear item breakdowns. You can further automate the process by linking the form to the report, allowing users to generate printable receipts instantly.
Finally, test the template by entering mock transactions to ensure it performs as expected. This simple, yet effective database template will provide a solid foundation for managing receipts and tracking sales in your organization.
Begin by creating a new database in Microsoft Access. Choose “Blank Database” and give it a name that reflects its purpose, like “Receipt Database.” After selecting “Create,” a new, empty database will be opened.
Next, define the structure of your database. You’ll need a table to store the receipt data. In the “Table Design” view, create fields for each piece of information you want to track, such as “ReceiptID,” “Date,” “Amount,” “Vendor,” and “Category.” Set the “ReceiptID” field as the primary key to ensure that each entry is unique.
For the “Date” field, select the “Date/Time” data type, and for the “Amount” field, choose “Currency.” The “Vendor” field should be set to “Short Text,” and the “Category” field can also be “Short Text” or use a lookup list to standardize common categories like “Groceries,” “Utilities,” or “Dining.” Once your fields are defined, save the table.
After creating the table, move to “Form View” to create a simple input form. This allows for easy data entry, where each field from your table appears as a box that can be filled in. Customize the form by adding labels or instructions if necessary. To make the form user-friendly, ensure all fields are displayed in a logical order.
Consider adding a query to view and filter your receipt data. In “Query Design,” select the fields from your table and set criteria for filtering by date, amount, or category. For example, you can create a query that displays receipts from a specific time period or under a specific category, making it easier to analyze your data.
To make your database more functional, consider adding reports for printing or sharing receipt data. In “Report Design,” select the query you created earlier and customize the report layout to suit your needs. Include a summary of total expenses or other relevant statistics to help track spending patterns.
Lastly, create relationships between tables if you plan to track multiple types of information. For example, if you want to track vendors or categories separately, create additional tables for these and link them to the receipt table using foreign keys.
Use Microsoft Access to automate receipt generation and streamline data entry with the following steps:
1. Design an Automated Data Entry Form
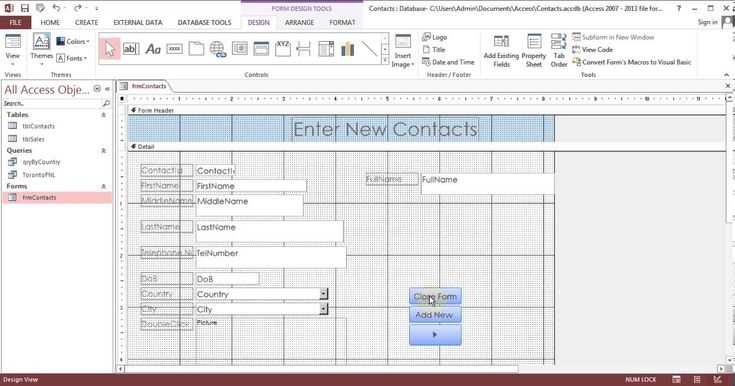
Create a data entry form in Access that automatically collects transaction details. Include fields for items, quantities, prices, and customer data. Utilize combo boxes for product selection and auto-fill features for faster and more accurate data input. Set up calculated fields for automatic pricing and tax calculations.
2. Set Up a Receipt Report
Create a report template linked to your data entry form. The report should pull all transaction data from the form and format it into a receipt. Include transaction ID, customer details, purchased items, total amount, and taxes. Design the report layout to fit your receipt format, ensuring clarity and consistency.
With this setup, receipts are automatically generated whenever a transaction is recorded, reducing manual input and ensuring quick, error-free processing.
To efficiently manage and analyze data from receipts in Microsoft Access, begin by creating a well-organized database structure. Set up tables that store critical receipt details, such as date, store name, items purchased, price, and payment method. Link these tables through relationships to maintain data integrity and streamline analysis.
Creating Tables for Receipt Information
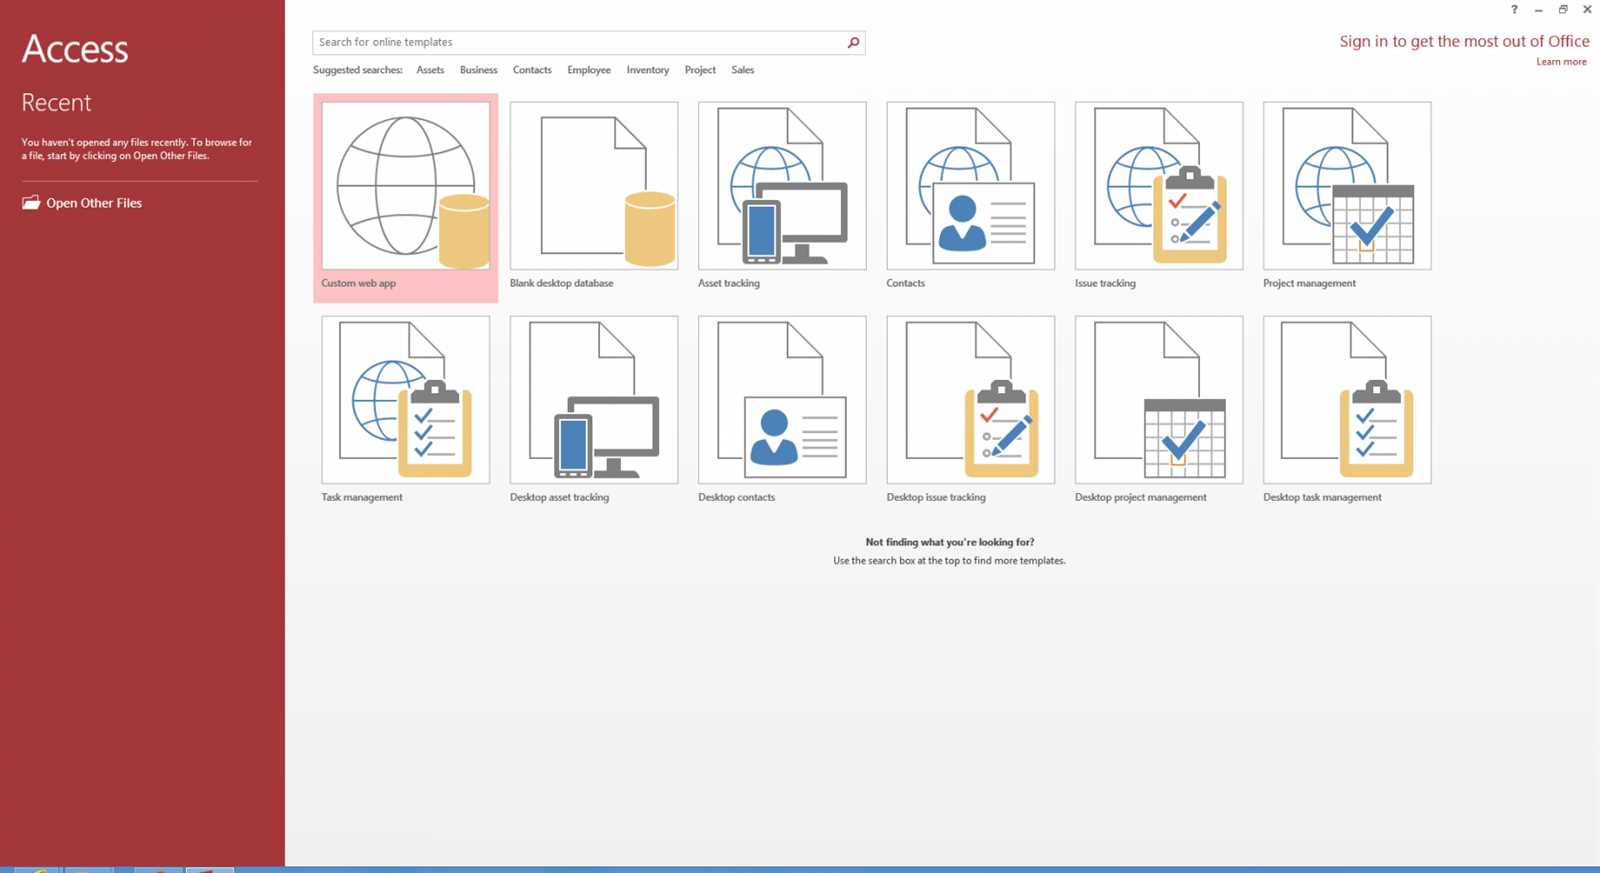
Design your tables to capture specific data points. For instance, one table can store customer information, while another holds receipt details. Each receipt entry should have a unique identifier (like a Receipt ID) that ties it to the corresponding customer data. Make sure to include fields for item descriptions, quantities, prices, and taxes to give you the flexibility to analyze purchasing behavior and trends.
Using Queries for Analysis
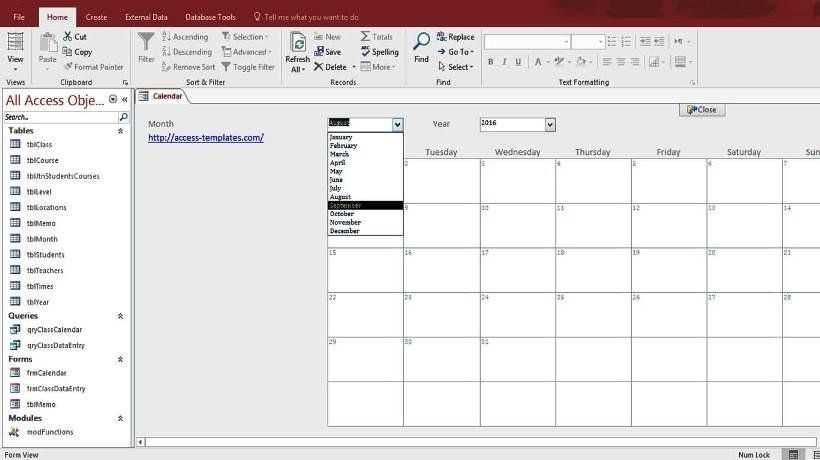
Use queries to analyze the data collected from receipts. You can create simple queries to filter purchases by date range, customer, or store. To perform more complex analyses, such as determining the total spending of a customer over time or identifying trends in product purchases, use aggregate functions like SUM, COUNT, and GROUP BY in your queries.
For instance, to find the total amount spent by each customer, create a query that sums the total purchase amount, grouped by customer. This allows you to view customer spending patterns and make data-driven decisions.
Queries also enable you to generate reports summarizing your data. These reports can provide insights into peak purchasing times, popular items, and other trends that can guide inventory and marketing strategies.
For creating a receipt database in Microsoft Access, organize the data using a clear structure. Start by defining key fields such as Receipt ID, Customer Name, Date, Item Description, Quantity, Unit Price, and Total Amount. Each field should be set with the correct data type (e.g., Text, Date/Time, Currency). This ensures smooth data entry and retrieval.
Use relational tables to separate the customer details, product information, and transaction records. This reduces redundancy and maintains data integrity. For example, a separate “Customers” table stores customer data while the “Receipts” table tracks purchases.
| Field Name | Data Type |
|---|---|
| Receipt ID | AutoNumber |
| Customer Name | Text |
| Date | Date/Time |
| Item Description | Text |
| Quantity | Number |
| Unit Price | Currency |
| Total Amount | Currency |
After setting up tables, create relationships between them. For example, link the “Receipts” table to the “Customers” table via the “Customer ID” field. This way, you can retrieve customer information for each receipt using simple queries.
To make data entry more user-friendly, design forms that allow for easy input of receipt details. Forms with drop-down menus for customer selection or product types simplify the process.
For reporting, create queries that summarize receipts by date, customer, or item. This helps track sales trends and customer purchasing behavior.
