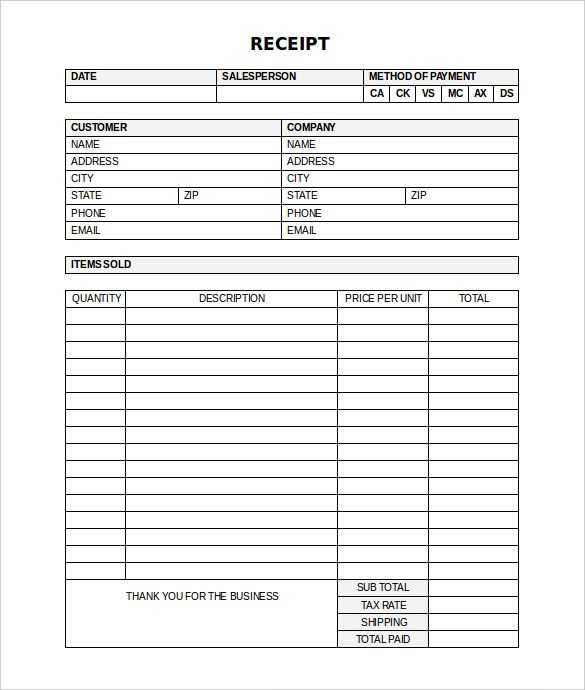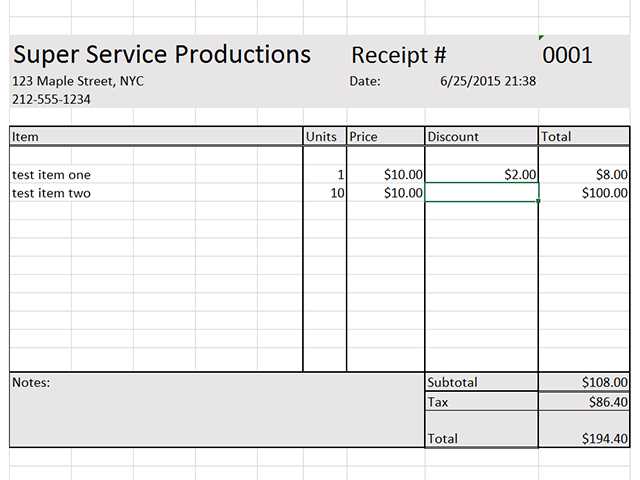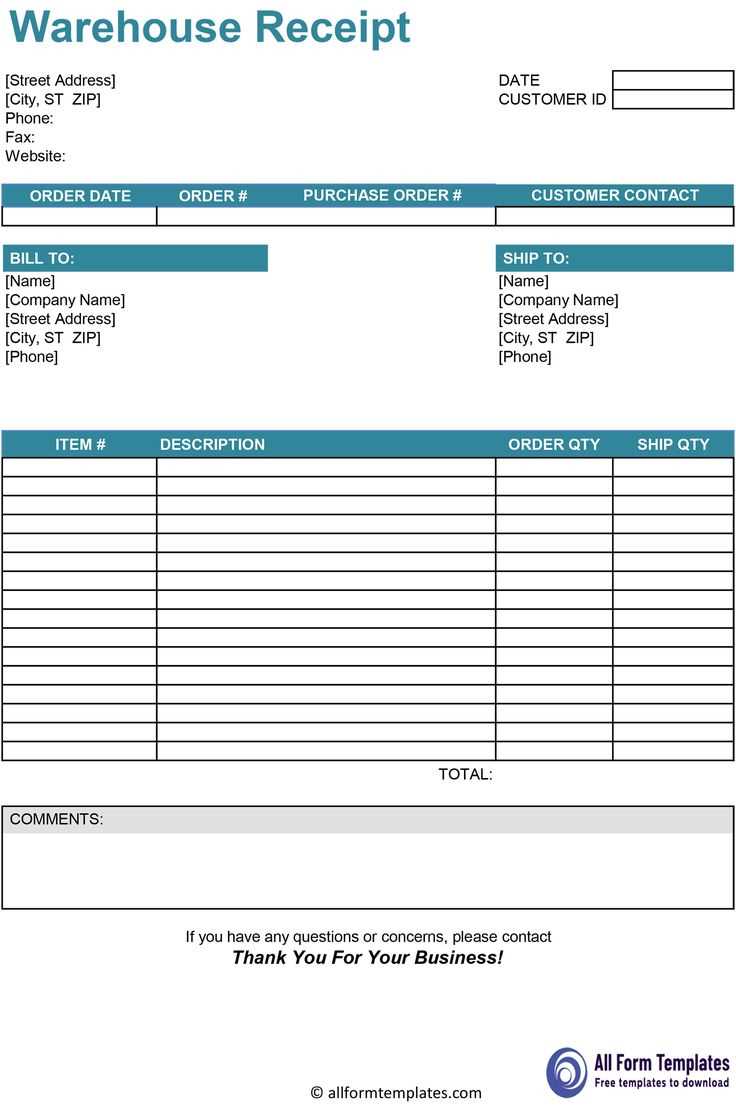
Keep your receipts organized with an Excel template designed for simplicity and efficiency. This tool allows you to quickly log, categorize, and track your expenses in a clean, structured format. Whether you are managing personal finances or business expenses, using an Excel template ensures easy access to all your data in one place.
Instead of dealing with piles of paper receipts, enter details like date, amount, category, and vendor directly into the spreadsheet. This method provides a clear overview of your spending habits, helping you spot trends and make informed decisions.
For those managing business expenses, the template can include columns for tax calculations, reimbursement tracking, and budget limits. This customization allows you to meet specific financial needs and keep your records up-to-date, especially during tax season. With Excel’s built-in functions, you can quickly calculate totals, apply filters, and generate reports without manual effort.
Using an Excel template saves time and reduces the stress of maintaining receipts. It simplifies the process of preparing reports, filing taxes, and staying on top of your budget, all while maintaining clear and accessible financial records.
Receipt Organizer Excel Template: A Practical Guide

A well-organized receipt tracker can simplify managing expenses. Use an Excel template to categorize, track, and analyze your purchases. It’s a smart approach to stay on top of your budget, especially if you make frequent transactions. Start by organizing your template into columns: Date, Vendor, Category, Amount, and Payment Method. This setup ensures you capture all the necessary details with minimal effort.
Customizing Your Template
To fit your needs, personalize the categories and labels. For example, you could add columns like “Tax” or “Project” to track business expenses separately. You can even color-code entries to easily distinguish between personal and work-related expenses. Excel’s filter and sort functions help you quickly find specific receipts or categories.
Automating Calculations
Use Excel’s built-in formulas to automatically sum the total amounts for each category. This saves you time and helps avoid errors. You can create a summary sheet that aggregates monthly totals, giving you a clear view of your spending trends. Additionally, use conditional formatting to highlight high-value transactions or unusual patterns that may require your attention.
By setting up an Excel receipt organizer, you streamline your expense tracking and gain better control over your finances. It’s a practical solution that combines simplicity with flexibility to suit your personal or business needs.
How to Set Up Categories for Different Receipt Types in Excel
Organizing receipts in Excel requires clear and specific categories to streamline tracking and reporting. Start by listing the types of receipts you regularly encounter–such as groceries, utilities, entertainment, travel, and dining. Create a column for “Receipt Type” and assign each entry to the corresponding category. This will make filtering and sorting data much easier later.
Create a Standardized List of Categories
Set up a drop-down list in Excel using Data Validation to ensure consistency. To do this, go to the “Data” tab, select “Data Validation,” and choose “List” as the validation criteria. Enter your categories separated by commas (e.g., groceries, utilities, dining). This prevents variations in spelling and ensures that each receipt is correctly categorized.
Assign Categories to Existing Receipts

Review the receipts you’ve already entered. For each, manually assign a category by selecting from the drop-down list. This step can be time-consuming, but it’s crucial for accurate tracking. Once all receipts are categorized, use Excel’s filtering options to sort by category, allowing for quick analysis of your spending in each area.
How to Automate Receipt Data Entry Using Excel Functions
Use Excel’s built-in functions to speed up the data entry process for receipts. Instead of typing each value manually, you can automate repetitive tasks and reduce errors by applying a few key functions.
Start with the TEXT function to format dates and numbers. If your receipt has a date in a different format, you can use the formula =TEXT(A1, “MM/DD/YYYY”) to standardize the format across all entries. This works well for consistency when organizing multiple receipts.
The IF function can be used to categorize expenses automatically. For example, if a receipt amount exceeds a specific threshold, you can assign it a category like “Office Supplies” or “Travel” using a formula like =IF(B2>100, “Office Supplies”, “Other”). This saves time on sorting and categorizing manually.
Combine VLOOKUP with a product list or vendor database. Instead of typing in the vendor’s name or the specific item every time, you can set up a lookup table with common vendors and items, and use =VLOOKUP(A2, VendorList, 2, FALSE) to pull the relevant information automatically based on the vendor code or item number.
Use SUMIF to automatically calculate totals for categories. If you have receipts grouped by type or category, the formula =SUMIF(C:C, “Office Supplies”, B:B) will sum all amounts in column B where the corresponding category in column C is “Office Supplies”. This eliminates the need for manual summing and helps you track spending quickly.
By setting up simple rules and formulas, you can automate data entry for receipts in Excel, save time, and reduce manual errors in your records.
Tips for Creating a Simple Expense Report from Your Organized Receipts
Start by categorizing your receipts. Group them based on expense types like groceries, travel, office supplies, and entertainment. This helps to quickly allocate expenses when creating your report.
- Use Excel’s built-in features: Utilize Excel’s SUM function to quickly calculate totals for each category. This can save you time when adding up expenses.
- Set up a clear column structure: Create columns for date, vendor, category, amount, and any additional notes. This ensures consistency and easy filtering later.
- Apply filters: Excel allows you to filter data based on any column, which is especially useful when sorting receipts by category or date range.
- Track tax amounts separately: If your expenses include taxes, create a separate column for tax amounts. This way, you can easily see how much you’re spending on taxes.
- Use color coding: Highlight different categories using Excel’s cell color tool. It helps to quickly identify and analyze the data.
- Double-check calculations: Always verify the totals and ensure that the sum of your receipts matches the calculated amounts in your report.
Once you’ve organized your data, format your report with clear headings, totals, and a summary. A well-structured report is easier to understand and present.
Lastly, save your report regularly. Excel allows you to keep track of all updates and adjustments, ensuring you don’t lose valuable information.


