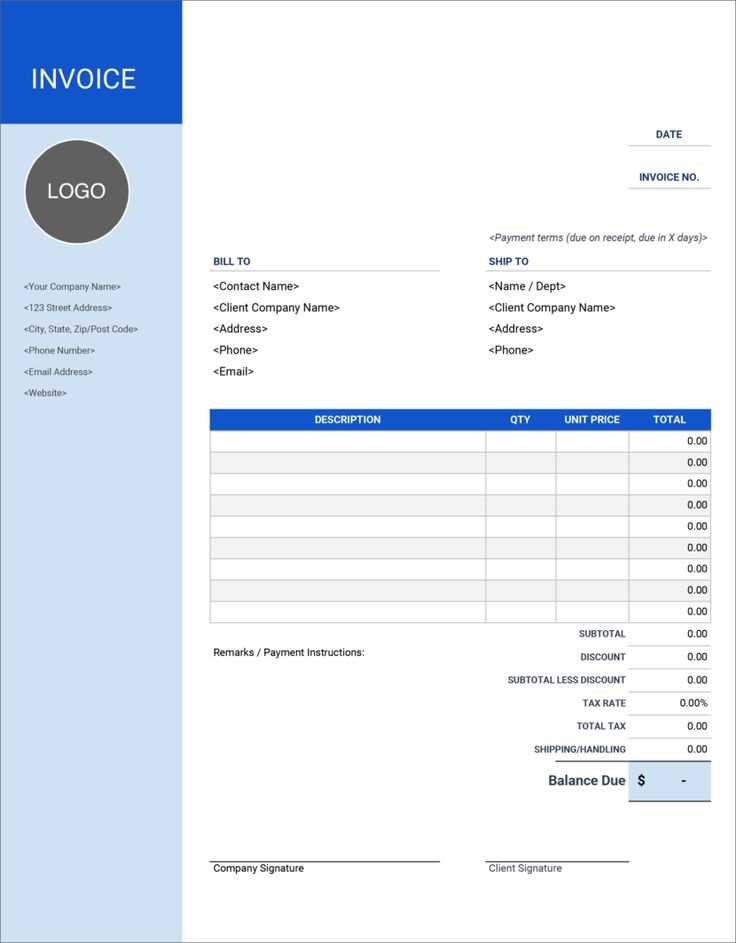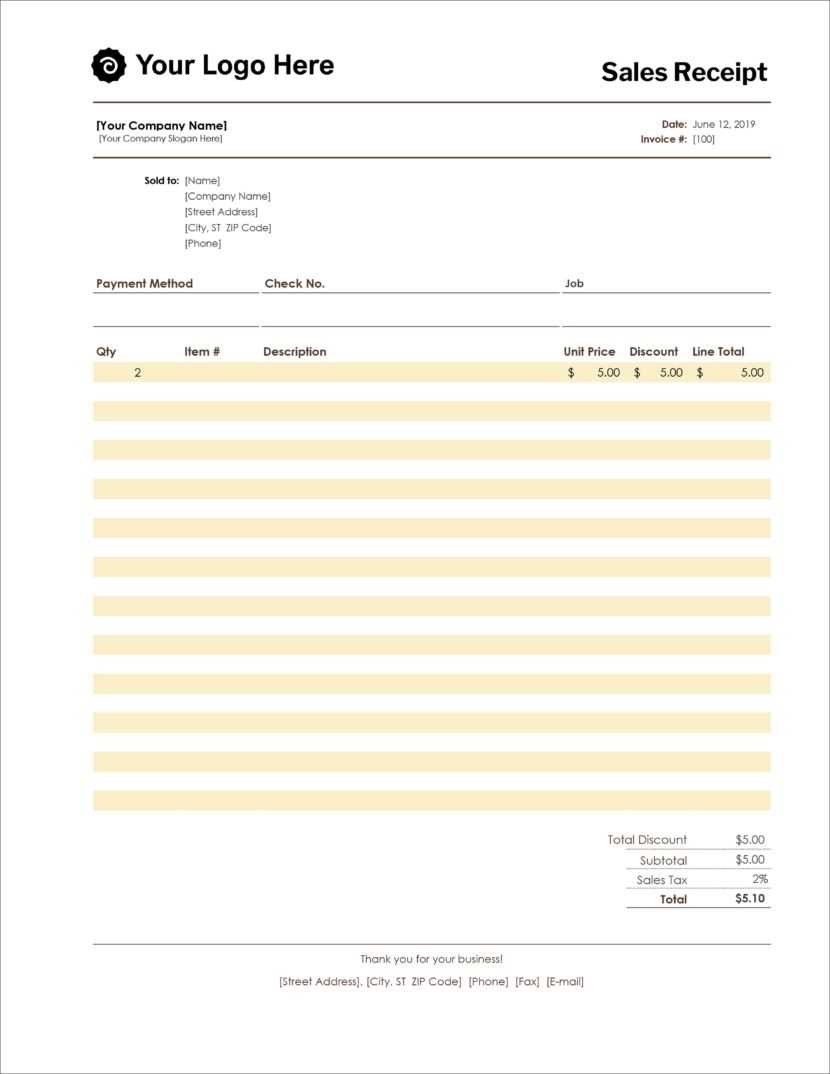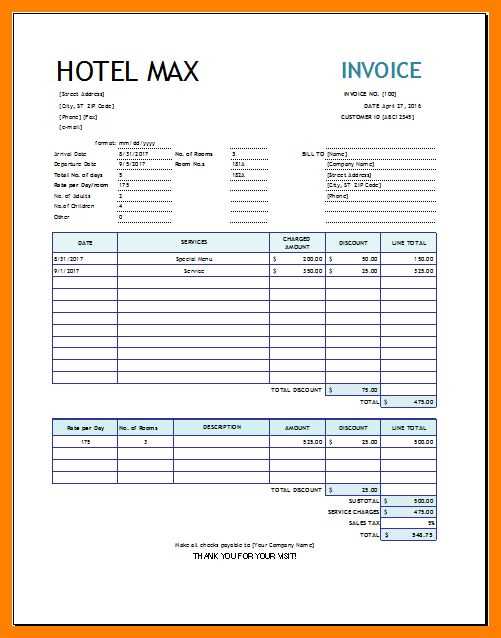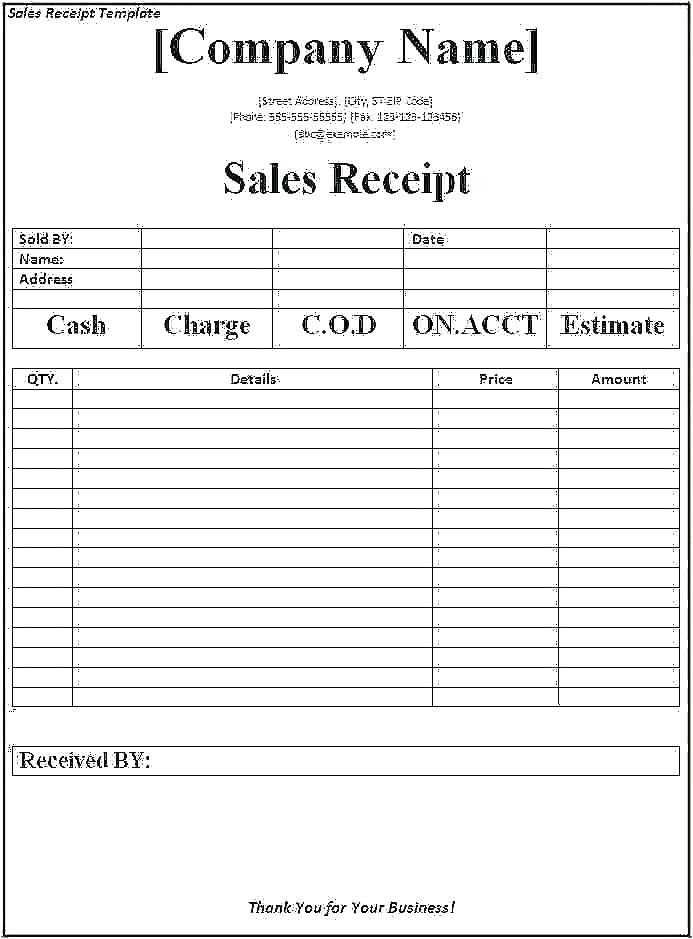
If you’re looking for a quick way to create and customize receipts, using an Excel template is a practical solution. Excel offers a straightforward method to track transactions, providing flexibility in design while keeping everything organized. You can easily add fields like item descriptions, quantities, prices, and totals, making it easy to document every sale or purchase. With its built-in formulas, you can calculate totals automatically, ensuring accuracy and saving time.
Start by selecting a template or creating your own layout. Excel’s grid structure is perfect for building a professional-looking receipt, with space for your company logo, contact information, and transaction details. It’s simple to adjust fonts, colors, and borders to match your branding. A well-designed receipt not only looks polished but also ensures all relevant information is clear and accessible for both you and your customers.
For more advanced needs, you can incorporate features like tax calculations or discounts. By setting up simple formulas, Excel automatically adjusts prices based on your inputs. This can be particularly helpful for businesses that offer promotional pricing or operate in multiple regions with varying tax rates. The ability to customize makes Excel a great tool for businesses of all sizes, whether you’re a freelancer or running a large retail operation.
Microsoft Excel Receipt Template

Creating a receipt template in Microsoft Excel is a straightforward process that helps maintain accurate records. Follow these steps to design an effective template for your needs.
- Start with a clean sheet: Open a new workbook and label the sheet “Receipt”. This ensures clarity and organization.
- Set up header information: In the top row, input the business name, address, and contact details. This section is important for identifying your business on the receipt.
- Include receipt title: Below the business details, write “Receipt” in a bold and slightly larger font to make it stand out.
- Insert transaction details: Create columns for the date, invoice number, and the name of the customer. This information is crucial for record-keeping and tracking transactions.
- Itemized list: Add columns for “Item Description,” “Quantity,” “Unit Price,” and “Total”. Use formulas to calculate the total for each item (Quantity * Unit Price). This ensures accurate totals and reduces manual calculations.
- Taxes and Discounts: Leave space for applicable taxes or discounts. You can use Excel’s built-in tax formulas to calculate percentages automatically.
- Total Amount: In the final section, include the total amount of the transaction. Sum all item totals, taxes, and discounts to get the final figure.
- Payment Method: Add a field to specify how the customer paid, such as cash, credit card, or check.
- Footer: Include a “Thank You” message or return policy in the footer to create a more personal touch.
Save the template for reuse. You can update the details for each transaction, ensuring that the format remains consistent and professional for every receipt you issue.
How to Customize a Basic Receipt Template in Excel
Open your Excel receipt template and begin by identifying the sections you want to modify. Typically, a basic template will include fields like “Date,” “Item Description,” “Amount,” and “Total.” Adjust the font, color, and size of these fields to suit your preferences by selecting the cells and using the formatting options in the toolbar.
Next, update the header to reflect your business or personal information. Replace the placeholder name and address with your own, and make sure the logo, if present, is properly aligned. Resize the logo or move it around until it fits well within the template.
For the items section, customize the columns to include any specific details relevant to your transactions. You can add extra columns for quantity, unit price, or discount if needed. Use formulas to automatically calculate totals by selecting the appropriate cells and applying a SUM or multiplication formula.
If you need to include taxes or shipping costs, add a row beneath the totals section and label it accordingly. Use simple formulas to calculate these amounts based on the subtotal. Make sure the layout is clear and easy to read by adjusting the borders, alignment, and spacing.
Lastly, save your customized template for future use. You can even protect the cells with formulas to prevent accidental changes. Save the file as a template so that you can reuse it without altering the original document each time.
Step-by-Step Guide to Adding Tax and Discount Calculations
To include tax and discount calculations in your Excel receipt template, begin by creating separate columns for each calculation. This ensures clarity and accuracy in your final total. The process can be broken down into a few simple steps.
Adding a Tax Calculation
First, determine the tax rate for your item or service. In a new column, use a formula to calculate the tax amount based on the price. For example, if the price is in cell B2 and the tax rate is 5%, use the formula =B2*0.05 to calculate the tax amount in the corresponding cell. Ensure the formula is consistent for each item on the receipt.
Applying a Discount

For discounts, decide if you want to apply a fixed amount or a percentage off. If it’s a percentage, use a similar formula as the tax calculation. For example, for a 10% discount on the price in cell B2, use =B2*0.10. Subtract this value from the original price to reflect the discounted amount.
For a fixed discount, simply enter the discount amount in the relevant cell, and subtract it from the total price. For example, if the discount is $5, use the formula =B2-5.
Finally, adjust the total price by adding the tax and subtracting any discounts to get the final amount due. This method ensures accuracy in both calculations and prevents errors in manual adjustments.
Tips for Printing and Saving Excel Receipts as PDF

Ensure the layout of your receipt is properly set up before printing. Adjust margins, page orientation, and scaling through the “Page Layout” tab. This will prevent text or details from being cut off when printed or saved as a PDF.
For clear and readable receipts, choose a simple font like Arial or Calibri. Set the font size to something easy to read, typically between 10 and 12 pt, and avoid overcrowding the page with too much information.
To save an Excel receipt as a PDF, select “File,” then “Save As.” In the file type dropdown menu, choose “PDF.” Make sure to check the “Optimize for” setting, selecting “Standard” for high-quality output.
If your receipt contains multiple sheets, select the correct range for printing. In the print setup, ensure the option “Print Active Sheets” is selected or adjust the print area by selecting “Set Print Area” in the “Page Layout” tab.
Before saving as a PDF, preview the document by clicking “Print Preview” to see how it will appear. Adjust the settings as needed to ensure everything fits perfectly within the page margins.
Consider adding a header or footer with your business name, logo, or contact information for a professional touch. You can do this via the “Insert” tab and selecting “Header & Footer.”
If the file is too large, use Excel’s “Compress Pictures” feature to reduce the size of any images embedded in the receipt. This ensures a smaller PDF file without compromising quality.


