Creating a receipt for an invoice can be straightforward and saves time for both the seller and buyer. A well-structured template streamlines the process and ensures no critical information is missed. The template should include key details such as the company’s name, receipt number, transaction date, itemized list of services or products, and the total amount paid.
Start by including basic company information, such as the name, address, phone number, and email. This establishes the legitimacy of the transaction and allows the buyer to contact you if needed. It also provides a clear record for future reference.
Itemized list of what was purchased or services rendered should follow, with each item described briefly. Alongside each entry, include the price, quantity, and any applicable taxes. This ensures transparency and helps avoid disputes later. For clarity, it may be useful to include the total before taxes and the final amount after taxes.
Don’t forget to add payment details, including the method of payment, such as credit card, cash, or bank transfer. Additionally, it’s important to include the receipt number to help both parties track the transaction in case of future queries or discrepancies.
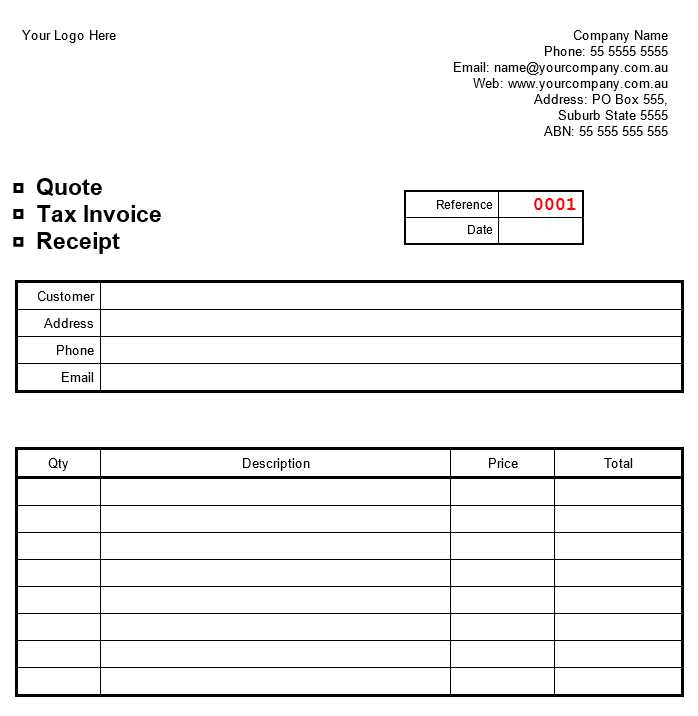
Invoice Template Receipt

Design your invoice receipt template with a clear and simple structure to make it easy for clients to understand the details of their transactions. Begin by including key information such as your business name, address, and contact information at the top. Follow this with the recipient’s name, address, and contact details. Organize the main section by listing the products or services provided, including a brief description, quantity, price per item, and the total amount for each line. A subtotal and any taxes or discounts should be calculated and clearly displayed, followed by the final total amount due.
Structuring the Template for Clarity

Ensure that the template includes a payment section with relevant terms, such as due date and preferred payment methods. Adding an invoice number and date of issue can help both parties track the document. Use bold headings and consistent formatting for easy navigation. Avoid clutter and limit unnecessary details that may confuse the recipient.
Adding Personalization and Additional Information
If needed, include a section for additional notes or instructions. This could cover payment instructions or thanks for the business. Offering a professional and polite closing statement can leave a positive impression. Ensure the template is adaptable and can easily be updated with new information for each transaction.
Customizing Your Invoice Template for Specific Business Needs
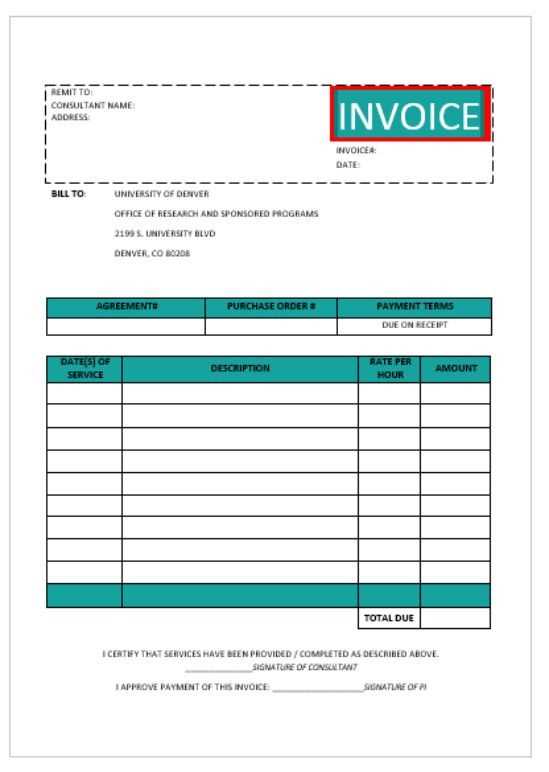
Tailor your invoice template to reflect the unique aspects of your business. Focus on the details that matter most to your clients and operations. For example, if you provide services, include sections for hourly rates, service descriptions, and the time spent. For product-based businesses, list item descriptions, quantities, and unit prices.
Incorporate Your Branding: Add your company logo, colors, and fonts. Consistent branding helps create a professional image and boosts client trust. Ensure that your business name and contact details are easy to find, including phone numbers and email addresses for quick communication.
Include Payment Terms: Clearly state payment methods, due dates, and any late fees. This ensures that clients understand the terms upfront, reducing potential confusion. You might also want to specify discounts for early payments or set reminders for overdue invoices.
Personalize with Custom Fields: Add custom fields to capture specific data, such as project codes, reference numbers, or customer IDs. These can streamline your internal processes, help with tracking, and provide more useful information for both you and your client.
Consider Tax Requirements: Adjust the template to reflect the tax system applicable to your region. Include fields for VAT, sales tax, or other regional tax rates. Be transparent with your clients about how taxes are calculated and displayed.
Highlight Discounts or Special Offers: If applicable, include a section for promotional discounts or special deals. This can enhance customer satisfaction and encourage repeat business. Clearly indicate any terms related to the offer to avoid misunderstandings.
Ensure Flexibility: Your invoice template should allow for changes based on the size of the project or client needs. Include space for additional notes or adjustments that could arise during the billing process, such as refunds or substitutions.
Key Elements to Include in a Receipt Template for Accurate Record-Keeping

Include the following components for clear and organized receipt templates:
1. Date of Transaction

Always add the exact date when the transaction occurred. This ensures that the record corresponds to a specific time, making tracking easier for both parties.
2. Buyer and Seller Details
- Seller’s name or business name.
- Contact information (phone number, email, or address).
- Buyer’s name and contact details, if applicable.
These details help link the transaction to the individuals involved, aiding in customer support or dispute resolution if needed.
3. Transaction Description

Provide a concise list of items or services purchased, along with quantities and prices. This clarifies what was exchanged and serves as a reference for both parties.
4. Payment Method
Clearly note how the payment was made (e.g., cash, credit card, check, bank transfer). This helps in tracking payment histories and reconciling accounts.
5. Total Amount
Include a breakdown of the total amount paid, including taxes, discounts, and any additional fees. A transparent breakdown helps prevent confusion.
6. Receipt Number
Assign a unique number to each receipt. This ensures easy identification and helps prevent errors when searching for specific records.
7. Return/Refund Policy
- Clearly state the terms for returns or exchanges, including time limits and conditions.
- Provide contact details for customer service or further inquiries.
This helps manage post-sale issues and can reduce misunderstandings later on.
Best Practices for Formatting and Design to Enhance Clarity
Use clear headings and consistent spacing to break up sections. Start with bold, easy-to-read titles that stand out, making it simple for recipients to scan and find key information. Adjust line spacing to prevent a crowded look, keeping the document open and approachable.
Choose legible fonts such as Arial or Helvetica. These fonts offer good readability and create a professional appearance. Stick to one or two font styles to maintain a clean, cohesive design. Keep the font size for body text between 10pt and 12pt for easy reading.
Align text and elements consistently. Proper alignment helps guide the reader’s eye, making it easy to follow the flow of information. Left-align text for most content, but center headers to draw attention. Ensure that the numbers and dates are aligned for clarity, especially in tables.
Incorporate visual hierarchy using font weight and size to highlight key details like the total amount or payment due date. Avoid overcrowding the page with excessive bolding, italics, or underlines, as it can cause confusion. Use subtle design elements like borders or shaded areas to differentiate sections without overwhelming the content.
Ensure there is enough white space around key sections. This space helps improve readability and prevents important information from getting lost in the clutter. A clean, well-organized layout with balanced margins creates a more inviting and professional appearance.
Finally, include all necessary details in an organized manner. Contact information, itemized charges, and payment instructions should be easy to find. Use bullet points or tables to list items clearly, helping the recipient understand their charges at a glance.