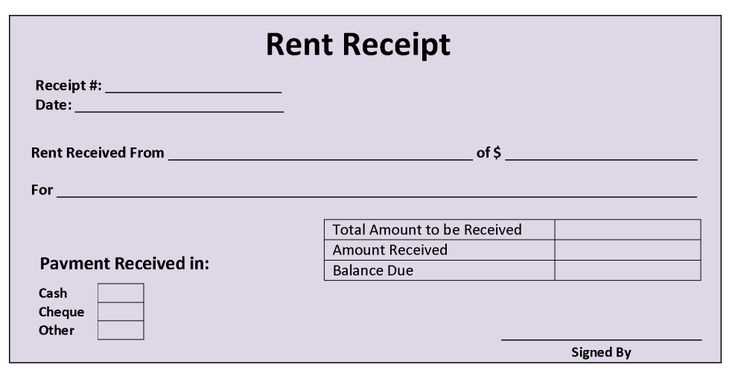
Creating a computer-generated receipt template streamlines transactions and enhances consistency in documenting sales or payments. This template ensures a clear, accurate record for both customers and businesses. By automating the process, you minimize errors and save time for both employees and clients.
Focus on key elements like the transaction date, receipt number, seller information, and a detailed list of purchased items or services. This allows easy tracking and referencing for future inquiries or audits. Including payment methods, taxes, and any discounts ensures full transparency and clarity.
Consider a design that is simple yet effective, highlighting the most important details in a structured manner. Use bold text for the transaction total and payment method to make them stand out. A clean layout improves readability and professionalism, making it easier for customers to retain necessary information.
Computer Generated Receipt Template
Creating a computer-generated receipt template streamlines business transactions. It provides clarity and consistency for both the customer and the business owner. Here’s how to structure your template:
Key Elements of a Receipt Template
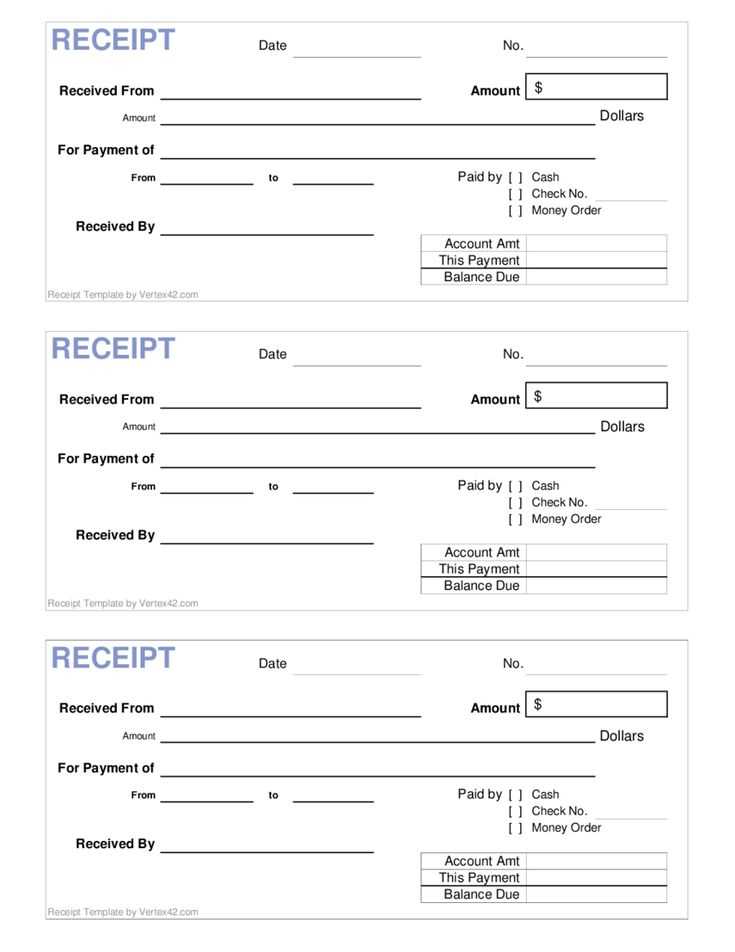
- Business Information: Include your company name, address, phone number, and email for easy contact.
- Receipt Number: Assign a unique number to each receipt to keep track of transactions.
- Date and Time: Always include the exact time and date of the transaction for record-keeping.
- Itemized List: Break down each purchased item or service, along with their respective prices.
- Taxes: List any applicable taxes separately from the total amount.
- Total Amount: Show the final price, including taxes and any discounts.
Design Tips
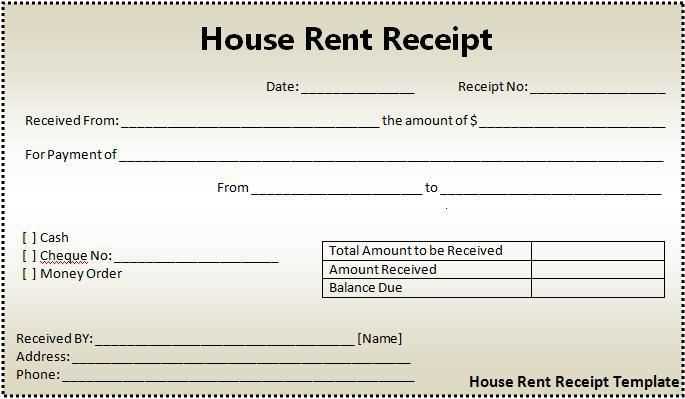
- Simplicity: Keep the layout clean with enough space between sections for easy readability.
- Legibility: Use a font that is clear and easy to read. Avoid decorative fonts.
- Consistent Branding: Incorporate your logo and use colors that align with your business identity.
Consider these elements when setting up your template to ensure it is both functional and professional. Customizable options, like the ability to add discount fields or loyalty points, make your template versatile for various business needs.
How to Design a Basic Template for Digital Receipts
Choose a clear layout that reflects the key elements of any receipt. Place your business name and contact details at the top, followed by a unique transaction number, date, and time. Use bold text for the header to make it stand out. Below this, list purchased items with descriptions and prices. Ensure each item is aligned properly to avoid confusion.
For clarity, use a simple table format for item details. Each row should display the item name, quantity, price per unit, and total cost. A subtotal should appear below the itemized list, followed by taxes or discounts. Use italic text for any notes or additional charges to maintain a clean design.
The total amount due should be placed at the bottom, in a larger, bold font. Include a section for payment method, transaction ID, and terms or return policy at the footer. Keep this information concise to avoid clutter. The overall design should prioritize readability with adequate spacing between elements.
Save the template in a versatile format like PDF or HTML to allow for easy digital distribution. Make sure the design is responsive and adapts well to different screen sizes if viewed on mobile devices. Test the template to ensure it looks professional and is easy to understand at a glance.
Integrating Data from Payment Systems into Receipt Templates
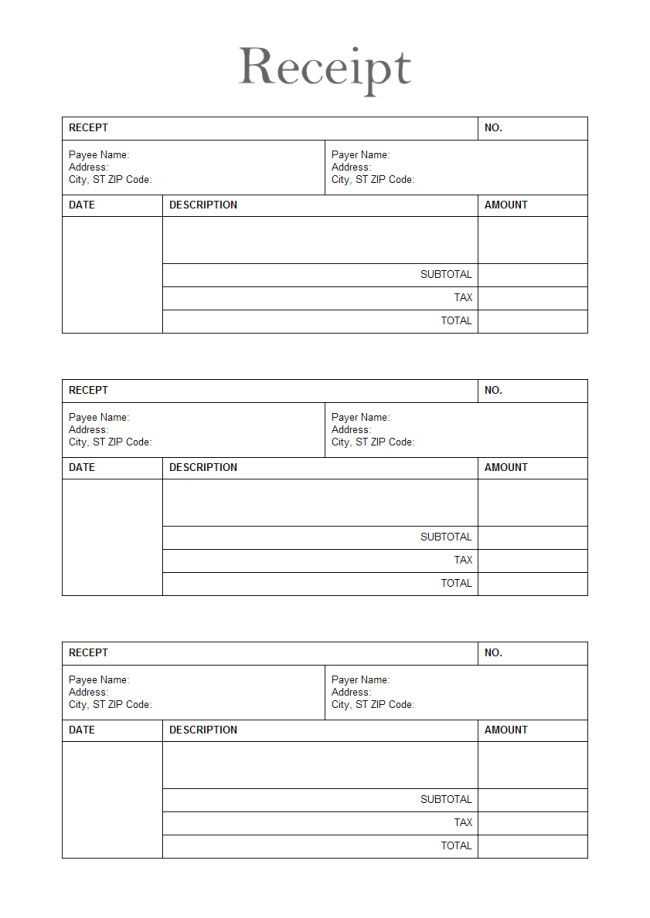
Integrating payment data directly into receipt templates streamlines the process, reduces errors, and ensures accuracy. Begin by establishing a connection between your payment system’s API and the receipt generation software. This allows real-time data extraction from transactions, such as the payment amount, method, and transaction ID, which are then embedded into the receipt template automatically.
To avoid manual entry, map the relevant fields from the payment system to the corresponding placeholders in your template. For example, the transaction ID can be inserted where the receipt number typically appears, while the total payment amount and date can be automatically added to their designated sections. Ensure that the template supports these dynamic fields for seamless integration.
Testing the integration is crucial before deployment. Run sample transactions through the system to verify that all data points are transferred correctly. Pay attention to the formatting of the data to ensure that it matches the visual design of your receipts. The system should be able to handle various payment methods, such as credit cards, bank transfers, or mobile payments, without disrupting the receipt layout.
For added convenience, configure the template to include customer-specific details like email addresses, ensuring a personalized experience. Use a secure method to store and retrieve customer data, in compliance with privacy regulations, to maintain trust and security.
Finally, ensure the receipt generation system can handle high volumes of transactions efficiently. Implement error handling mechanisms that can detect and notify users of any issues during the data transfer process. This reduces potential delays and ensures that all receipts are accurately issued without interruption.
Customizing Receipt Templates for Different Business Types
Tailor receipt templates to fit the specific needs of your business. Start by adjusting key elements such as branding, information layout, and legal requirements. For example, retail stores may benefit from including product details like name, quantity, and price, while service-based businesses should focus on service descriptions, hours, and individual charges.
Retail Business Customization
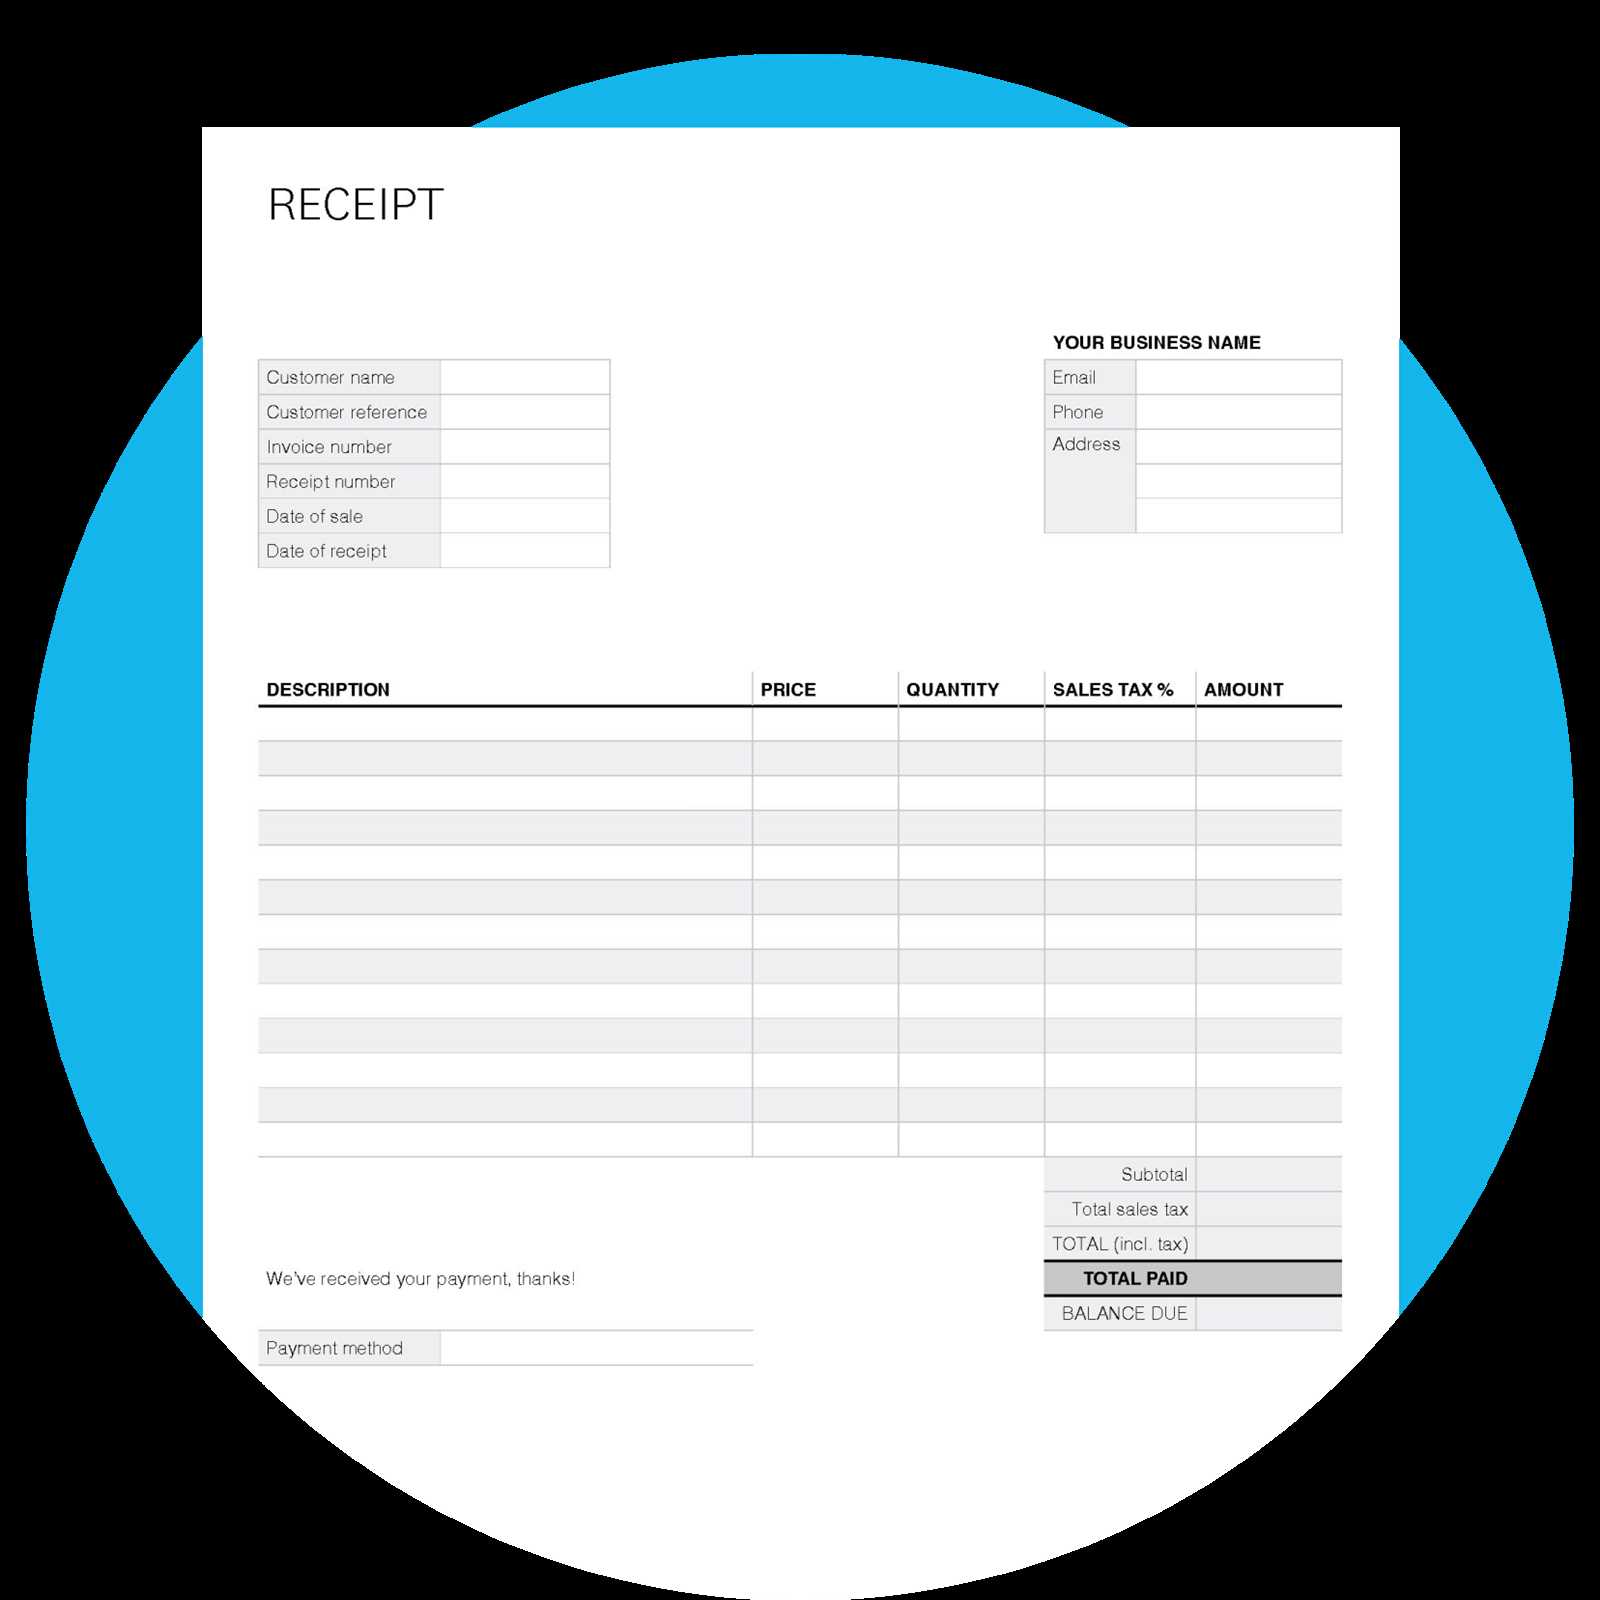
Retail receipts need a clear breakdown of each item sold. Add product descriptions, unit prices, and totals for easy reference. Including barcode or SKU information can streamline inventory management. Ensure tax rates are visible, as customers often check for this on receipts. A simple, organized design helps customers quickly understand their purchases and total cost.
Service-Based Business Customization
For service industries, receipts should outline services provided, the time spent, and any applicable rates. Include fields for tips or additional charges where necessary. Clear space for service provider names and dates ensures clarity. You can also consider adding customer loyalty or referral program details to incentivize future business.


