Creating a Clear Template for Auto Repair Receipts

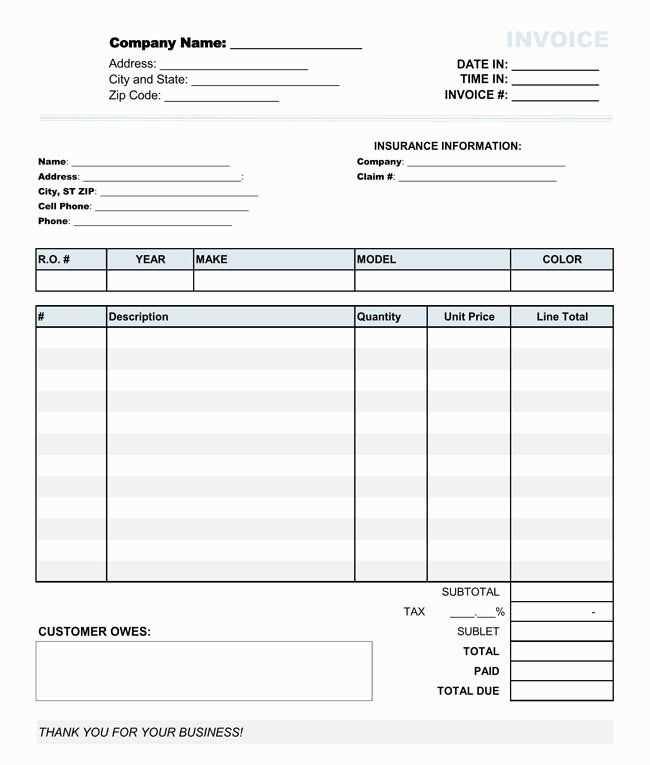
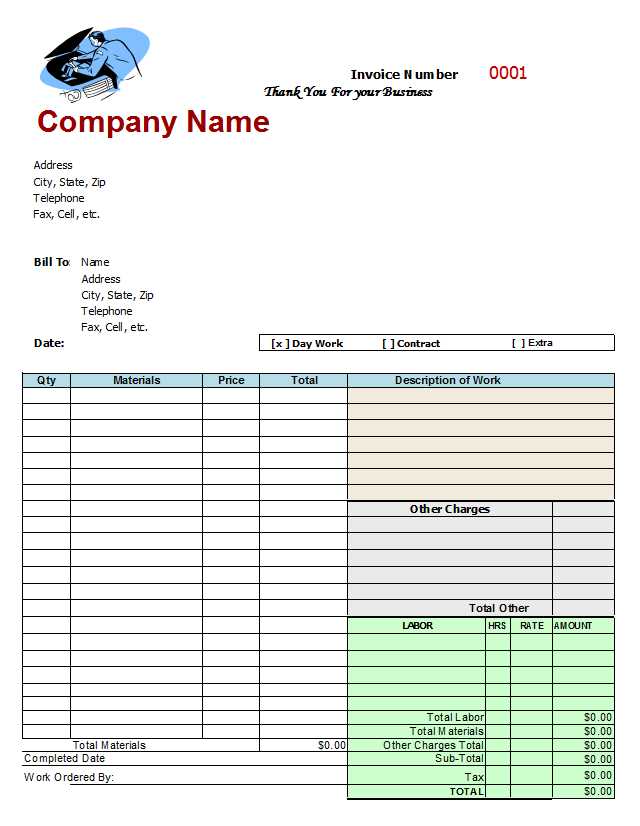
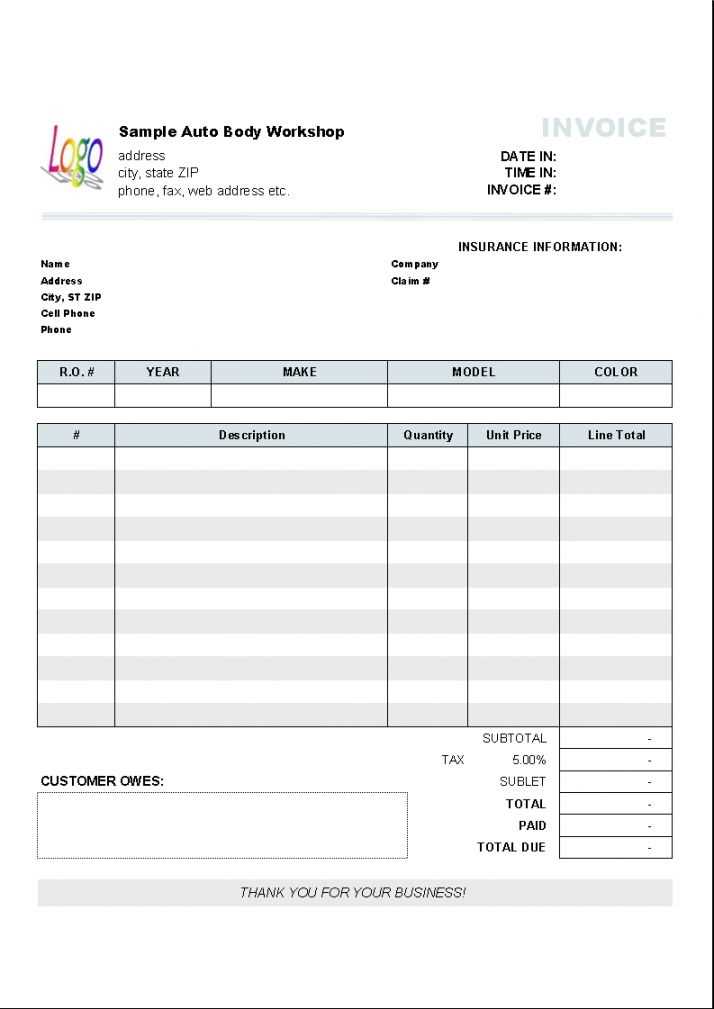
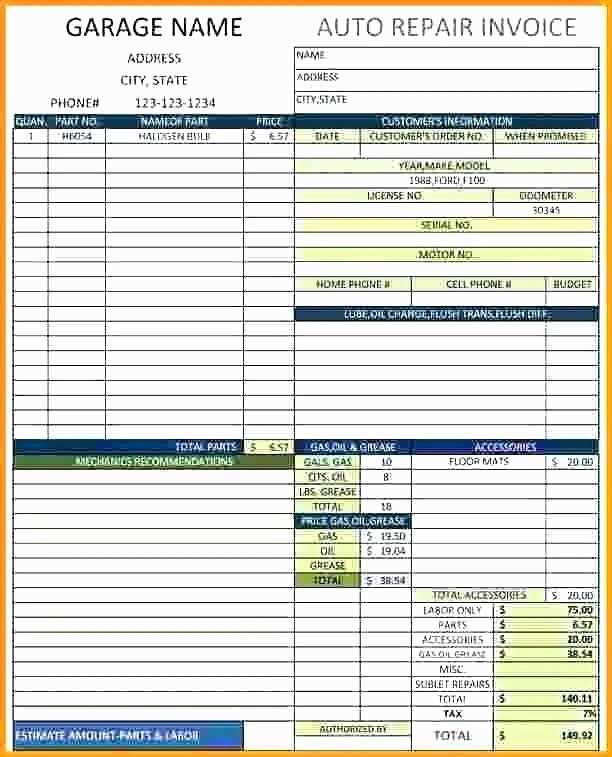
Start by designing a receipt template that includes all key details of the service. Include the customer’s name, the repair shop’s contact details, and a breakdown of the services provided. This will help maintain clarity and ensure both parties have a record of the transaction.
Include Customer and Shop Information
- Customer Name: Ensure the full name is correctly spelled.
- Contact Information: Include the phone number and email address for follow-up if necessary.
- Repair Shop Name: Your shop’s name, address, and phone number should be clearly displayed.
List Services and Parts
- Service Description: Break down each task performed. For example, “Brake replacement” or “Oil change.”
- Parts Used: If new parts were installed, list each part with its price.
- Labor Hours: Include the number of hours spent on repairs and the hourly rate.
Provide Total Costs and Payment Information
- Subtotal: List the sum of parts and labor before taxes.
- Tax: Specify the tax percentage and amount.
- Total Cost: The final amount due after tax.
- Payment Method: Include the method used for payment (e.g., credit card, cash, etc.).
Additional Tips for Effective Receipts
Offer a section for any warranties or guarantees on parts or services. This adds value and builds trust. Also, provide a space for both the customer and shop to sign, confirming the work done and the payment received. Lastly, maintain consistency with your receipts. Using the same template for every transaction ensures professionalism and organization.
Auto Repair Receipts Template

To create a custom auto repair receipt template, focus on clarity and detail. Include sections for basic contact information, services provided, parts used, and payment details. Ensure each receipt is unique with a sequential numbering system to maintain organization.
Key Details to Include on an Auto Repair Receipt
Start with the shop’s name, address, phone number, and email. Next, add the customer’s name and contact info. List the repairs and services performed, detailing labor and parts. Be specific with hours worked, hourly rates, and part prices. Include the total cost, any taxes, and the payment method used.
Best Practices for Organizing and Storing Receipts

Keep receipts in both digital and physical formats. Organize them by date or service type for easy access. Use software or a spreadsheet for digital storage, ensuring all receipts are backed up regularly. Store physical copies in a secure, labeled filing system.


