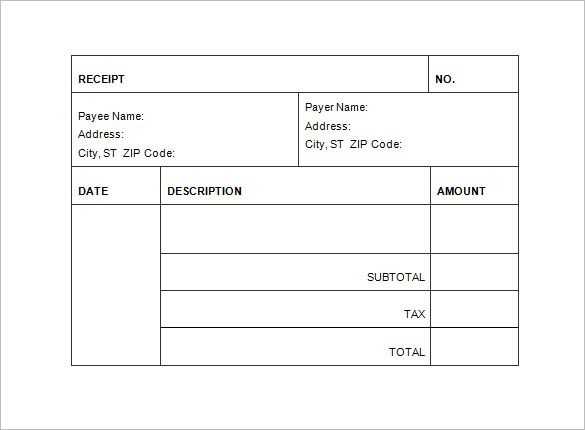
If you need to create receipts quickly, using an Excel 2010 receipt template is the most straightforward solution. This template simplifies the process by providing predefined fields for key transaction details such as date, item descriptions, prices, and totals. You can focus on customizing the template rather than starting from scratch.
Start by entering the customer’s information, including name and contact details. Ensure the date is correctly filled in to maintain an accurate record. Add items or services provided, along with their quantities and individual prices. The template will automatically calculate the total amount due based on your entries.
Excel 2010 allows for easy customization. Adjust the layout, font, and colors to suit your branding or preference. Additionally, you can include your business’s name and address for a professional touch. This flexibility ensures the receipt fits your needs without any extra effort.
By using this method, you save time and avoid mistakes. The template not only organizes your data but also guarantees that all calculations are done accurately, providing both you and your customers with clear and reliable receipts every time.
Excel 2010 Receipt Template Guide
Create a structured and professional receipt using Excel 2010 by following these steps:
Setting Up the Template
Open Excel 2010 and start with a blank worksheet. Adjust column widths to fit the information you want to display. Typically, columns like “Item”, “Quantity”, “Price”, and “Total” are included.
Adding Key Fields
- Company Information: Add your business name, address, and contact details at the top.
- Receipt Number: Assign a unique identifier for each transaction.
- Date: Include the transaction date for reference.
Formula Setup
- Subtotal: In the “Total” column, use the formula =Quantity * Price for each item.
- Tax Calculation: Calculate the tax by using a formula like =Subtotal * Tax Rate.
- Grand Total: Sum up all item totals and tax using =SUM(Total Column).
Formatting the Receipt
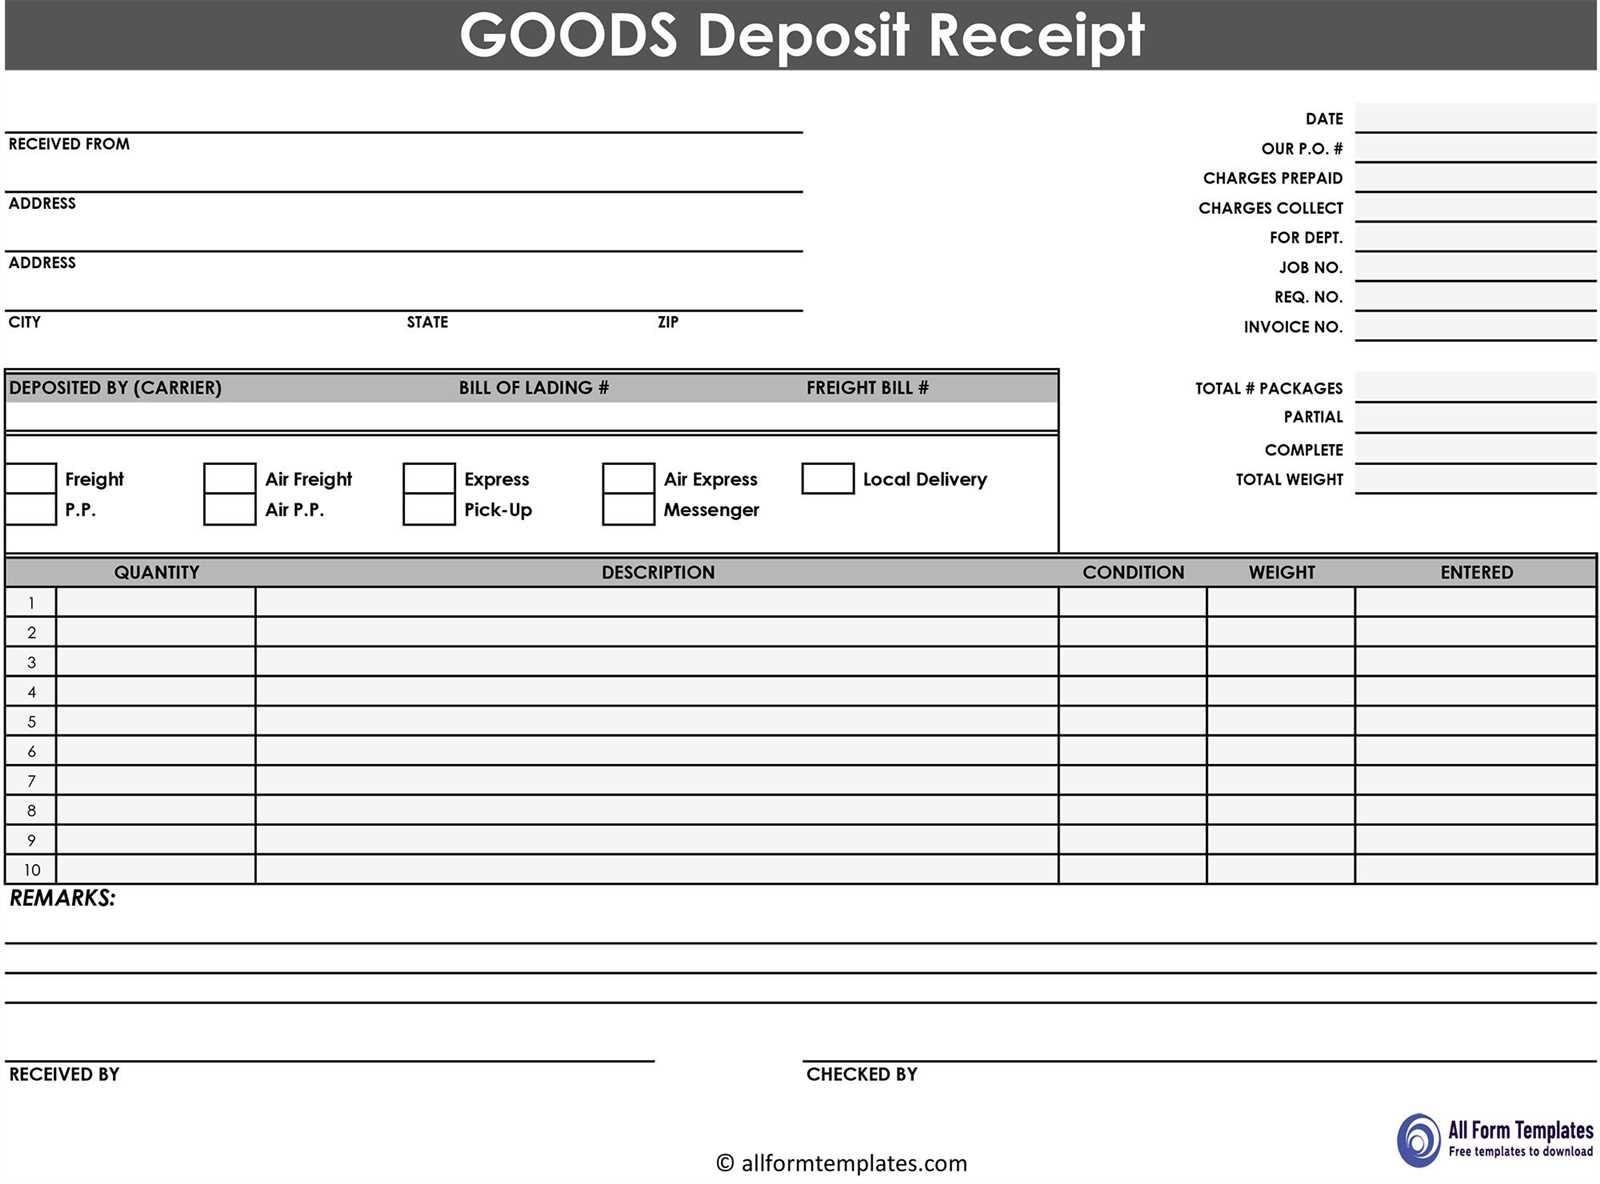
- Make the header bold and larger to stand out.
- Apply borders around the item list to separate each entry clearly.
- Use currency formatting for price and total columns to ensure clarity.
This simple layout ensures that the receipt looks organized and provides all the necessary details in a readable format. Save the file for future use or as a template for quick receipt generation.
Customizing Receipt Fields for Specific Transactions
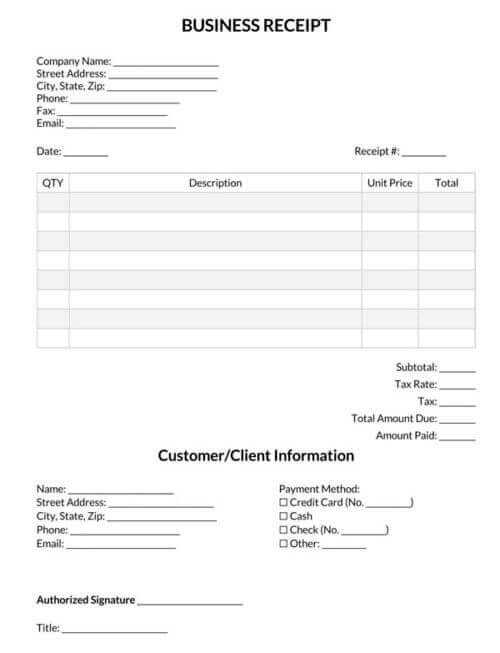
Adjust receipt fields to match the unique details of each transaction. For example, if you’re processing a service instead of a product sale, you might add a “Service Type” field or a “Service Duration” section. This ensures the receipt captures the exact information relevant to the transaction.
In cases where multiple payment methods are used, include a “Payment Method” section that lists credit cards, cash, or digital payment platforms. You can also specify whether a partial payment was made, showing the remaining balance. This customization adds clarity for both the customer and your records.
If your business requires tax breakdowns, adding a “Tax Rate” field can help. Specify the local tax rate and apply it to the subtotal to calculate the final amount due. For businesses that sell both taxable and non-taxable items, consider separating these into distinct sections on the receipt.
For memberships or subscription-based services, it’s helpful to add the “Renewal Date” field to the receipt. This reminds customers of upcoming payments and streamlines your tracking process for recurring charges.
Lastly, include fields that directly relate to customer feedback or special offers. A simple “Discount Applied” or “Customer Notes” section could be valuable for future promotions or tracking specific customer requests. Adjust these fields to match the unique needs of each transaction type for better clarity and more accurate record-keeping.
Designing an Organized Layout for User-Friendly Receipts
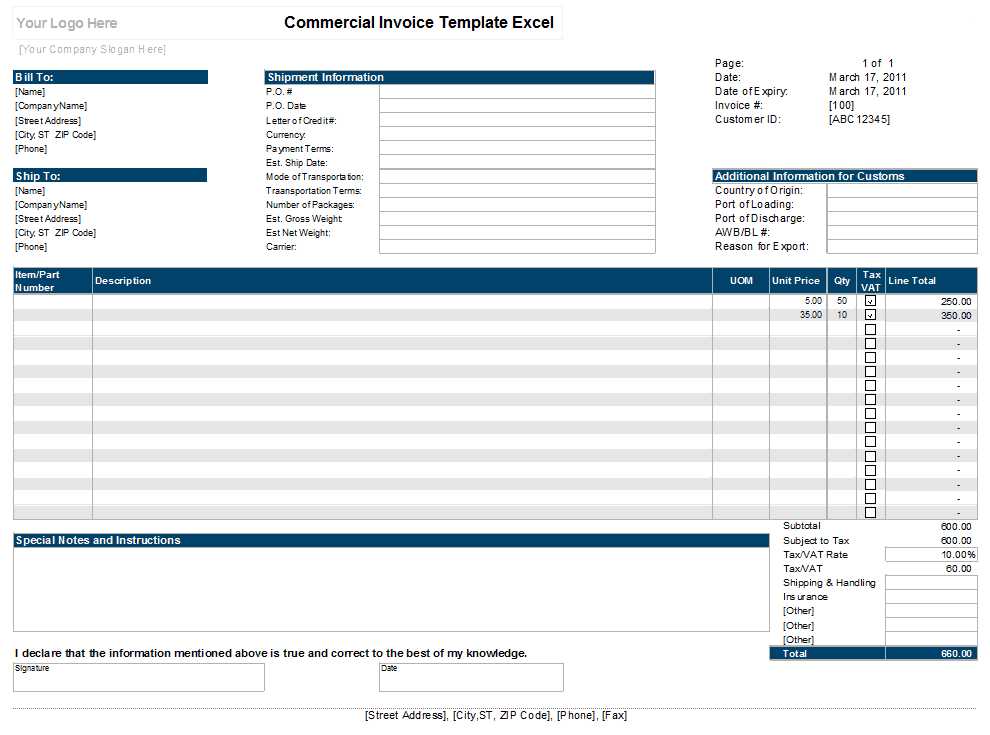
Use clear sections to group related information. Start with a bold header for the business name, contact details, and transaction title. Keep this area concise and easy to read, as it sets the tone for the receipt.
Align text properly to create a clean structure. Place the itemized list of products or services in one section, making sure each line includes the product name, quantity, unit price, and total cost. Keep columns evenly spaced to avoid clutter and ensure everything is legible.
Incorporate a subtotal, tax, and discount clearly under the itemized list. Use bold text to highlight these figures for quick identification. The total amount should be positioned at the bottom, with a larger font size or distinct styling to make it stand out.
Separate sections visually with lines or spaces to guide the reader’s eye and provide structure. A simple line can be placed before the totals to signal the conclusion of the transaction.
Lastly, include clear payment instructions or information about return policies. Keep this section at the bottom, using a smaller font to maintain the balance of the layout.
Automating Calculations and Date Entries in Excel 2010
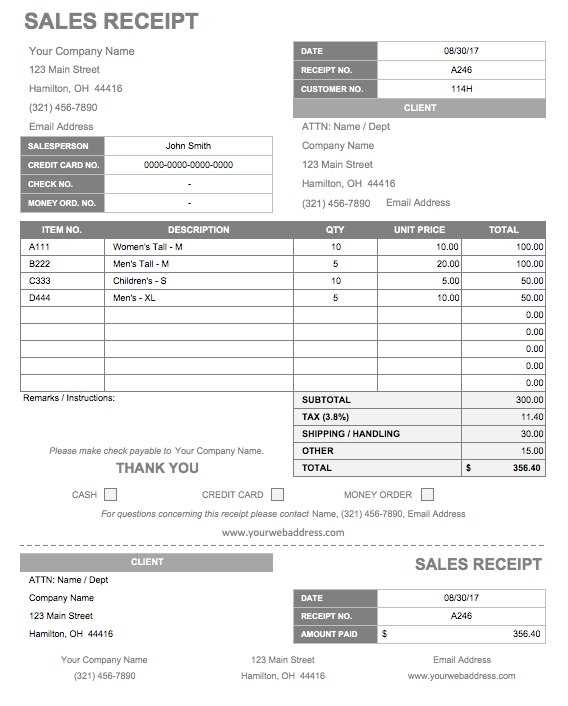
To automate calculations in Excel 2010, use formulas like SUM, AVERAGE, or COUNT to quickly compute totals and averages. For instance, in a receipt template, you can calculate the total amount by using the formula =SUM(B2:B10), where column B contains item prices.
To automatically insert the current date, use the =TODAY() function. Place this in any cell where you want to display the date, and it will update each time the spreadsheet is opened. For a fixed date, use =DATE(year, month, day) to prevent the date from changing.
For more advanced calculations, apply conditional formulas like IF to create custom logic. For example, to calculate a discount based on a price range, use =IF(A2>100, A2*0.1, 0), which applies a 10% discount if the amount in cell A2 exceeds 100.
Use data validation to streamline date entries by restricting input to valid dates only. Go to the “Data” tab, select “Data Validation,” choose “Date” from the drop-down menu, and set the start and end dates to avoid incorrect entries.


