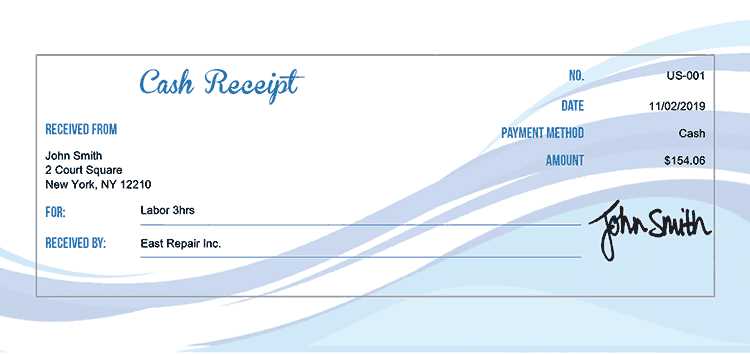
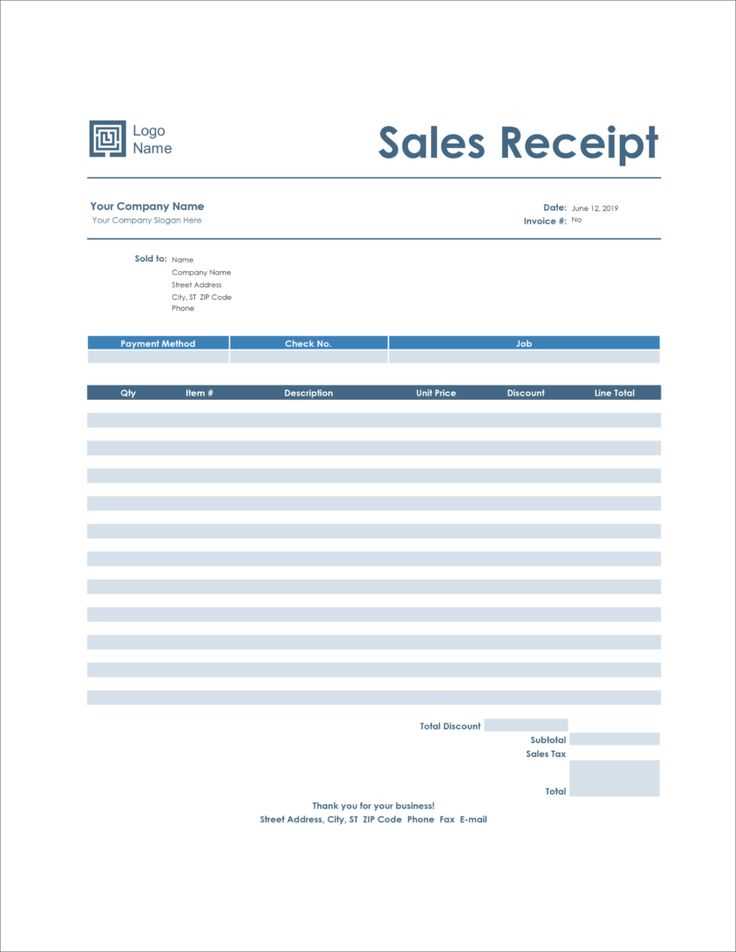
Design a receipt template with clear and concise sections to make it practical and professional. Include the necessary information such as the date of the transaction, buyer and seller details, items or services purchased, and the total amount. Ensure that the template is adaptable for different types of transactions, whether it’s a product sale, service payment, or other business exchange.
Start with the header: Include your business name, address, and contact information. This helps in establishing your brand’s presence on the receipt. Add a title such as “Receipt” or “Invoice” in bold so that it stands out.
Transaction details: Clearly list the items or services purchased, along with their respective prices. Use a table format if needed for clarity, ensuring each entry is easy to read and well-organized. This section should also specify the payment method and any relevant tax information.
Include a footer: Add a section for additional notes or terms of sale, such as return policies or warranty information. A footer ensures that your customers have access to important details after the transaction.
By following these guidelines, you’ll create a functional and user-friendly receipt template for any business. Make sure it remains simple but thorough for both parties involved in the transaction.
Create a Receipt Template
Design a clear, concise template that includes all key information: the buyer’s and seller’s names, contact details, itemized list of goods or services, and the total amount paid. Specify the date and the payment method used.
Ensure the template accommodates customizations for various transaction types. Use tables or simple lists to display items, quantities, and prices. Include a space for the receipt number and any necessary tax details.
Include a footer with your business contact information or return policy, if applicable. Keep the layout simple and clean, making it easy for both the customer and seller to review the details of the transaction.
Save the template in a format that allows easy reuse, such as a Word document or PDF, to streamline future transactions. Update the template regularly to reflect any changes in business practices or legal requirements.
Designing the Structure of Your Receipt
Start with clear identification at the top. Include your business name, logo, and contact details for easy reference. This establishes trust and helps customers recognize your brand at a glance.
Key Information to Include
- Date and time: Ensure these are visible to avoid confusion about the transaction.
- Itemized list of products or services: Clearly list each item with its price. This prevents misunderstandings and keeps the record accurate.
- Total amount: Display the total clearly, including taxes and discounts if applicable. This provides transparency.
- Payment method: Include details about how the payment was made (credit card, cash, online payment).
- Receipt number or reference: This is crucial for tracking and returns.
Organization of Information
Group related details together. Place payment information and totals at the bottom for clarity. Use clear sections to separate each type of data, such as an item section, a total section, and payment method. This makes it easier for customers to find specific details quickly.
Maintain legibility by using appropriate font sizes and spacing. Avoid cluttering the receipt with unnecessary details that might overwhelm the customer. A clean design enhances usability and keeps the focus on important transaction information.
Choosing Key Information to Include in the Template
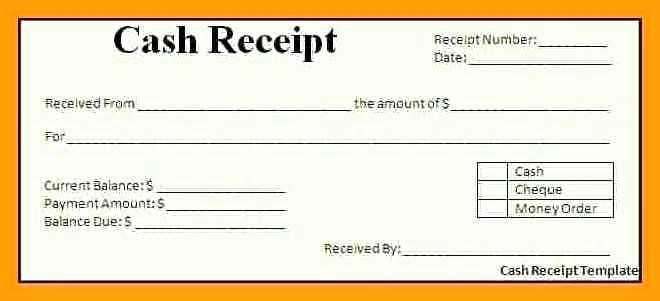
Include the following core details in your receipt template:
1. Transaction Date and Time
Specify the exact date and time of the transaction. This information helps both parties confirm the transaction occurred and provides a clear reference for future inquiries.
2. Seller and Buyer Details
Clearly list the names and contact information of both the seller and the buyer. This should include phone numbers, email addresses, and mailing addresses if applicable.
3. Product or Service Description
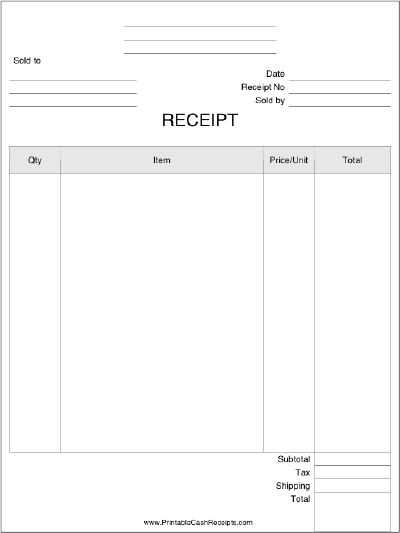
Provide a detailed description of the purchased items or services, including quantity, unit price, and total price for each item. This helps clarify the specifics of the transaction.
4. Payment Method
Note the payment method used, such as credit card, cash, or bank transfer. This adds transparency and tracks how payment was made.
5. Total Amount
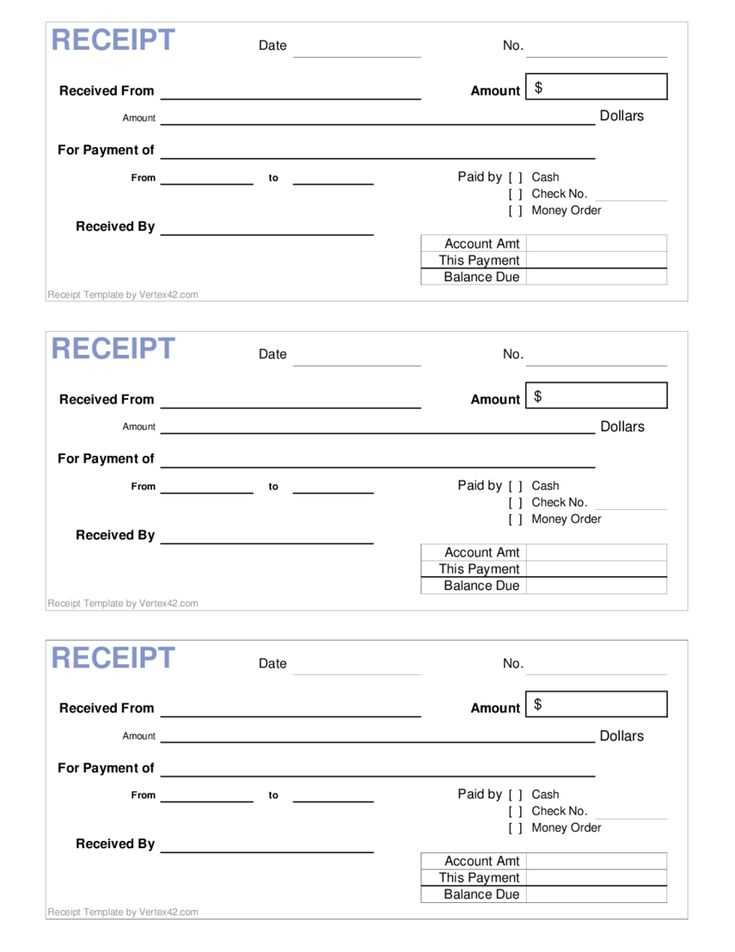
State the total amount paid, including any applicable taxes, fees, or discounts. It’s important to make sure the final total is clearly visible for easy reference.
6. Unique Receipt Number
Assign a unique receipt number for tracking purposes. This ensures you can easily identify and retrieve any specific transaction when needed.
7. Return or Exchange Policy
Incorporate information about the seller’s return or exchange policy. This protects both the seller and the buyer in case of issues after the transaction.
| Information Type | Details to Include |
|---|---|
| Transaction Date and Time | Date and time of the sale |
| Seller and Buyer Details | Names, contact info |
| Product or Service Description | Item names, quantities, prices |
| Payment Method | Credit card, cash, etc. |
| Total Amount | Final price including taxes |
| Unique Receipt Number | Generated number for identification |
| Return or Exchange Policy | Policy details |
Formatting Your Receipt for Readability and Professionalism
Use clear sections to divide information. Include a title at the top, such as “Receipt” or “Invoice,” to make the document easily identifiable. Below the title, list your business name and contact details. Ensure that each section of the receipt is spaced adequately to avoid crowding and confusion.
Use a Simple, Readable Font
Choose a straightforward, sans-serif font like Arial or Helvetica for a clean and modern appearance. Avoid overly decorative fonts that may affect readability. Keep the font size consistent, with larger text for headings and important details.
Provide Clear Date and Payment Information
Include the transaction date and the payment method prominently. If relevant, add any transaction or invoice numbers. These details should be easy to locate for quick reference.
List Items Clearly: Organize purchased items or services in a table format. Each item should have its description, quantity, and price aligned for easy scanning. Ensure that the total is easily distinguishable from the individual amounts.
Contact Information: Provide your business’s contact details, including phone number, email, and physical address, if applicable. This helps customers reach you quickly if needed.
Keep It Clean: Use ample white space and avoid clutter. A clean layout not only looks more professional but also helps customers understand the details without difficulty.


