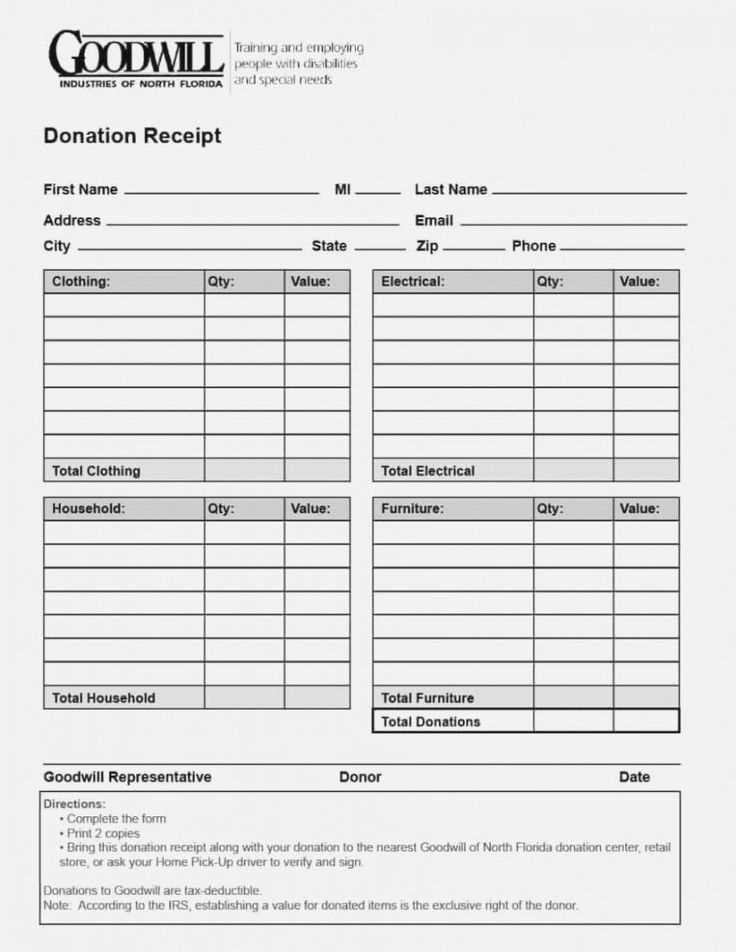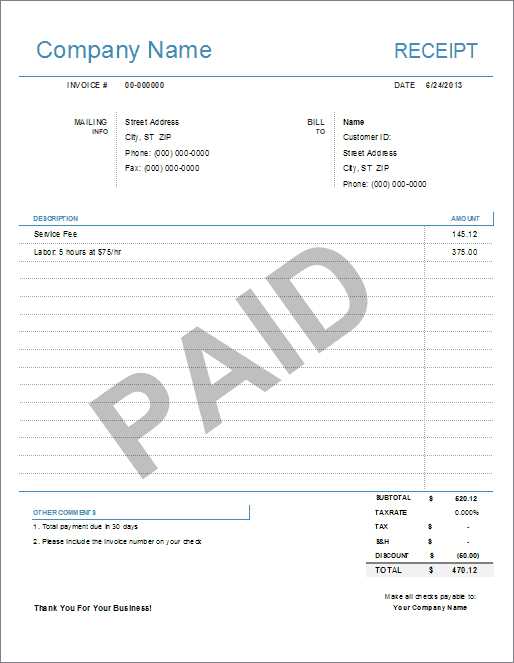
Start using a clear and straightforward template for your consulting receipts. This helps maintain professionalism and makes financial tracking simpler for both you and your clients.
Ensure all necessary details are included: Add your business name, the client’s information, a description of the services provided, the amount due, and the payment method. Make it easy to understand at a glance.
Incorporate a receipt number for better record-keeping. This is especially useful for long-term reference and can help resolve any potential disputes about payments.
By sticking to a structured format, you will build trust with your clients and make accounting more manageable. A well-organized receipt shows clarity in your services and billing process.
Consulting Receipt Template
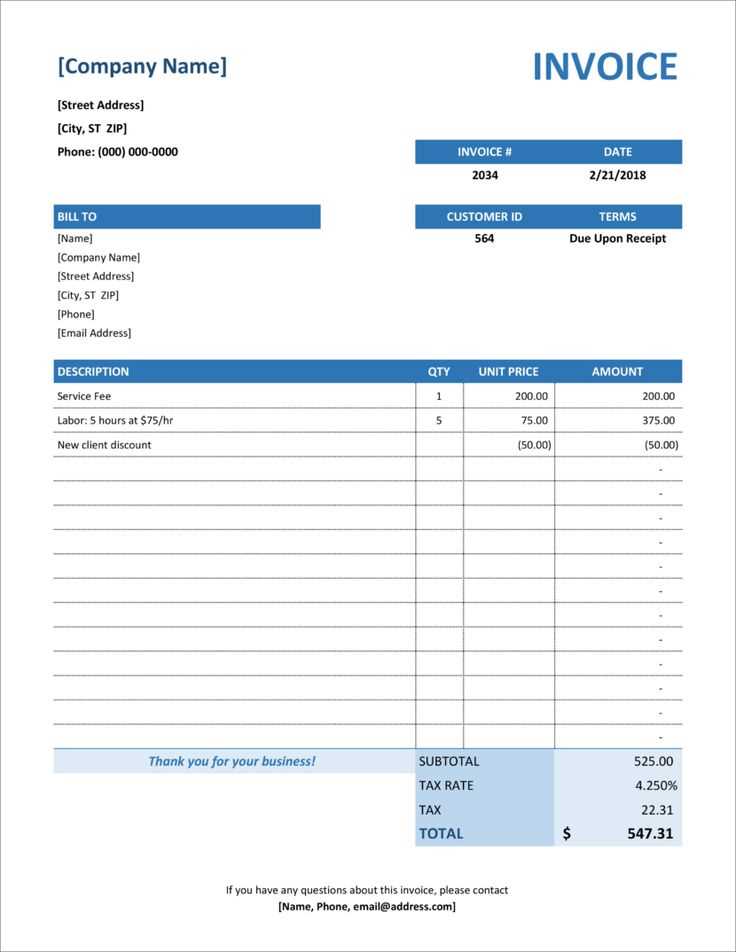
Design your consulting receipt template with clear structure and necessary details for easy reference. Include your name or business name, contact information, and the client’s details at the top. Ensure the date of service is specified along with a description of the service rendered.
For accurate billing, break down the charges. Itemize your services with the quantity, rate, and total for each item. If applicable, include taxes or additional fees. Ensure the final amount is easy to locate, preferably in a bold font or distinct section at the bottom.
Provide clear payment instructions, including the payment method, due date, and any applicable late fees. If you offer discounts, list them separately to show the original price and final discount amount.
Finish with a thank-you note or a friendly reminder of the terms for future consultations. Keeping the receipt concise but informative helps clients quickly understand the charges and maintain a professional appearance.
How to Structure a Professional Consulting Receipt
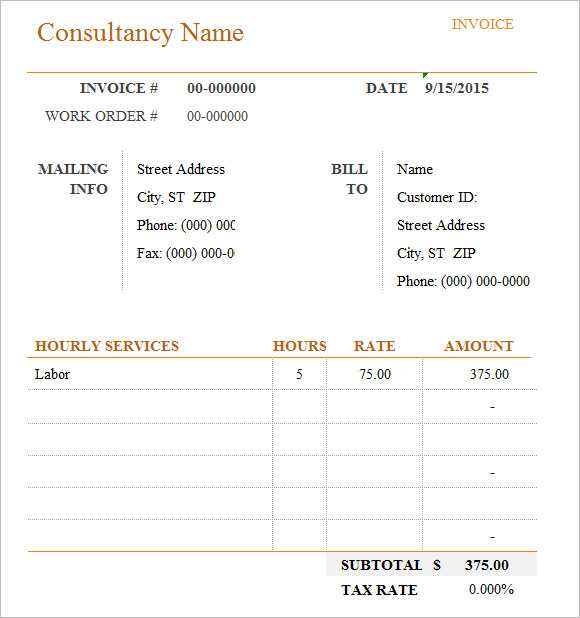
A consulting receipt should be clear and organized. Follow these steps to ensure your receipt is structured properly:
- Header Information: Include your business name, logo, and contact details at the top. This establishes a professional identity and ensures easy communication.
- Receipt Number: Assign a unique number to each receipt for better tracking and reference.
- Client Information: Clearly state the client’s name, address, and contact details. This helps avoid confusion when dealing with multiple clients.
- Consulting Services Provided: List all services rendered, including a brief description of each service. Include the duration of services, hourly rates, or flat fees.
- Payment Details: Clearly outline the payment method, amount due, and payment terms. Specify any deposits or partial payments received, and include the total balance due.
- Taxes and Discounts: If applicable, break down any taxes or discounts applied to the total amount. This transparency helps clients understand the final charge.
- Payment Due Date: Clearly state when the payment is due to avoid misunderstandings and late payments.
- Terms and Conditions: Include any relevant terms regarding payment, refunds, or cancellations. Keep this section concise and easy to read.
Ensure all sections are clearly labeled and that the layout is simple and easy to follow. A well-organized receipt promotes clarity and professionalism.
Key Information to Include in Your Receipt
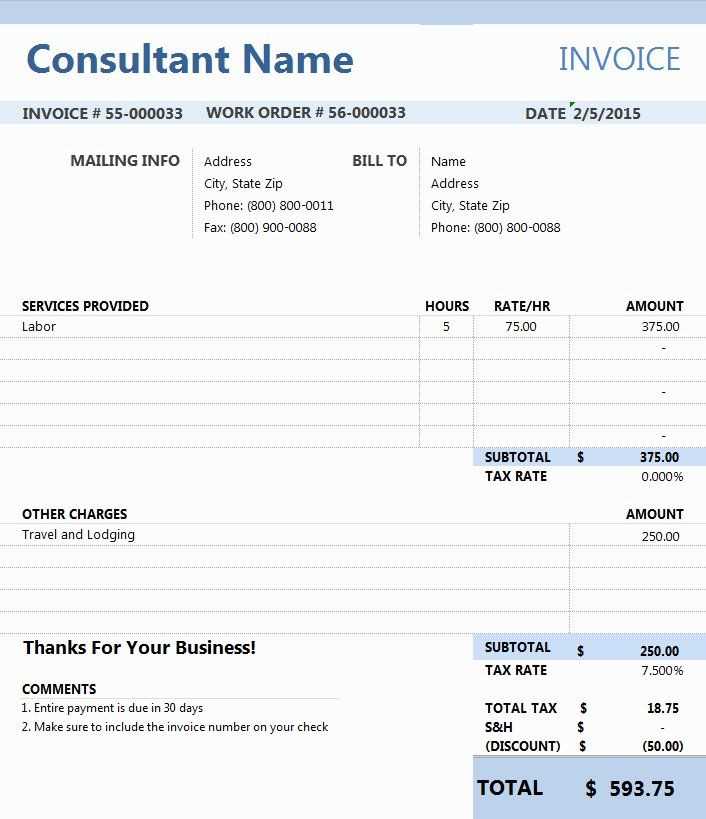
Include the date of the transaction to provide a clear record of the purchase time. This ensures both you and the client can refer back to the receipt for any future reference or follow-up.
Clearly state the services provided or items sold. Be specific about what was offered, including quantities and prices. This avoids any confusion later about what was included in the transaction.
Make sure to list the total amount paid, breaking it down by applicable taxes or fees. Transparency in pricing is critical to ensure the customer understands the full cost.
Include both your business details and the client’s contact information. This fosters easy communication and helps in case any issues need resolution after the transaction.
Provide a unique receipt number. This will help organize and track transactions, especially for accounting or legal purposes.
Always have a method for the customer to reach you, such as a phone number or email address. This encourages trust and accessibility.
Common Mistakes to Avoid When Creating Receipts
Double-check all details before finalizing your receipt. Mistakes in client names, addresses, or dates can cause confusion and reduce trust in your services.
Ensure the correct payment amount is reflected. Small errors in total amounts can lead to disputes and might require reissuing the receipt.
Do not leave out tax details or necessary disclaimers. If applicable, make sure you include tax rates, exempt statuses, or any other legal information needed for the transaction.
Don’t forget to include a unique identifier or receipt number. This helps both you and the client track and reference the transaction for future communication.
Avoid vague descriptions of products or services. Be as specific as possible to ensure clarity and prevent misunderstandings regarding what was purchased.
Do not use hard-to-read fonts or cluttered designs. Ensure the layout is clean and easy to follow, so key details stand out and are easy to find.
Double-check payment methods listed. Mixing up payment types (e.g., cash, card, bank transfer) can cause unnecessary confusion.
Don’t overlook contact information. Including your business’s phone number, email, or address ensures clients can easily reach you if needed.
