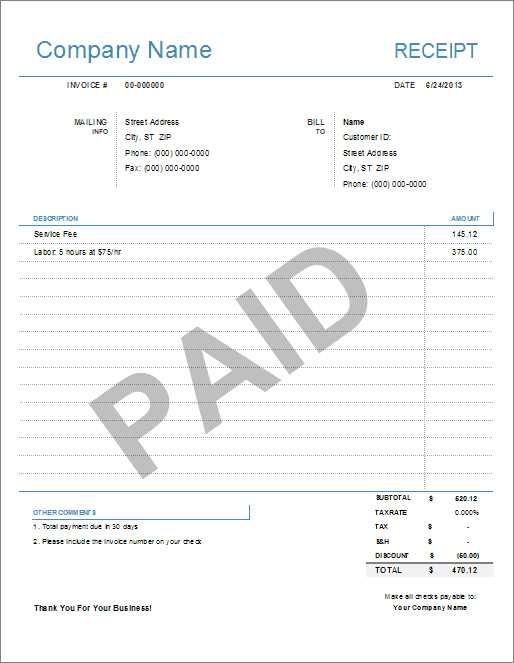
Using a piano teachers billing receipt template can save you time and ensure accuracy in managing payments. This tool allows you to keep detailed records of your students’ lessons and payments in a clear and organized way. It’s an easy-to-use method for issuing receipts and tracking income without unnecessary complications.
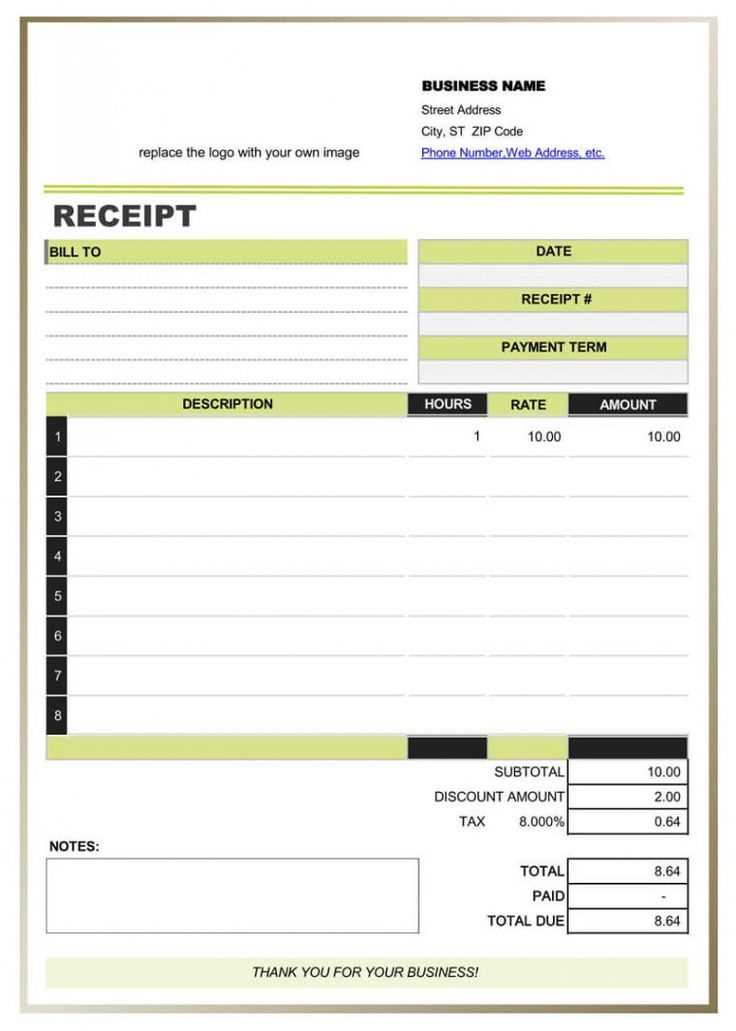
The template should include the lesson date, student’s name, and total amount due for the session. Adding a unique receipt number can help you easily reference past transactions. Make sure the template also includes space for payment methods to note if the student paid by check, cash, or other means.
By customizing the template to fit your needs, you can keep your business organized and maintain a professional image with your students. It’s a simple yet effective solution to streamline your billing process and reduce the chances of any payment-related misunderstandings.
Piano Teachers Billing Receipt Template
Provide clients with clear billing receipts that outline every service provided. A detailed receipt not only helps you stay organized but also builds trust with your students and their families.
- Date of Service: Include the date of the lesson or service to clarify the billing period.
- Student’s Name: Ensure the student’s name is listed for easy reference.
- Description of Service: Clearly specify the type of lesson or activity, such as “one-hour piano lesson” or “group class”.
- Duration of Service: Mention the length of the lesson to avoid any confusion about the billing rate.
- Rate: State the hourly or session rate. Be sure to highlight any discounts or additional charges if applicable.
- Total Amount: Clearly display the total cost, including any taxes or additional fees.
- Payment Method: Indicate whether the payment was made by cash, check, or digital transfer, including the transaction reference if needed.
- Invoice Number: Include a unique number for each receipt to keep track of all payments and services provided.
This template ensures transparency and accuracy in all transactions, providing both you and your clients with a reliable record for future reference.
Creating a Simple Billing Template for Piano Lessons
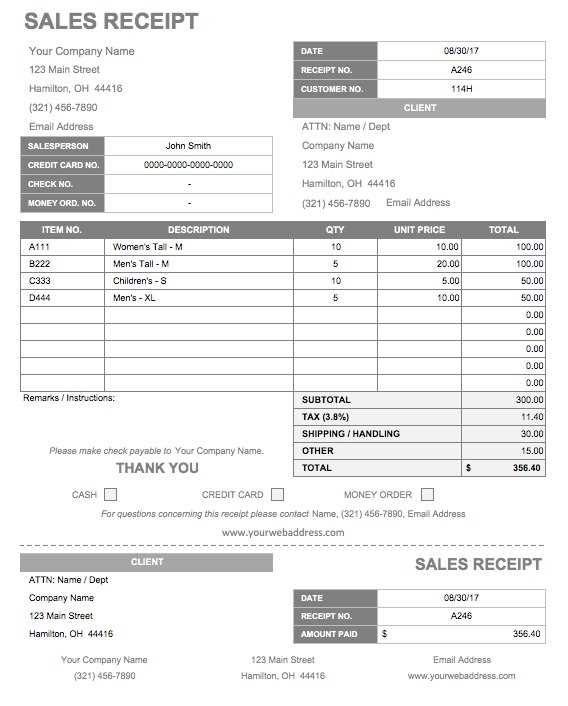
Design a straightforward billing template that includes the basics: student name, date, lesson duration, rate per lesson, and total cost. Include the date of the lesson and specify the number of lessons provided. Clearly state the rate per session and multiply it by the number of lessons to get the total amount. Add a line for any discounts or promotions if applicable.
Provide space for payments made, including the method and date. This helps track any outstanding balances. Include a section for teacher contact details, so clients can easily reach out with any questions. Finish with a thank-you note or payment instructions to maintain a professional and courteous tone.
Ensure the layout is clean and easy to read. Use simple fonts and avoid cluttering the document with unnecessary information. A clear, concise format improves the user experience and makes the billing process smoother for both teacher and student.
Key Elements to Include in a Piano Lesson Receipt
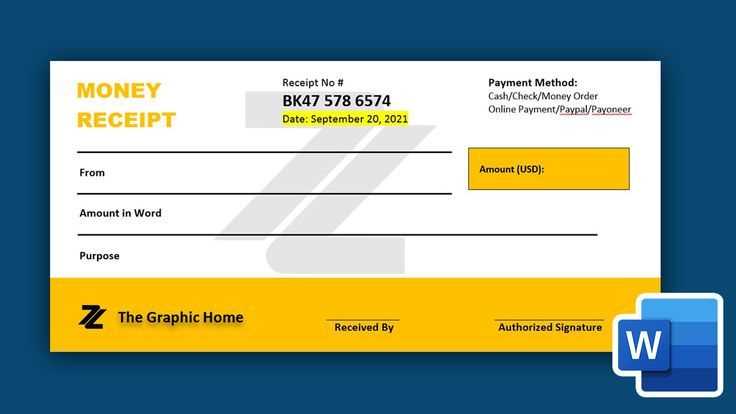
Include the student’s full name and contact information at the top of the receipt. This ensures that both the teacher and the student have accurate records of the transaction. Next, clearly state the date of the lesson and the total amount paid. Break down the payment if the lesson includes additional services, such as practice materials or group sessions. This will help both parties understand what they are being charged for.
Details of the Lesson
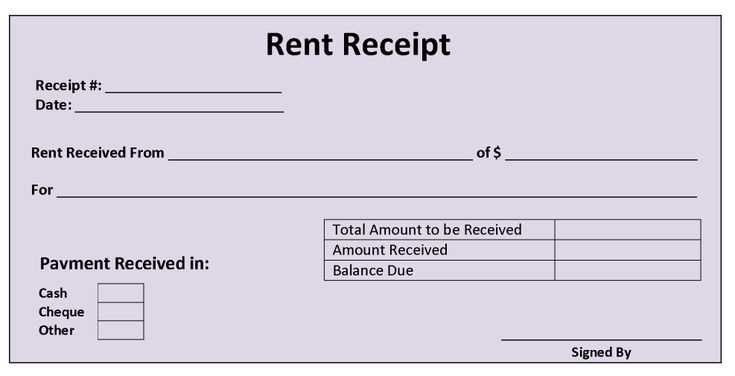
List the length of the lesson, specifying whether it’s a 30-minute, 45-minute, or 60-minute session. If a lesson was rescheduled or cancelled, make note of this to avoid confusion later. Adding the location of the lesson, whether it’s in-person or online, will help clarify any potential misunderstandings.
Payment Information

Clearly indicate the payment method, whether it’s cash, check, or electronic transfer. If applicable, include transaction or confirmation numbers for digital payments. This provides a clear record for both the teacher and student in case of any future inquiries.
Customizing Your Receipt Template for Different Payment Methods
Tailor your receipt template to reflect the payment method used by the student. This ensures clarity and transparency, making the transaction smooth for both you and the student.
Credit Card or Online Payments
If a payment is made via credit card or online transfer, include the transaction ID, the processor (e.g., PayPal, Stripe), and the payment confirmation date. Specify the exact amount charged, including any applicable service fees if they are added to the total. It’s also helpful to list the last four digits of the card number (if relevant) for easier reference by the student.
Cash Payments
For cash payments, simply state the amount paid in full. It’s important to note that cash transactions don’t leave a digital footprint, so you may want to include a note confirming the cash was received in full. Consider adding a line for both you and the student to sign, ensuring both parties acknowledge the payment.
By adjusting the template for each payment method, you create a more professional experience that builds trust and keeps everything organized.


