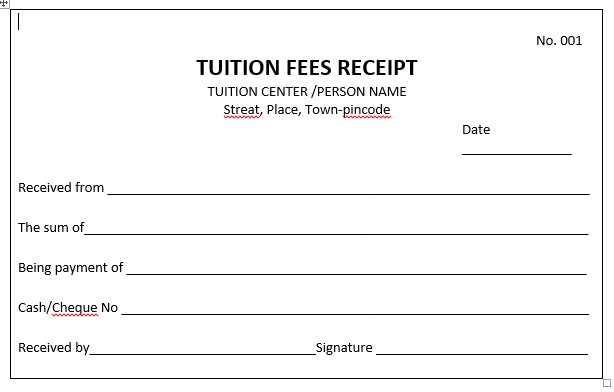
If you’re looking to create a school fee receipt template, HTML is an ideal tool to structure the document effectively. With a few simple HTML elements, you can organize all the necessary information clearly and professionally. This template will include key details such as student name, grade, date, fee amount, and payment status.
Start by using basic HTML tables to lay out the payment information in rows and columns. You can easily add labels like “Student Name,” “Amount Paid,” and “Payment Date” using strong or italic tags for emphasis. This helps ensure that each section is easy to read and looks clean on both digital and print versions.
For an extra touch of professionalism, incorporate CSS styles to improve the layout, such as borders for tables or different font styles for headers. This will make the receipt visually appealing while maintaining clarity. Using HTML ensures compatibility across different platforms, making it easy to print or share via email.
This template structure can be customized based on the school’s needs, but the key is to keep it simple and clear. With just a few lines of code, you can create a fully functional receipt template that suits various school payment scenarios.
School Fee Receipt Template in HTML
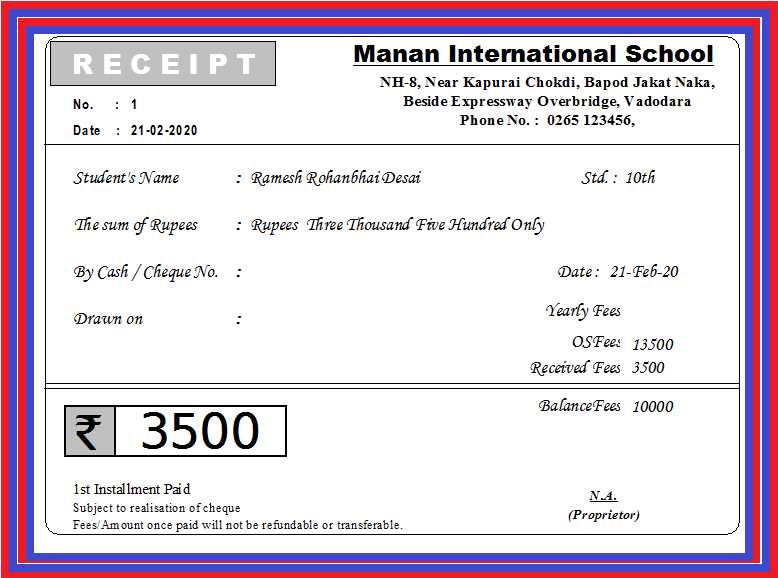
To create a functional school fee receipt template in HTML, start by setting up a clean structure. Ensure it includes sections for the student’s information, fee details, and payment acknowledgment.
Use a table to neatly organize fee breakdowns such as tuition, sports, and other extracurricular charges. A simple structure would look like this:
| Student Name | [Student Name] |
| Class | [Class] |
| Date | [Date] |
| Tuition Fee | [Amount] |
| Sports Fee | [Amount] |
| Total Amount | [Total Amount] |
After the table, add a thank-you note or a payment confirmation message. This ensures the user knows the fee has been received and processed. For instance:
Thank you for your payment! We appreciate your promptness.
Please keep this receipt for your records.
Consider adding placeholders such as “[Student Name]” and “[Amount]” for easy customization. This way, you can fill in specific details for each student. Also, ensure the design is simple and mobile-responsive to accommodate various devices.
Creating a Simple HTML School Fee Receipt Template

Design a clear and organized receipt template by using basic HTML elements. Below is an example structure you can follow:
Receipt Structure
Start with a container for the entire receipt. Use a <div> tag to wrap it and apply some basic styling. The receipt should include the school name, date of payment, student information, fee details, and a payment method section.
Basic HTML Template
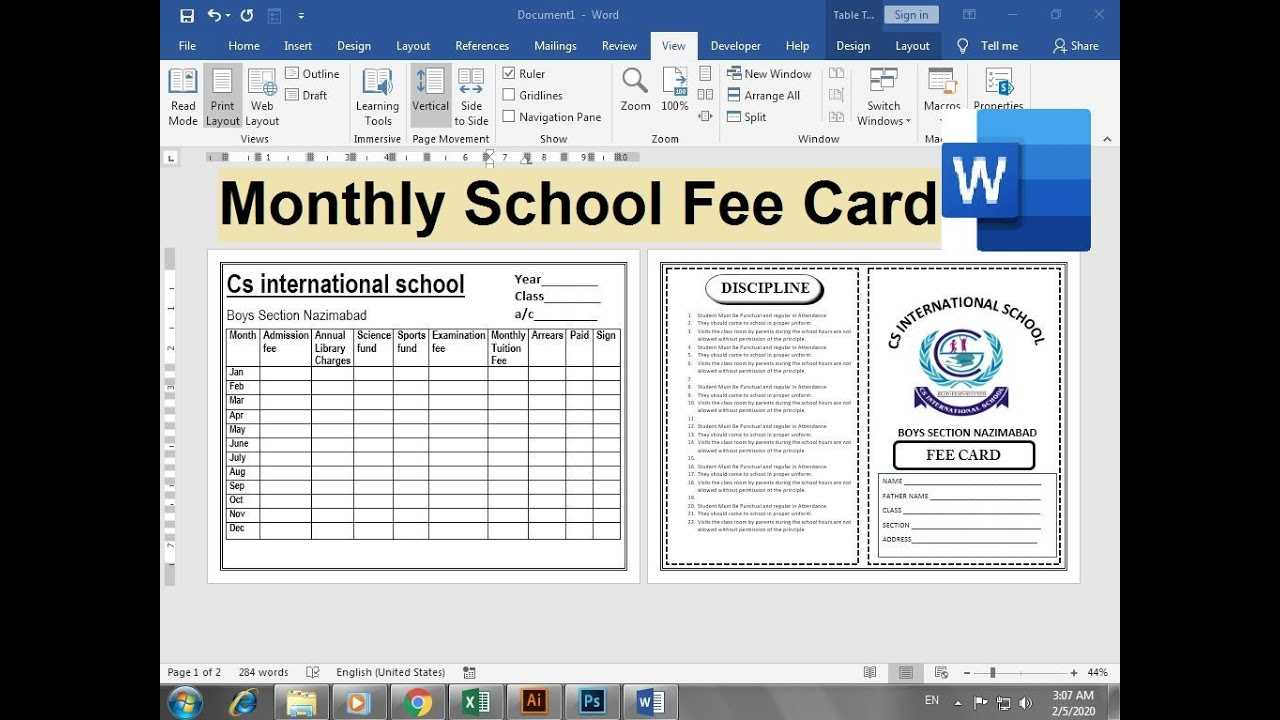
<div class="receipt">
<h1>School Name</h1>
<p>Receipt No: #12345</p>
<p>Date: 12th February 2025</p>
<h3>Student Information</h3>
<p>Name: John Doe</p>
<p>Grade: 10</p>
<h3>Fee Details</h3>
<p>Tuition Fee: $500</p>
<p>Library Fee: $20</p>
<p>Total: $520</p>
<h3>Payment Method</h3>
<p>Paid via Credit Card</p>
<p>Thank you for your payment!</p>
</div>
Customize the template with your own details. You can add more sections as needed, such as payment status or remarks. Make the receipt user-friendly and easy to print.
Adding Styling to Enhance the Appearance of the Receipt
Apply CSS to make your receipt visually appealing and easier to read. Simple styling adjustments can add clarity and professionalism.
- Font choice: Use web-safe fonts like Arial, Helvetica, or Georgia for a clean and legible appearance. Set the body text to a size of 14px for readability, with headings in a larger size, such as 18px or 20px.
- Text Alignment: Align the company name, address, and receipt title centrally to give the receipt a structured and balanced look. Left-align transaction details and totals for consistency.
- Borders and Spacing: Create separation between sections with borders. A simple border around the receipt header or total amounts section helps focus attention. Use padding to space out text and elements to avoid clutter.
- Colors: Choose a neutral color scheme. Light backgrounds with dark text provide good contrast and readability. Highlight key information like the total amount or receipt number with a contrasting color, such as a deep blue or green.
- Shading for Sections: Add subtle background shading to important sections, like the payment details or total amount. A light gray or off-white background helps distinguish these parts from the rest of the receipt.
- Icons and Logos: Incorporate small icons or logos to make the receipt more personalized and professional. Position the logo in the header for instant brand recognition.
- Tables for Organized Data: Use tables to present detailed information like the list of items purchased or fees charged. Apply alternating row colors or borders for better legibility.
- Responsive Design: Ensure your receipt looks good on different screen sizes by using CSS media queries. This ensures that mobile users get a well-formatted receipt without zooming or scrolling.
Incorporating Dynamic Data into Your HTML Template with JavaScript
Use JavaScript to inject real-time data into your HTML template by targeting specific elements and modifying their content. This approach makes your template more interactive and responsive to user inputs or external data sources.
Setting Up the Template
Create your HTML structure with placeholders where dynamic data will appear. For example, you can use a <span> tag to represent where student names or fee amounts will be displayed.
Using JavaScript to Update the Content
After setting up your template, you can write JavaScript functions that update the content of those placeholders. Use document.getElementById('elementID').innerHTML to target specific elements and assign them new values. For example, if you want to update the student’s name, you could write:
document.getElementById('studentName').innerHTML = 'John Doe';For dynamically updating multiple fields, consider using arrays or objects to store the data and loop through it to update each corresponding element.
