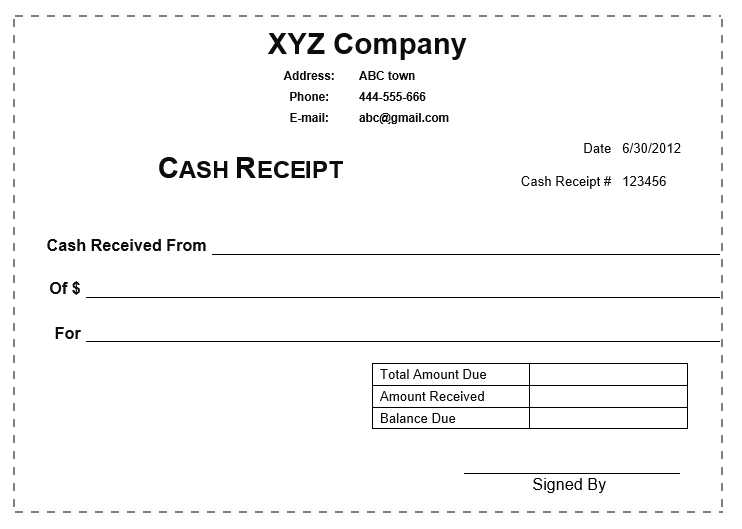
Use an itemized receipt template to clearly break down every expense in your transactions. This type of receipt lists all purchased items, including their quantities, prices, and any applicable taxes. It’s a great tool for keeping track of spending and maintaining transparent records for both businesses and customers.
A well-designed template should include sections for item names, unit prices, quantities, and a subtotal for each line. Make sure to add a space for the total amount, along with any taxes or discounts applied. This helps avoid confusion and ensures accurate accounting for both parties involved.
When customizing your template, consider adding areas for the transaction date, store or vendor name, and contact information. This makes the receipt more professional and provides all necessary details for future reference. Simple adjustments to the format can make it easier to read, whether for personal use or professional business transactions.
Here’s the revised version:
For an itemized receipt template, ensure each item is clearly listed with the following details: product or service name, quantity, unit price, and total price per item. Add a subtotal after listing all items. If applicable, include taxes and discounts, showing each separately to avoid confusion. Make the final total clear, with all amounts clearly labeled. Include your business’s name, contact information, and any other relevant details like the date and payment method for transparency.
Key Points to Include:
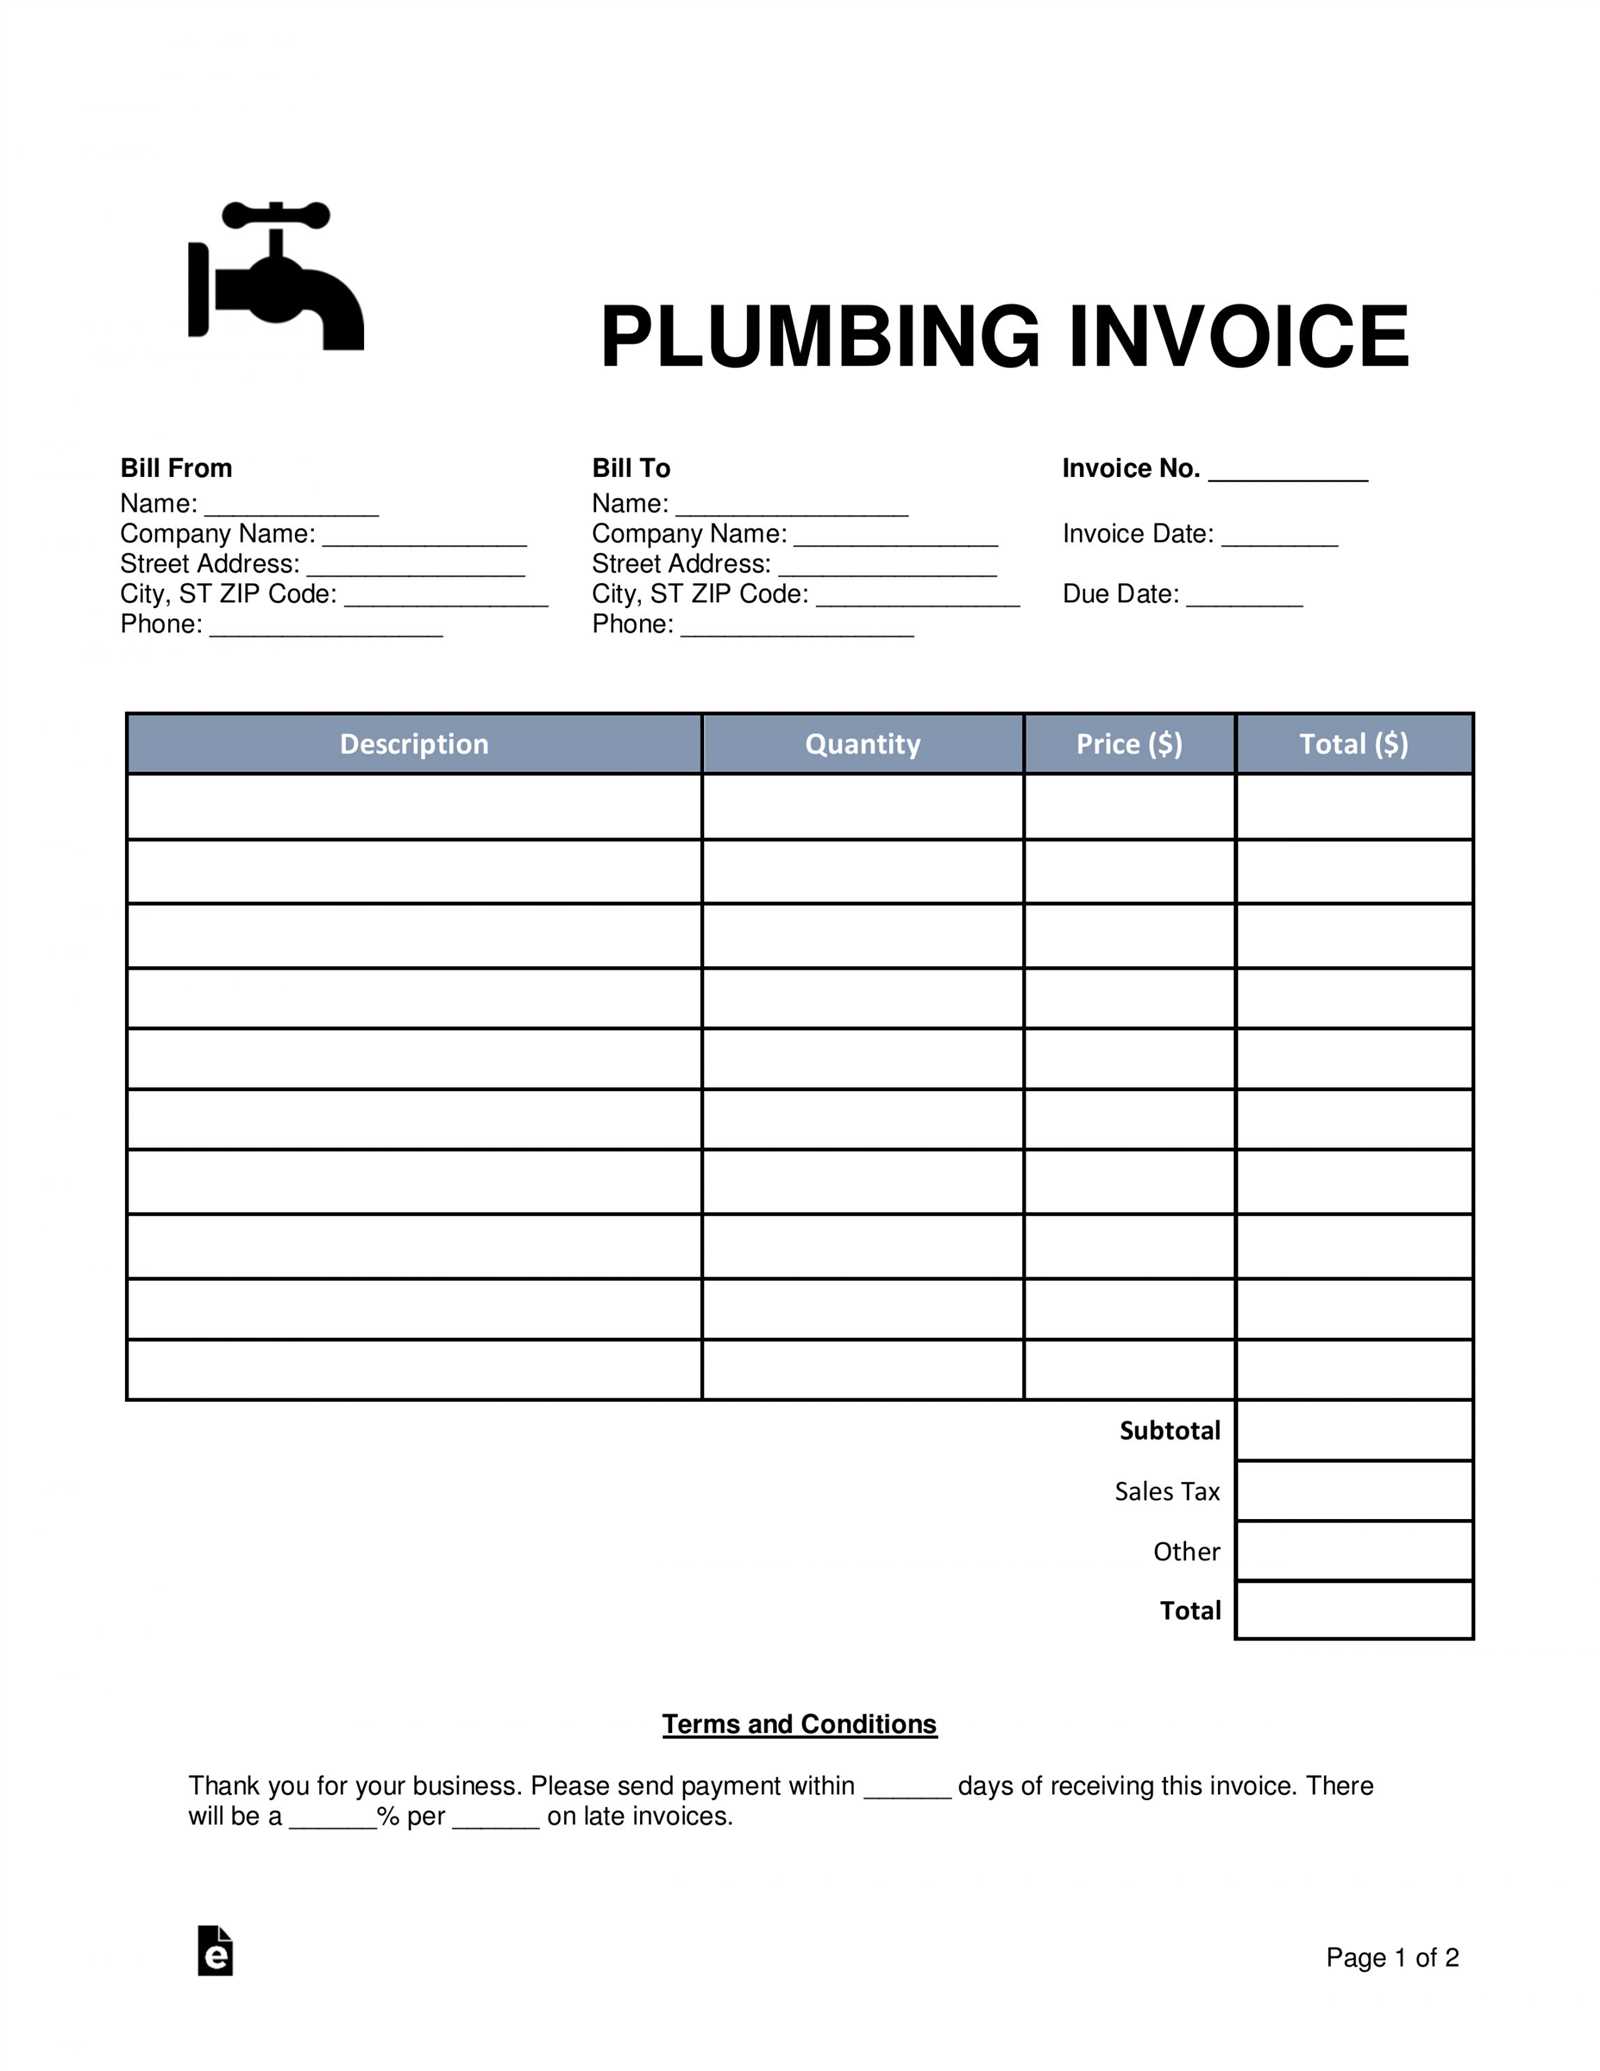
Make sure your template covers the following areas for clarity and completeness:
- Item description: A short and precise title of the product or service.
- Quantity: The number of units bought or consumed.
- Unit price: Price per unit or service, with clear indication of currency.
- Total price: The cost per item multiplied by the quantity.
- Subtotal: The sum of all item totals before taxes or discounts.
- Tax: Clearly labeled tax breakdown with the applicable rate.
- Discounts: If any, itemize them to show the reduction applied.
- Final total: The total after taxes, discounts, and additional charges.
Tips for Customization:
Customize the template according to your business needs. Adjust fonts, spacing, and layout for clarity. Ensure it’s printable and easily readable on both screens and paper formats. Always double-check your math to avoid errors that could cause confusion. A professional and clean template reflects your business’s attention to detail and builds trust with your customers.
- Itemized Receipt Template
Design a clear, organized template for itemized receipts by listing each product or service separately. Include the item name, quantity, unit price, and total cost for each. Add a subtotal section, showing the sum of all items before taxes. Make sure to include the tax rate and total tax amount applied to the subtotal. End with the grand total, highlighting the final amount due. Include space for the payment method and date of purchase. This structure ensures clarity and transparency in the transaction.
The template should have columns for item descriptions, unit costs, quantities, and totals. Keep the layout simple to enhance readability, using borders or lines to separate sections for ease of understanding. This will help customers quickly verify the details of their purchase. If applicable, include a section for additional charges such as shipping or handling fees.
Include clear headers like “Item,” “Description,” “Quantity,” “Unit Price,” “Total,” and “Tax.” Use bold formatting for section titles and totals to make them stand out. Make sure that the font is legible, with adequate spacing between rows to prevent crowding.
Ensure the template is adaptable for both printed and digital receipts. This will accommodate various customer preferences and enhance convenience for businesses.
Open a new Excel workbook and label the first row with column headings such as “Item Description,” “Quantity,” “Unit Price,” and “Total.” Adjust the column widths to ensure the text fits properly.
In the “Item Description” column, list each product or service. For each item, enter the corresponding quantity and unit price in the next columns. Multiply the quantity by the unit price in the “Total” column. You can use a formula like =B2*C2, where B2 is the quantity and C2 is the unit price, to calculate the total automatically.
To calculate the subtotal, sum all the values in the “Total” column. Use the formula =SUM(D2:D10), where D2:D10 is the range of your total prices.
For taxes, insert a row beneath the subtotal and label it “Tax.” Multiply the subtotal by the tax rate, using a formula like =D11*0.05, where D11 is the subtotal. Adjust the rate (0.05 in this case) as needed based on your local tax rate.
Finally, calculate the final total by adding the subtotal and tax amounts. In the next row, use the formula =D11+D12 to display the final total.
Customize the receipt further by adding your business name, address, and contact details at the top. You can also include a thank-you note or return policy at the bottom if desired.
Save the file as a template so you can easily use it for future transactions. This Excel sheet allows quick, consistent creation of itemized receipts with minimal effort.
For a retail business, your receipt should clearly show the product name, quantity, individual price, total price, and any applicable taxes. If you’re running promotions or offering discounts, make sure they are clearly visible. This helps customers understand the breakdown of their purchase and ensures transparency in your transactions.
Food & Beverage Businesses
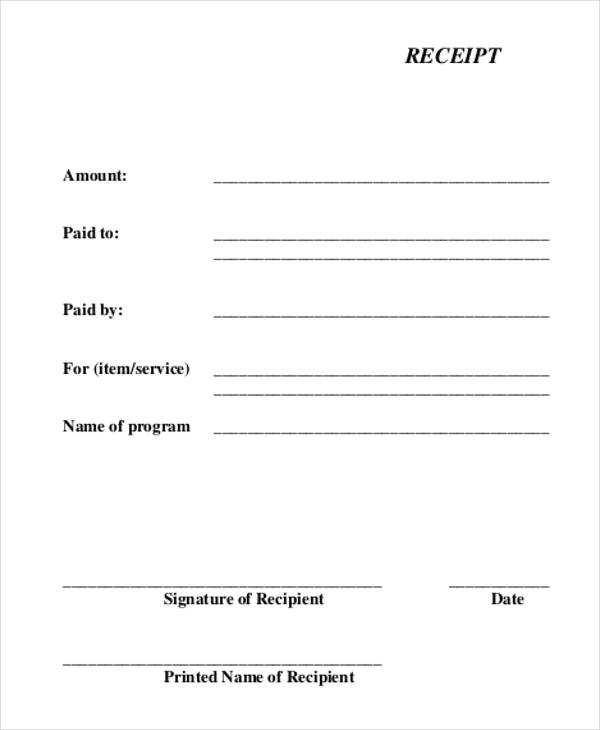
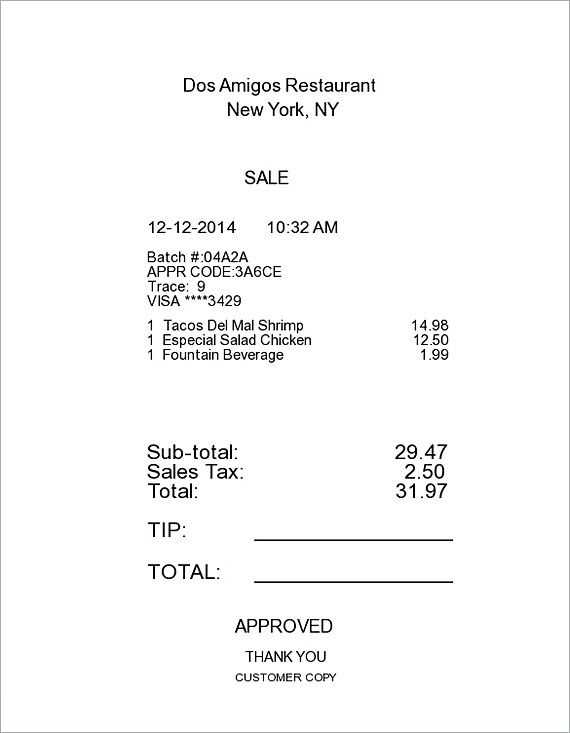
In restaurants or cafes, include an itemized list of food and drink purchases. Ensure each item is listed with its price, and include service charges or tips if applicable. Separating the taxes, subtotal, and final total makes it easy for customers to review their bill. Leave space for adding tips if your system allows customers to add gratuity manually.
Freelancers and Service Providers
For service-based businesses, break down each service provided along with the associated cost. If there are additional charges such as travel, materials, or other fees, list them separately. It’s also important to display the subtotal, taxes, and the final total clearly at the bottom. Having detailed contact information at the bottom adds professionalism and trustworthiness to your receipts.
Set up an automated receipt generation system to streamline the transaction process and improve efficiency. Start by integrating with existing point-of-sale (POS) software, allowing receipts to be created automatically when purchases are made. This minimizes human error and saves time on manual entry.
1. Choose an Automation Tool
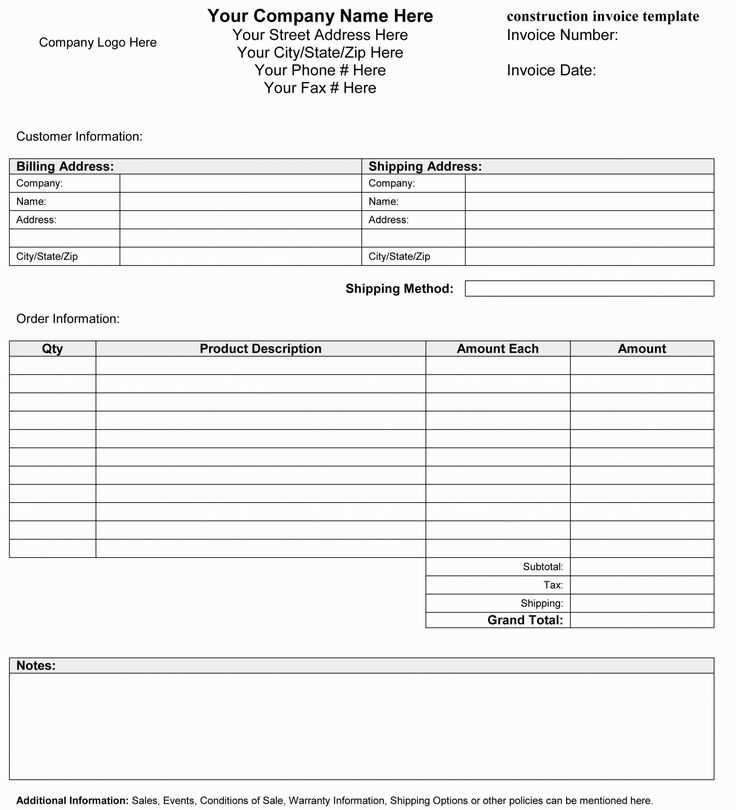
Select a tool that can generate itemized receipts with details such as item name, quantity, price, taxes, and total cost. Many POS systems offer receipt automation features. Alternatively, use online tools like invoicing software or custom-built solutions that integrate with your payment platform.
2. Set Up Template Customization
Customize the receipt format to include business branding, payment method, date, and transaction ID. Ensure that the template is flexible enough to adapt to different purchase scenarios (e.g., discounts, returns, taxes). Include customer contact information for invoicing if necessary.
3. Implement Automatic Emailing
- Configure the system to automatically email receipts to customers after each transaction.
- Offer options to receive digital or paper receipts based on customer preference.
- Ensure emails contain all necessary information and are sent promptly.
4. Test and Monitor
Test the automation system with various scenarios to confirm that receipts are generated correctly. Continuously monitor the process for errors and adjust as necessary. This ensures that the automation remains reliable and accurate.
Design your itemized receipt template by following a clear structure. Begin with a header that includes your company’s name, address, and contact information. Make sure it’s easy to spot, ideally at the top of the page. Then, proceed with a section where you list the items purchased, their descriptions, quantities, prices, and totals. Keep these details organized in columns for readability.
Breakdown of Item Details

For each item, provide a brief description and specify the quantity and price. Group similar items together for quicker understanding, especially if you’re selling products that belong to a specific category. The subtotal and any applicable taxes should be calculated separately and listed clearly.
Footer and Payment Information
At the bottom, include the total amount due and the payment method. Add any notes, like return policies or discounts, if applicable. This will ensure your customers have all the information they need, making their transaction experience smooth and transparent.


