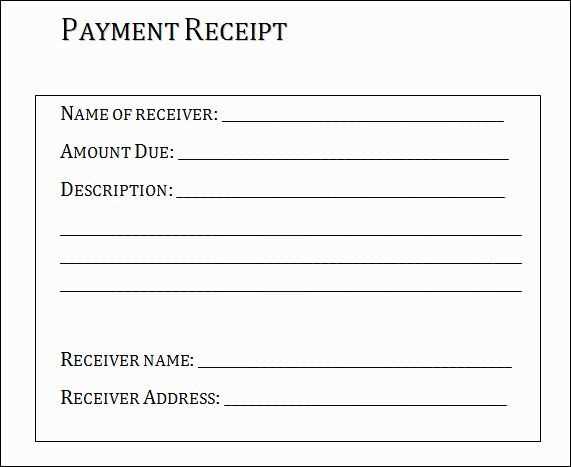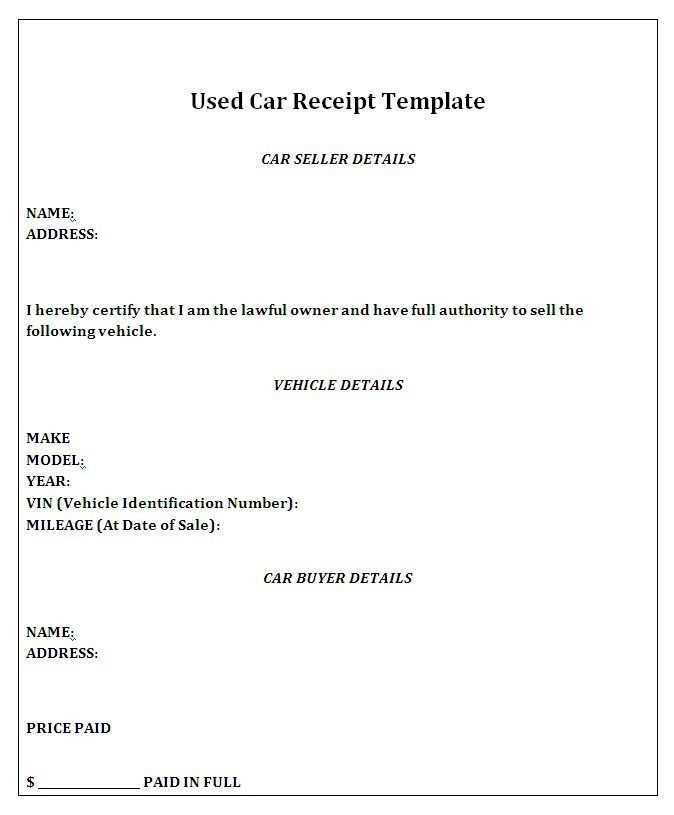
Creating a receipt for a car payment is straightforward. A well-structured receipt ensures both parties are clear on the transaction details and can serve as proof of payment. The document should include specific information such as the amount paid, the date, the buyer and seller details, and the method of payment.
Start by listing the buyer’s name, address, and contact details. Then, include the seller’s information. The car’s make, model, and vehicle identification number (VIN) should be clearly stated to avoid any confusion. If the payment is partial, include the remaining balance as well.
The amount paid should be prominently displayed, along with the payment method, such as cash, bank transfer, or credit card. Including the date of payment confirms the transaction took place on the specified day.
Finally, include a signature from both the buyer and the seller. This final step authenticates the receipt and ensures that both parties agree to the payment details.
- Receipt for Car Payment Template
For a well-structured receipt, include the following key details: the name of the buyer, the seller, the car’s make, model, year, VIN (Vehicle Identification Number), and the total amount paid. Specify the payment method used, such as cash, bank transfer, or check. Include the date of the transaction, the transaction number, and both parties’ signatures to confirm the agreement.
Make sure to include a statement that clearly outlines the terms of the sale, such as “The car has been paid in full and transferred to the buyer” or similar wording. Double-check for any discrepancies between the payment amount and the agreed price before finalizing the document.
A simple structure for the template could be as follows:
- Buyer’s Name
- Seller’s Name
- Car Details: Make, Model, Year, VIN
- Amount Paid
- Payment Method
- Date of Transaction
- Transaction Number
- Signatures
Once the receipt is completed, ensure both parties receive a copy for their records. This formalizes the exchange and protects both parties in the event of future disputes.
To create a clear and reliable custom receipt for vehicle payments, focus on including specific details. Start by listing the buyer and seller’s full names, addresses, and contact information. Include the date of the transaction and a description of the vehicle, such as its make, model, VIN (Vehicle Identification Number), and year. This information should be prominently displayed for easy reference.
Key Sections to Include
Ensure your receipt has the following components:
| Section | Description |
|---|---|
| Transaction Date | List the exact date the payment was made. |
| Payment Amount | Include the total amount paid, broken down into installments if necessary. |
| Payment Method | State whether the payment was made in cash, via check, credit card, or bank transfer. |
| Vehicle Details | Provide the make, model, year, VIN, and any other distinguishing features of the vehicle. |
| Seller’s and Buyer’s Information | List both parties’ names, addresses, and contact details for verification. |
| Signatures | Include both parties’ signatures as proof of the transaction. |
Adding Extra Details
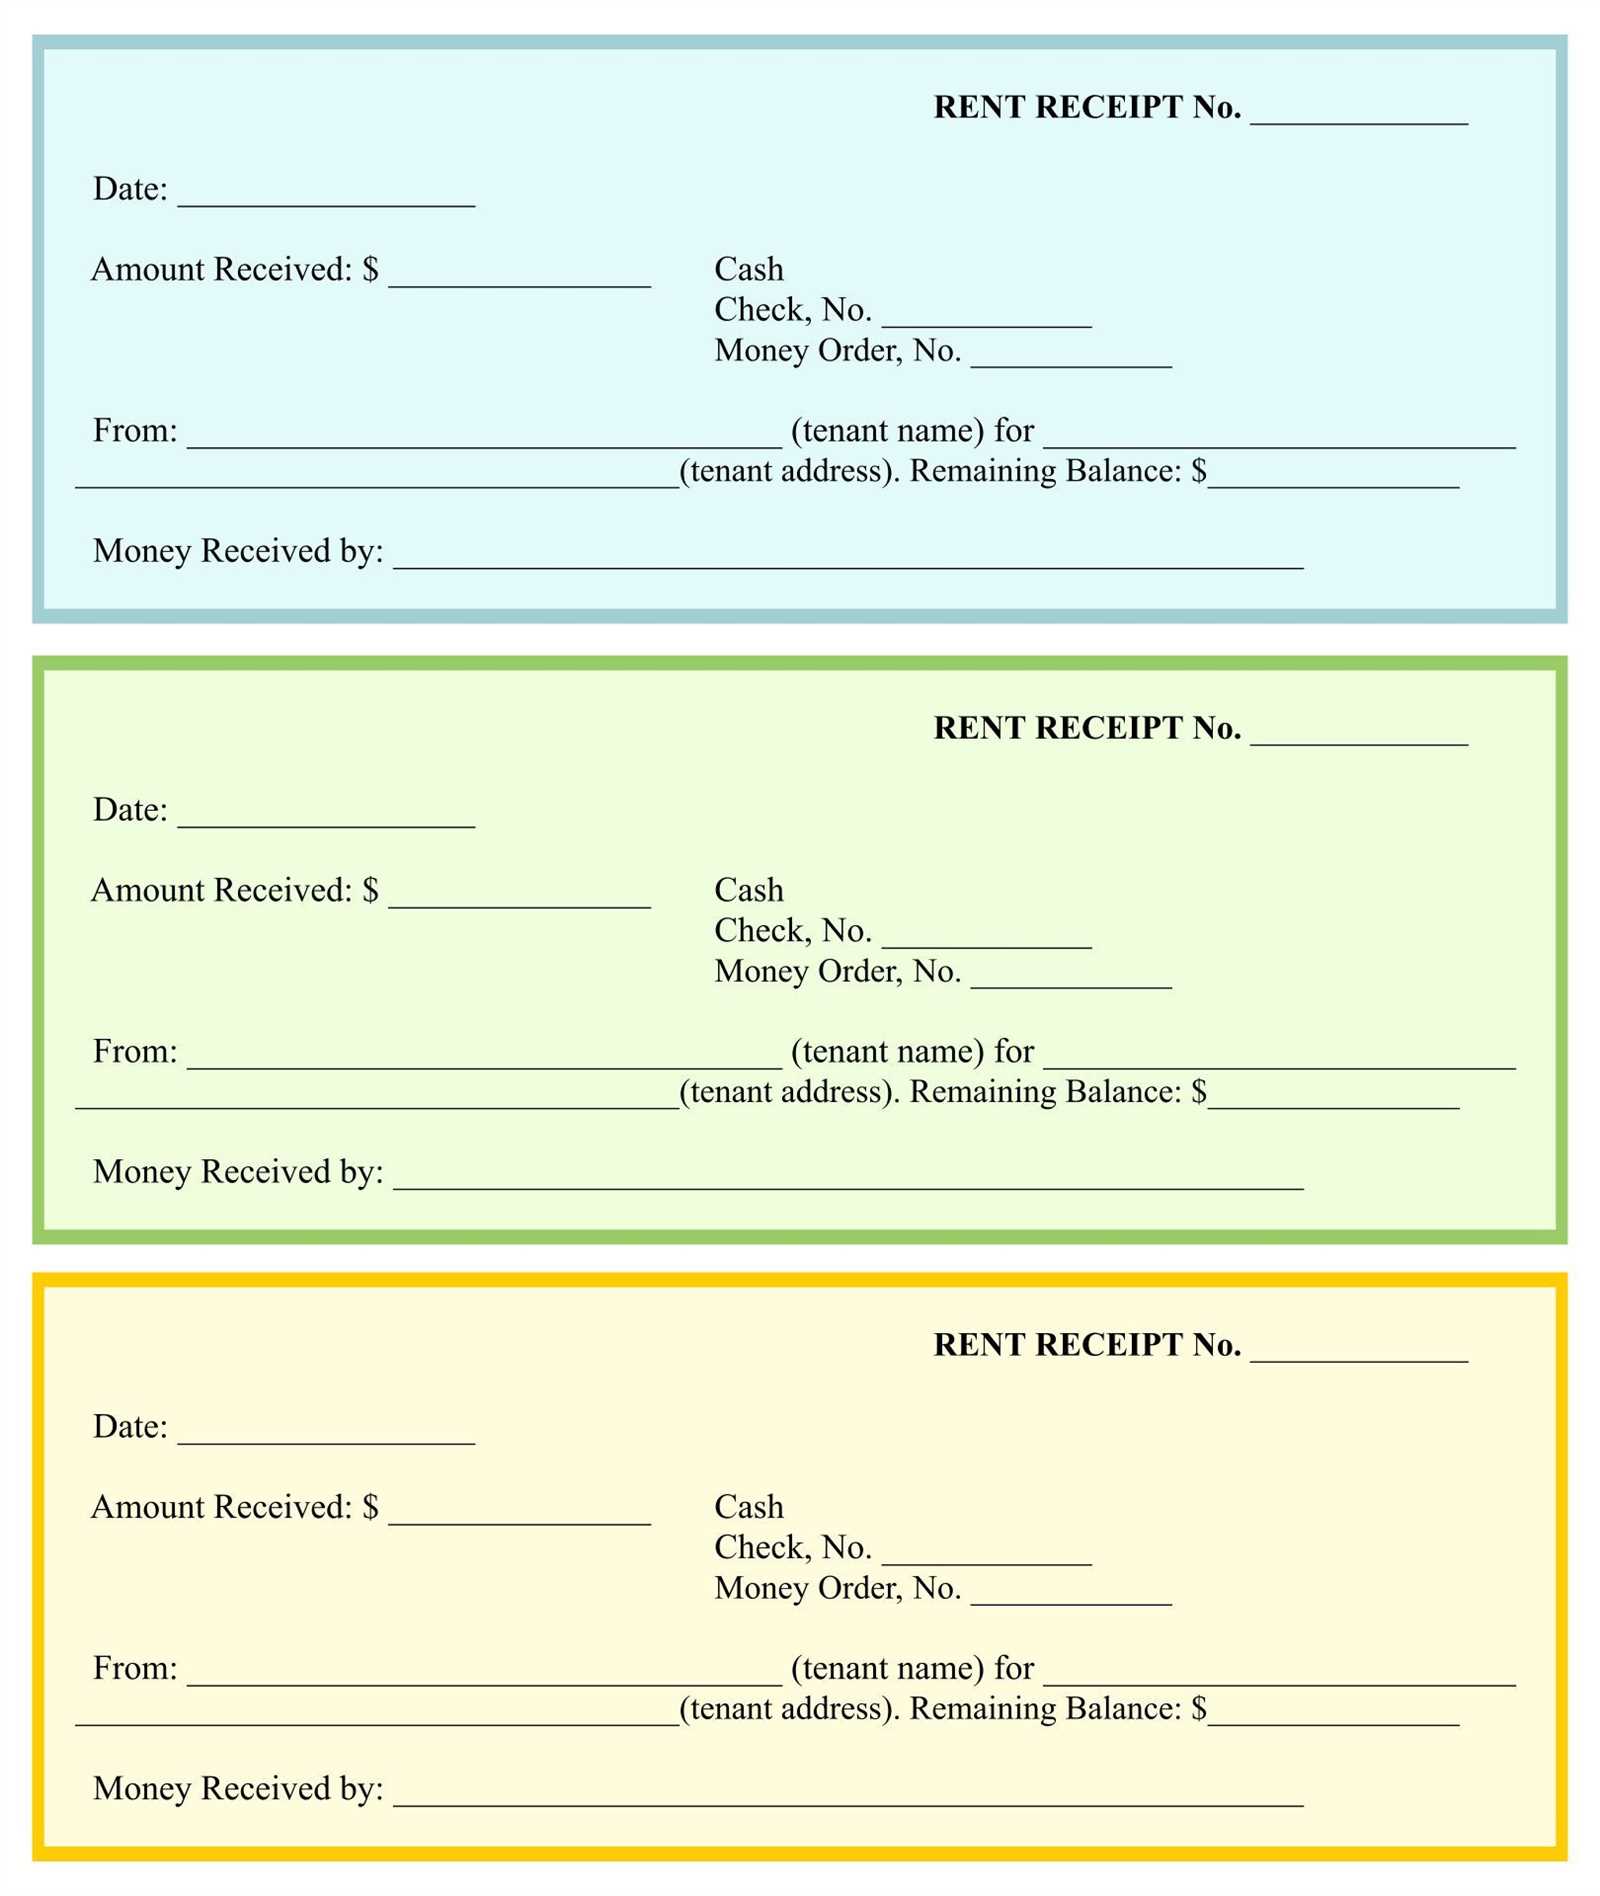
If applicable, include terms like warranty information or financing details. Make sure the receipt reflects any down payments or deposit amounts made, and clarify the final payment amount if the vehicle was sold on credit. Include a space for any additional notes that may be relevant to the transaction.
Make sure the receipt clearly shows the date and time of the payment transaction. This helps both parties track when the payment was made.
Buyer and Seller Details
Include the names, addresses, and contact information of both the buyer and the seller. This helps identify the parties involved in the transaction.
Payment Breakdown
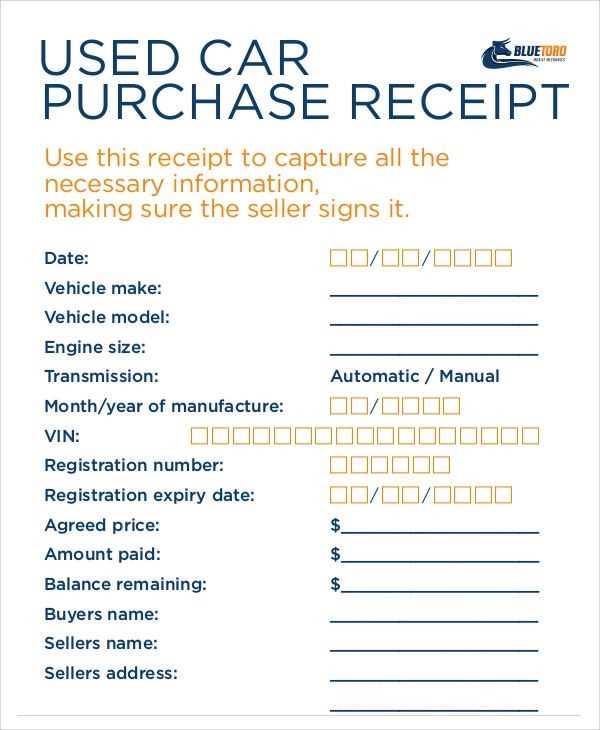
Specify the total amount paid, the method of payment (e.g., cash, bank transfer, check), and any applicable taxes or fees. This ensures clarity and prevents misunderstandings.
Include a unique receipt number for easy reference in case of future inquiries. Additionally, list the vehicle details, including make, model, year, and VIN number.
Store digital receipts in a secure, organized manner to ensure they are easy to access when needed. Start by saving the receipt in a dedicated folder on your device or cloud storage. Label the file with details such as the car model, payment amount, and date to make it easily searchable.
- Check if the receipt includes the transaction details like the seller’s name, vehicle identification number (VIN), and payment method. This information is key for future reference.
- If the payment receipt is emailed to you, make sure to save it in your email inbox under a specific folder for vehicle-related documents.
- Back up digital receipts regularly to avoid losing them. Use both cloud storage and an external drive for added security.
If the receipt is from an online transaction, take screenshots or download any additional confirmation emails. These steps help ensure you have a complete record in case you need to prove the payment later.
- Double-check the receipt for accuracy, such as ensuring the correct payment amount and transaction date are listed.
- For easier tracking, consider using a digital receipt management app that automatically organizes and stores your receipts.
When dealing with refunds or disputes, having quick access to the digital receipt helps you resolve any issues swiftly. Always keep the original format of the receipt to avoid complications with validation.
To create a simple and clear car payment receipt, make sure it includes key details. These details should confirm the transaction, ensure transparency, and offer clarity for both parties involved.
Key Elements to Include
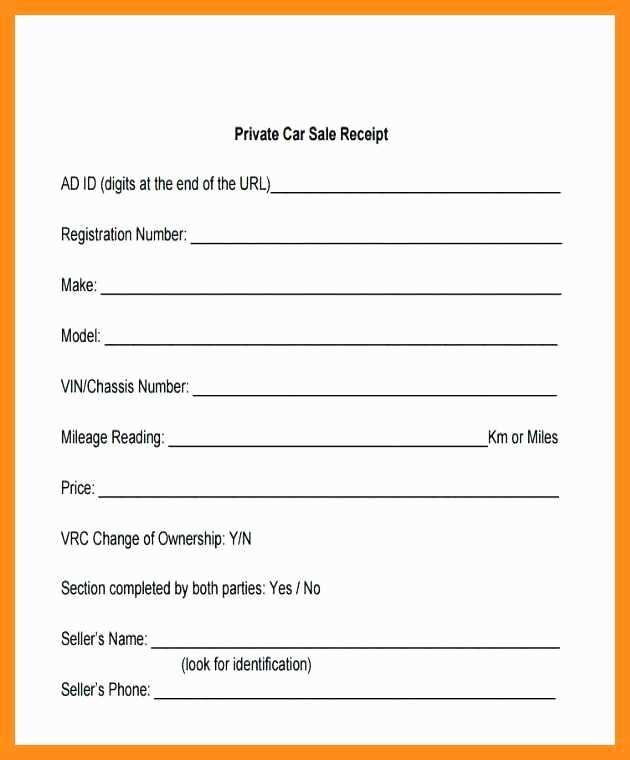
Start with the date and time of payment to ensure the transaction is easily traceable. Then, include the buyer’s name and the seller’s name, as well as the car’s make, model, and VIN. The payment method and amount should follow clearly. Always mention if the full payment has been made or if it’s a partial payment. A brief note on the payment terms and conditions is helpful too.
Formatting the Receipt
Ensure the receipt is well-organized with distinct sections. Clearly label each section (e.g., “Payment Information,” “Buyer and Seller Details”) to help both parties understand the document easily. Use a clean layout with no unnecessary decoration, keeping it simple and professional. Lastly, leave space for signatures from both parties to confirm agreement.


