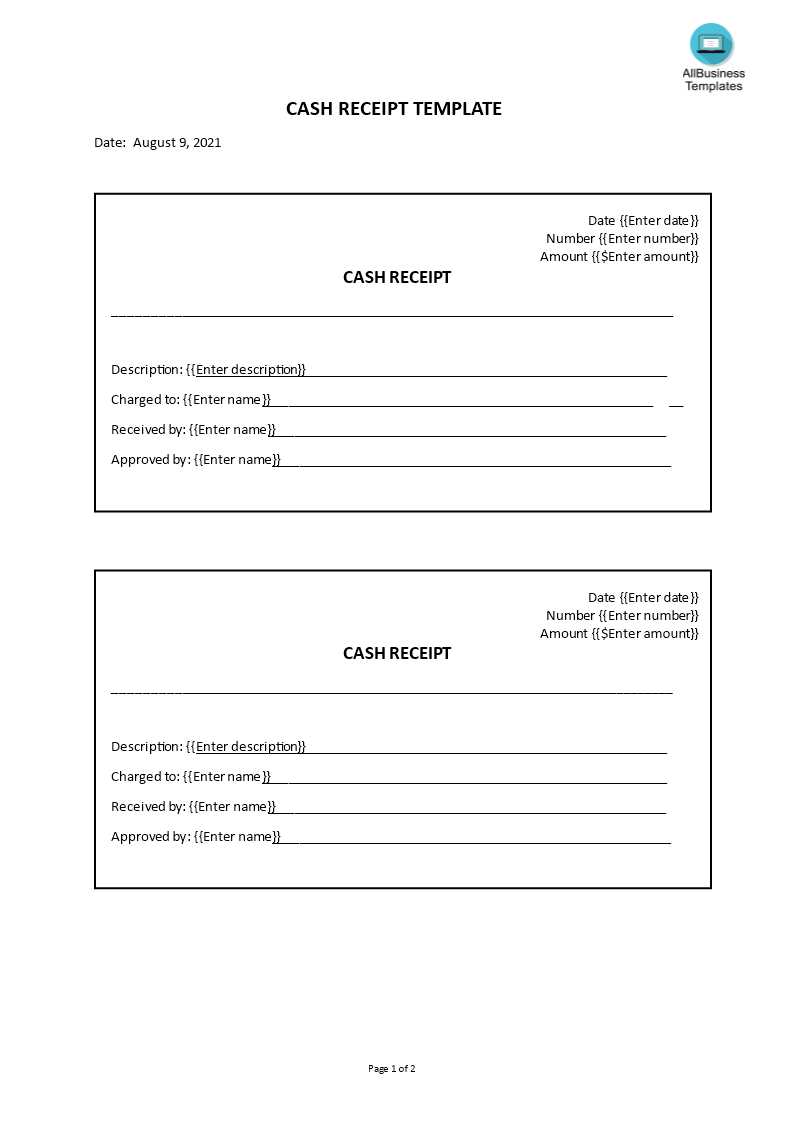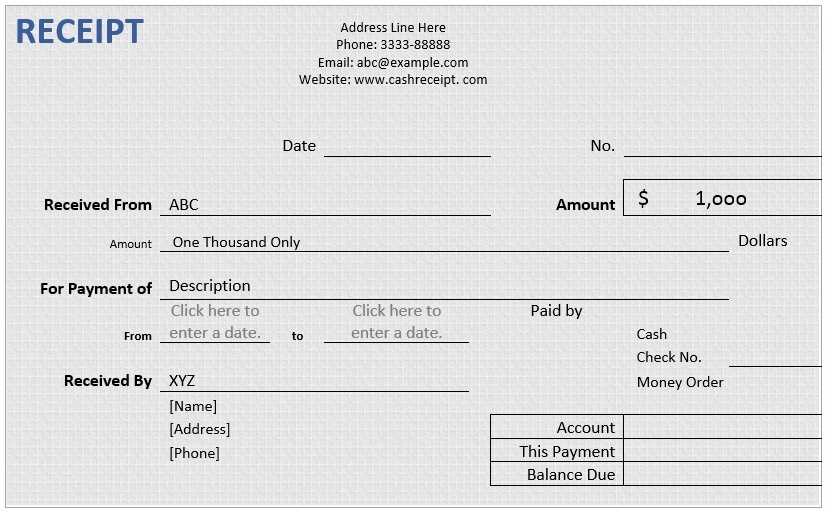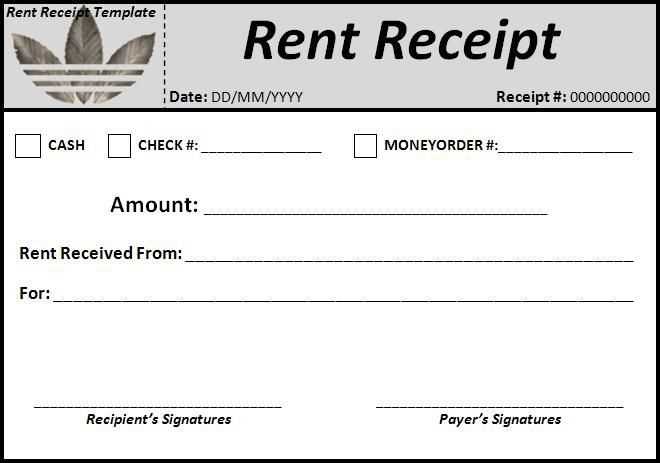
To create a professional and accurate receipt, use a straightforward format that includes all necessary details. The template should clearly present the transaction’s specifics, including the buyer’s and seller’s information, the product or service provided, the date of the transaction, and the total amount paid.
Ensure the document includes a unique receipt number to track each transaction effectively. This number serves as a reference point for both parties if any future inquiries arise. Place the transaction date at the top of the document for quick identification, along with the name and contact details of the business issuing the receipt.
For added clarity, break down the payment into categories, such as the item or service description, quantity, price per unit, and applicable taxes. Clearly state the total amount paid, and include any discounts or additional charges separately.
A well-structured receipt provides transparency and can be used for accounting or warranty purposes. Use clean fonts and ensure the text is legible to avoid any confusion. Save your template in a format that allows easy updates, such as a Word document or a PDF editable template.
Guide to Creating a Bir Official Receipt Template
To create a BIR official receipt template, include the necessary information that complies with the Bureau of Internal Revenue regulations. Focus on clarity and consistency, ensuring all required fields are filled out accurately for proper documentation.
Key Information to Include
Each BIR official receipt template should feature the following elements:
| Field | Description |
|---|---|
| Receipt Number | Assign a unique, sequential number to each receipt for easy tracking and auditing. |
| Taxpayer Identification Number (TIN) | Provide your business’ TIN to comply with BIR’s requirements. |
| Business Name | Clearly display the name of your business or entity issuing the receipt. |
| Address | Include the complete address of the business location. |
| VAT or Non-VAT Status | Indicate whether the business is VAT-registered or exempt, as this affects the tax rates applied. |
| Customer Details | Collect the name, address, and TIN (if applicable) of the customer receiving the goods or services. |
| Date of Transaction | Record the exact date the transaction took place for proper accounting. |
| Item Description | List the products or services provided, including unit price, quantity, and total amount. |
| Amount and Taxes | Show the total cost, applicable tax rates, and final price after taxes. |
Formatting Tips
Ensure the text is legible, using a clean, professional font and appropriate font size for each field. Group related information together to avoid confusion. Make sure the receipt is clearly divided into sections, with borders or lines if needed, to highlight important details like amounts or tax rates.
Adhere to BIR’s standards by formatting the receipt in a way that is both professional and easy for both parties to understand. This ensures legal compliance and minimizes the risk of errors in financial reporting.
Choosing the Right Format for Your Official Receipt
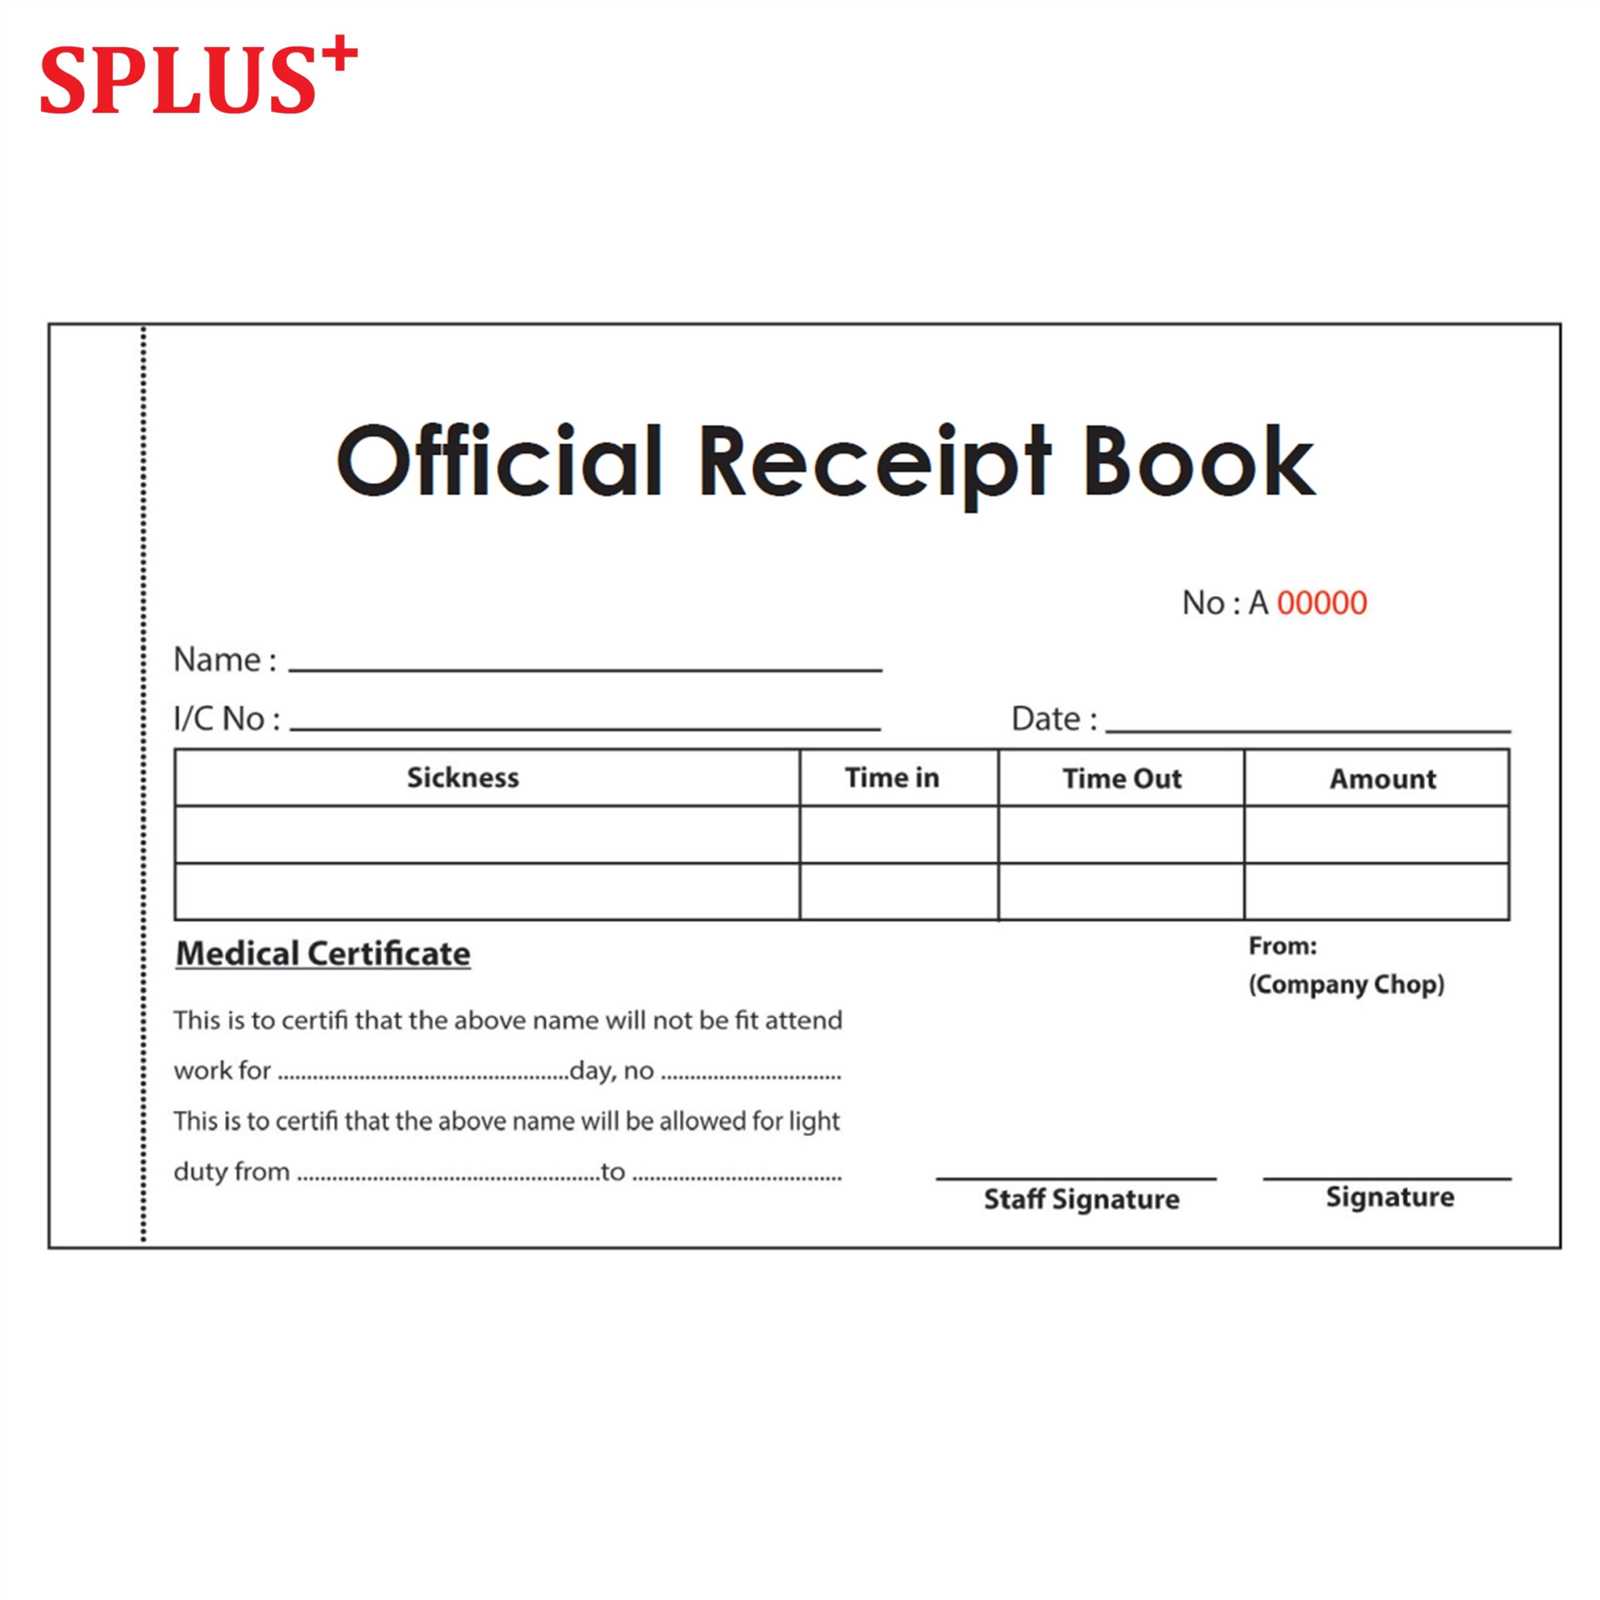
To create an official receipt, choose a format that prioritizes clarity and legal accuracy. This ensures the document is both functional and professional. Here’s how to decide on the right structure:
- Consider the Purpose: Tailor the receipt format based on your business needs. A receipt for goods will look different from a service-based one. Ensure the format captures essential details such as the item description, price, and transaction date.
- Legal Requirements: Include mandatory fields based on local regulations. Some regions require a tax identification number, others may specify that the receipt be signed or include specific wording.
- Simplicity and Legibility: Opt for a format that is easy to read. Use clear fonts, logical sections, and consistent formatting to avoid confusion. A cluttered receipt can cause errors and misunderstandings.
- Space for Customization: Design a template that allows room for additional information, like discounts or special terms. The layout should be flexible without compromising readability.
- Include a Unique Identifier: A receipt number or a reference code is important for tracking and verification. This helps in case of disputes or audits.
By focusing on these aspects, you ensure that your official receipt serves both as a reliable record and a professional representation of your business transactions.
How to Include Required Information in the Template
Ensure the receipt template contains all legally required details to avoid any complications. Begin by adding the full name of the business or individual issuing the receipt, along with the business address and contact information. This establishes the identity of the entity involved in the transaction.
Transaction Details
List the date of the transaction, as well as a unique receipt number for tracking purposes. Clearly state the items or services purchased, including quantities and prices, ensuring no ambiguity about the purchase. If applicable, include taxes or other charges that were added to the final price.
Payment Information
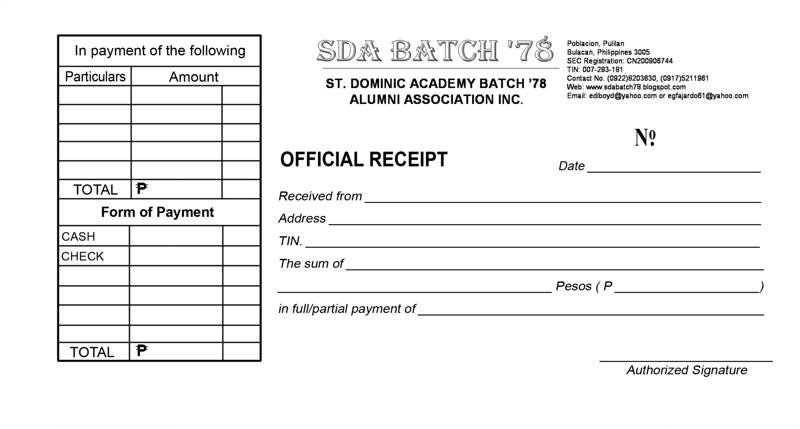
Include the total amount paid, the payment method (e.g., cash, credit card, or bank transfer), and any relevant payment reference number. This clarifies how the payment was made and provides proof for both parties.
Lastly, remember to add any required disclaimers or return policies if relevant to your business. This ensures transparency and protects both the buyer and seller in case of disputes.
Design Tips for Professional and Clear Receipt Layout
Use a clean and simple font for readability. Stick to sans-serif fonts like Arial or Helvetica. Avoid fancy or overly decorative fonts that can hinder legibility. Make sure the font size is appropriate–large enough to read easily, but not so large that it takes up too much space.
Organize information logically. Place the most important details, such as the business name, transaction date, and amount, at the top. Follow with product descriptions, quantities, and unit prices in a well-structured format. Use alignment and spacing to separate different sections clearly, ensuring the information flows naturally.
Leave enough white space between elements. Cluttered receipts can confuse the reader. Adequate margins and spacing make the receipt visually appealing and easier to read. Ensure there is enough space between items to avoid a crowded layout.
Use grid lines or separators to demarcate sections. This can include lines between the header, itemized list, and footer. The structure helps break down the information into digestible chunks and prevents the receipt from looking chaotic.
Highlight key details like the total amount or payment method. Use bold text or a different color for amounts, taxes, and totals to make them stand out. This reduces the time spent searching for important details.
Ensure that the receipt is printed in a format that fits the space. If possible, use a standard size that works across different devices. Make sure the printed receipt doesn’t require scrolling or resizing, making it easy to store and share if needed.
Include clear contact information at the bottom. Business name, address, phone number, and website should be easily accessible. This ensures that the customer can reach out if needed and reinforces brand identity.
Incorporating Tax Identification and Legal Details
Include the tax identification number (TIN) of both parties on the receipt. This ensures compliance with tax regulations and verifies the identity of the businesses involved. Make sure to place this information in a prominent spot, such as directly under the company name or on the footer. If applicable, also list the legal structure of the business (e.g., LLC, Corporation) and any relevant registration numbers. This information provides transparency and legal clarity for both the issuer and the recipient.
Verify that the TIN matches the details provided to tax authorities. Incorrect TIN entries may lead to issues during audits or tax reporting. Keep in mind that certain regions may have additional requirements, such as VAT numbers or state/provincial registration details. Be sure to review local regulations to avoid omissions that could complicate future transactions or audits.
Ensuring Compliance with Bir Regulations and Standards
To comply with BIR regulations, make sure your official receipt template includes the required elements as defined by the Bureau of Internal Revenue. Key details must include the business name, address, Taxpayer Identification Number (TIN), and date of issue. Ensure the receipt is sequentially numbered for proper documentation and traceability. The use of authorized receipts and invoices is critical, as failure to do so may lead to penalties or fines.
Key Elements to Include in the Receipt
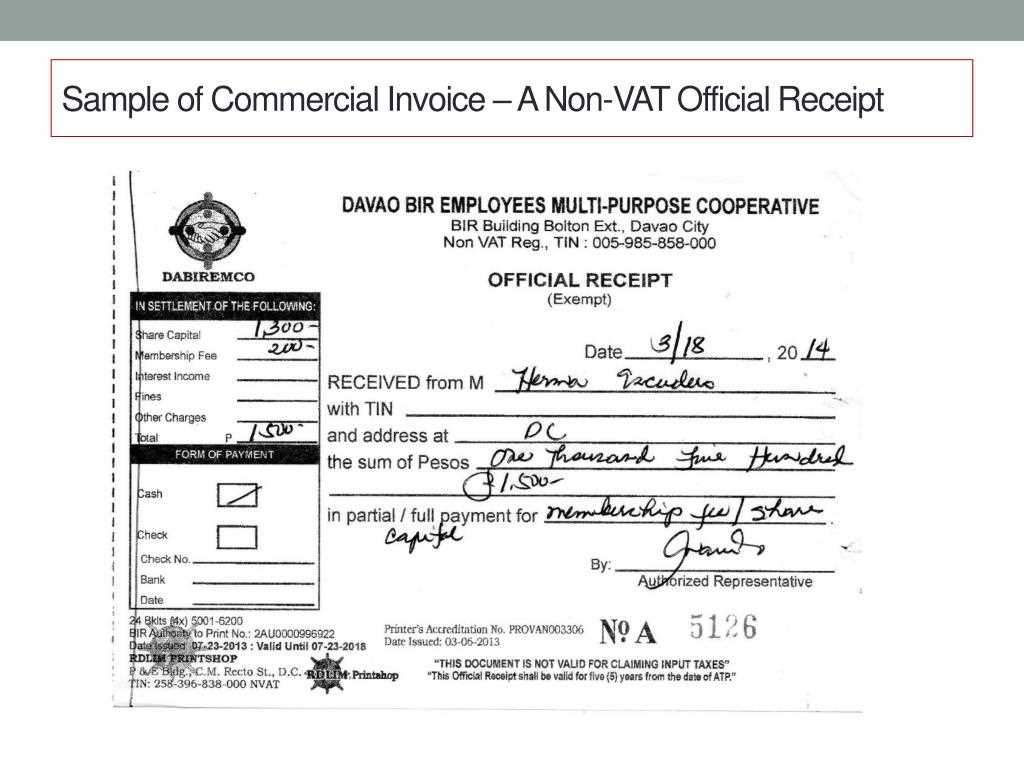
Include the following components in your receipt: the full name of the business, TIN, address, and contact number. Additionally, the receipt must clearly list the amount paid, the nature of the transaction, and the mode of payment. Make sure to include the correct VAT rate or exemption, depending on your business classification. This transparency not only keeps you compliant but also promotes trust with your customers.
Periodic Review and Updates
Regularly review your receipt template to ensure it stays in line with any updates to BIR regulations. The Bureau may issue new guidelines or modify existing ones, and staying informed will help you avoid discrepancies. Submitting updated templates or applications for approval when needed will help you maintain compliance with current standards.
Steps to Customize the Template for Different Business Types
To adapt a receipt template for different business types, begin by adjusting the logo and branding elements to reflect the specific business’s identity. Use the company’s color palette, fonts, and design style to make the receipt fit the brand’s visual identity.
1. Business-Specific Information
Modify the template to include relevant business details such as business name, address, contact information, and registration number. For service-based businesses, consider adding sections for service descriptions or hours of operation. Retail businesses may need to add product details, including SKU numbers and pricing breakdowns.
2. Payment Methods and Terms
For different types of businesses, adjust the payment method section accordingly. Retail businesses might include information on card transactions, cash payments, or online payments. Service industries can add sections for deposit amounts or installment plans if applicable. Always update the terms and conditions to reflect the specific payment practices for each business type.
Review and test the template on different devices or printing methods to ensure it remains clear and functional across various platforms, ensuring smooth transactions for customers.
