How to Create a Receipt Template in QuickBooks
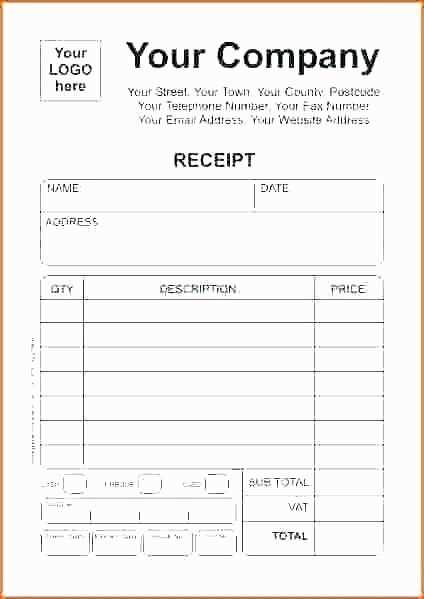
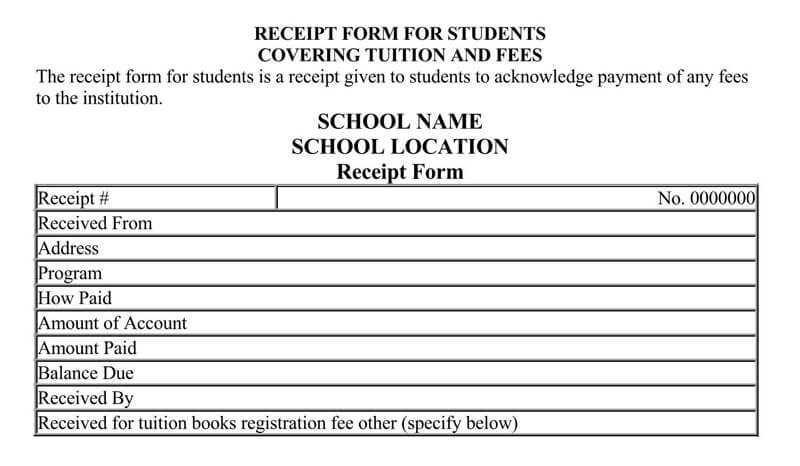
Creating an item receipt template in QuickBooks allows you to manage purchases and track inventory seamlessly. First, navigate to the “Create Receipt” section in QuickBooks. Select “Item Receipt” from the drop-down menu, then proceed to customize the template. Add relevant fields such as item descriptions, quantities, and prices. QuickBooks offers various customization options to suit your specific needs, including adding your business logo and adjusting the layout to ensure clarity and accuracy in your receipts.
Key Fields to Include
- Vendor Name: Identify the supplier for the purchased items.
- Item Name: Include a detailed description of the items being received.
- Quantity: Specify the amount of each item received.
- Rate: Add the rate per unit of each item for accurate pricing.
- Total: Display the total cost based on the quantity and rate.
- Date: Include the date of receipt for proper record keeping.
Customizing the Template Layout
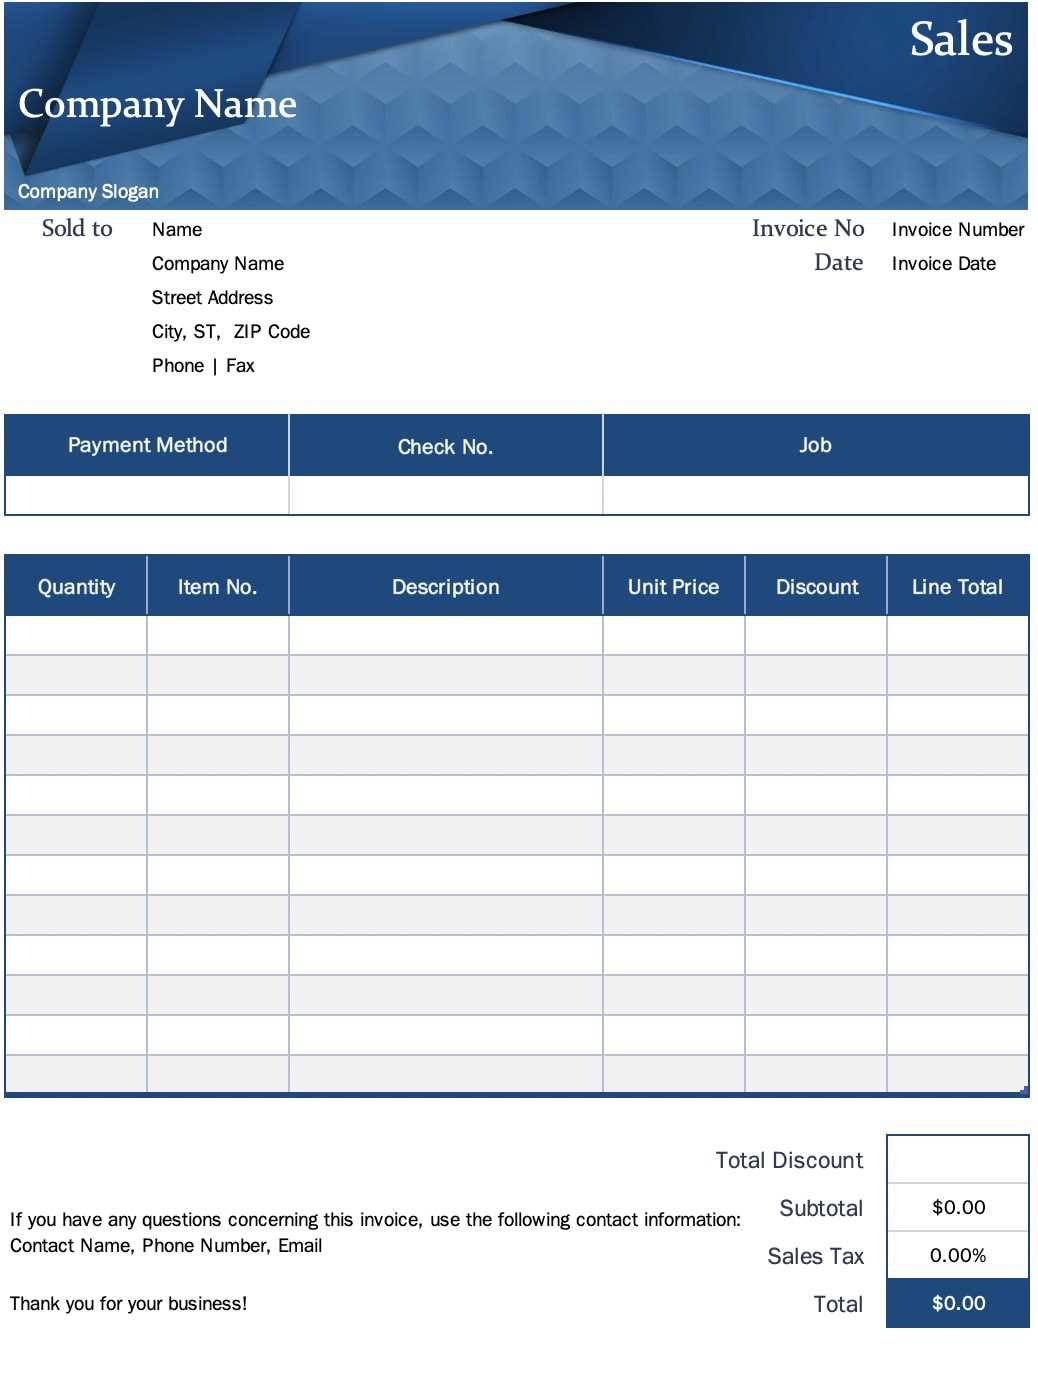
QuickBooks provides a simple drag-and-drop interface to adjust the layout of your item receipt. You can move fields around and resize sections for optimal presentation. Adjusting the font style and size helps with readability. If you want to include additional information, such as purchase order numbers or specific terms, QuickBooks allows you to add custom fields. Ensure the layout is clean and professional to avoid confusion for both your business and your clients.
Benefits of Using QuickBooks Item Receipt Template
Using an item receipt template streamlines your accounting and inventory management. It minimizes human error when entering data and provides a consistent, organized format for every receipt. This helps you maintain accurate records and make inventory tracking more efficient. Customization options also allow you to tailor the receipt to fit your business style, creating a professional and standardized approach for all transactions.
QuickBooks Item Receipt Template Guide

Customize your QuickBooks receipt template by going to the “Templates” section in your QuickBooks account. From there, select the “Item Receipt” template and choose “Edit.” You can adjust fonts, colors, and fields to match your preferences. Add or remove information such as company details, item descriptions, or pricing fields depending on what you need to display on the receipt.
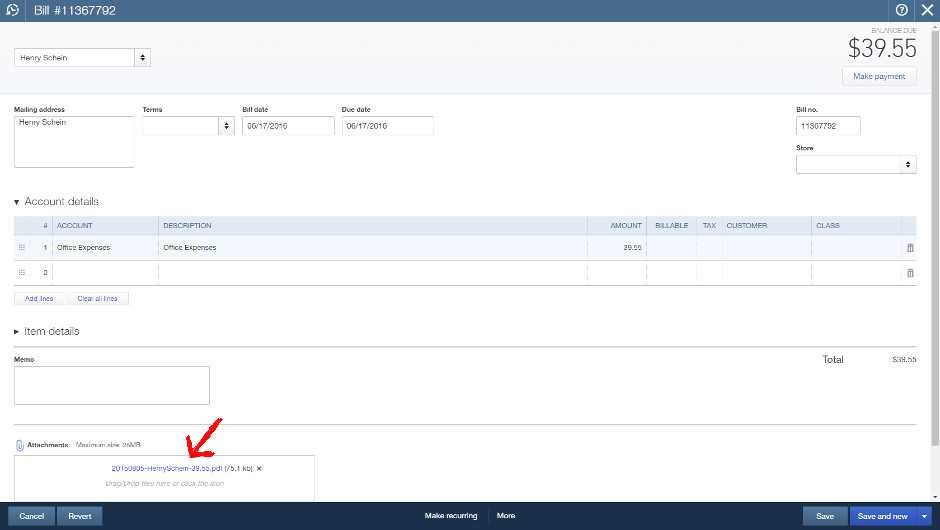
To add items to the receipt, click on the “Add Item” button. Choose from the list of items in your inventory or manually enter new items. Ensure the quantity, price, and description fields are filled out for each item. Use the “Track” feature to monitor item quantities, stock levels, and any changes to your inventory as they appear on the receipt.
When ready to finalize your receipt, you can print or export it as a PDF for easy sharing. Click “Print” to get a physical copy, or choose “Export” to save it digitally. Exporting allows you to email the receipt or keep it for your records.
