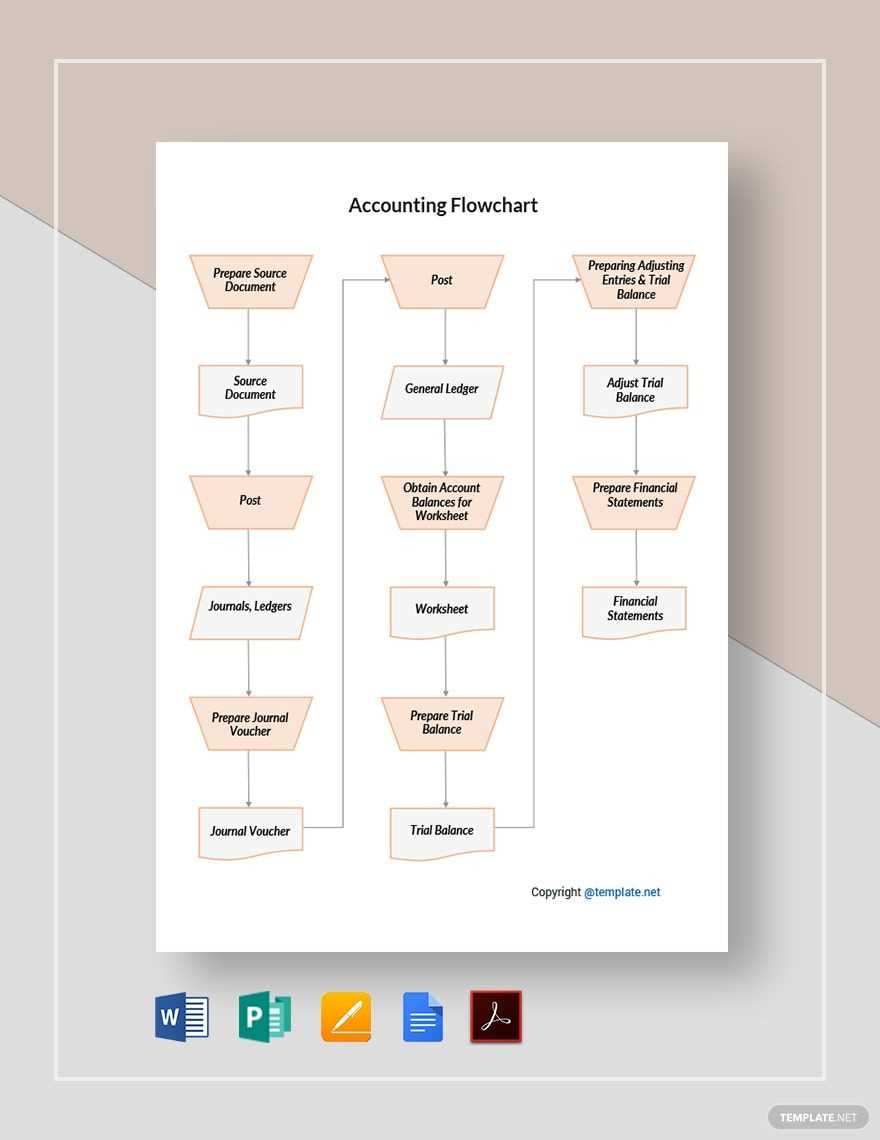
A well-designed flowchart is key to clearly outlining the process of cash receipt handling. A template helps streamline this process, offering a visual tool that simplifies tracking and organizing transactions. By mapping out each step, from receiving cash to recording it in the system, you create a clearer understanding of cash inflow management.
Start by creating a clear entry point for the receipt process. Identify how cash enters the organization, whether through sales, customer payments, or other sources. Next, outline the verification steps: ensuring that the amount matches records and that the receipt is legitimate. Establish checkpoints for handling discrepancies to prevent errors down the line.
Incorporate a segment in your template for depositing cash into the bank or updating digital financial systems. A final step should involve confirming that all cash receipts are recorded and reconciled with financial reports. Use arrows and labels to connect these stages, ensuring each part of the process is easily understood and followed by team members.
The template should also allow room for exceptions or special cases, such as refunds or adjustments. Make sure the flowchart is flexible enough to adapt to your company’s specific needs while maintaining clear, simple steps for standard operations. A straightforward cash receipt flowchart improves accuracy and saves time by guiding employees through each stage of the process.
Cash Receipts Flowchart Template: A Practical Guide
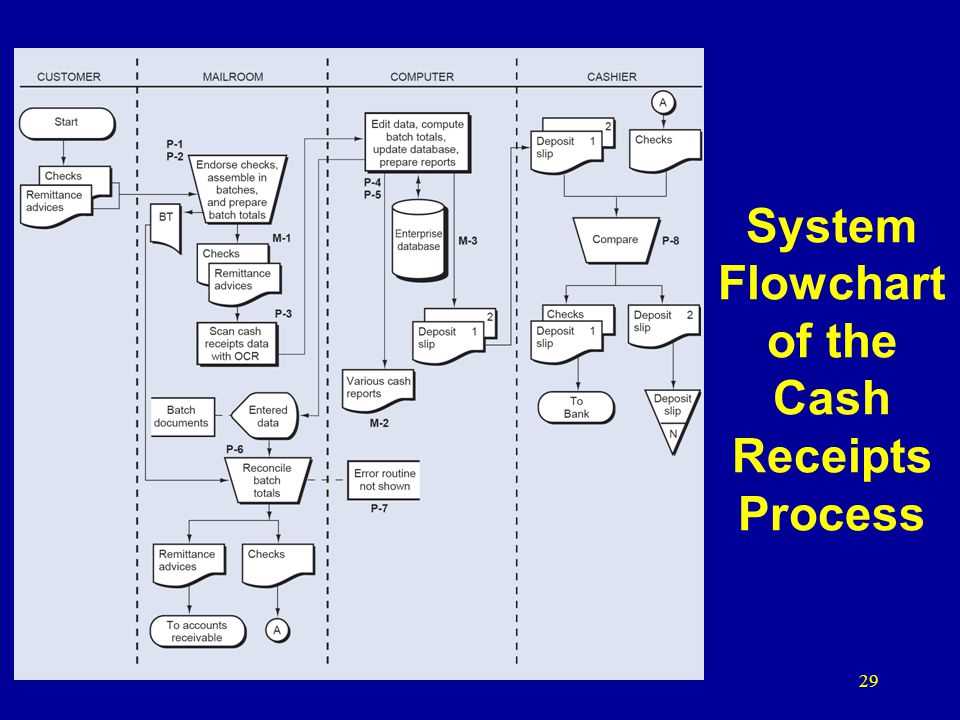
Use a cash receipts flowchart to streamline your process, track payments, and reduce errors. Start by outlining the key steps from receipt initiation to deposit. Map out every action, including verification, approval, and entry into the accounting system.
Begin with the receipt generation step. This is where payments are recorded–whether cash, check, or electronic transfer. Follow it with a verification phase to confirm the amount and source. If discrepancies arise, a secondary verification process should be in place.
The next step should involve approval. Define who is responsible for authorizing transactions before they proceed. For example, a supervisor or finance manager might approve payments above a specific threshold.
After approval, enter the data into your accounting system. Ensure that every transaction is logged with clear details like date, amount, and payer information. Include a step to double-check for input accuracy.
Once recorded, move to the deposit phase. Identify how payments are transferred to the bank or designated account. Specify whether this happens daily, weekly, or at specific intervals. This step is key for cash flow management and should be clearly outlined in the flowchart.
Review and reconcile regularly. Incorporate a final step that reviews and reconciles receipts with bank statements to close the loop and confirm everything matches. This will help prevent discrepancies and improve financial tracking.
Customize your flowchart template to fit your specific business needs. Adjust for different payment types, approval processes, or accounting systems. A clear, well-structured flowchart can significantly simplify your cash receipts management.
Mapping Cash Receipt Entry Points in the Flowchart
Identify the precise points where cash receipts enter the system to ensure accurate tracking. These entry points typically begin with a payment initiation, such as checks, electronic transfers, or cash deposits, and continue through to data entry in the accounting system. By visualizing these stages in a flowchart, you can streamline the process and minimize errors.
Payment Receipt Methods
Define each method of payment and its corresponding data entry point. For example, checks may require manual verification and data input, while electronic transfers are directly recorded in the system. Cash deposits, on the other hand, may involve counting and depositing into the bank before being logged into the system.
Data Entry and Verification
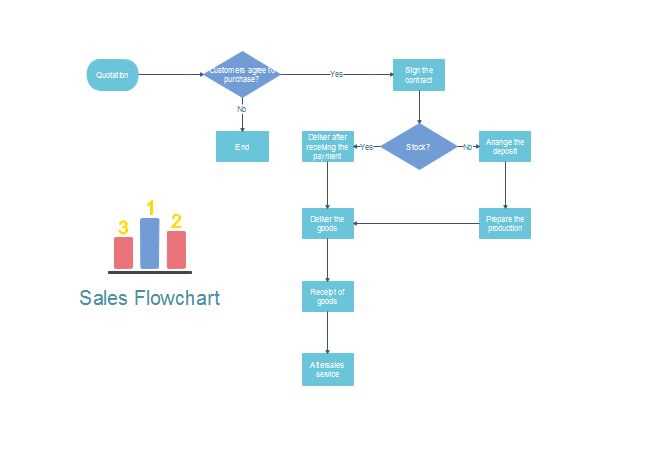
Ensure that each receipt is logged with accurate details, including the amount, date, and payment method. Use automated data capture tools where possible to reduce human error. Implement checks to verify that the receipt data matches the payment information and is properly classified in the accounting system.
Design the flowchart so that each entry point is clearly mapped, with a focus on verification steps to confirm accuracy before finalizing the transaction. This helps prevent discrepancies and ensures that each step in the cash receipt process is properly documented.
Identifying Approval Stages in Cash Receipt Processes
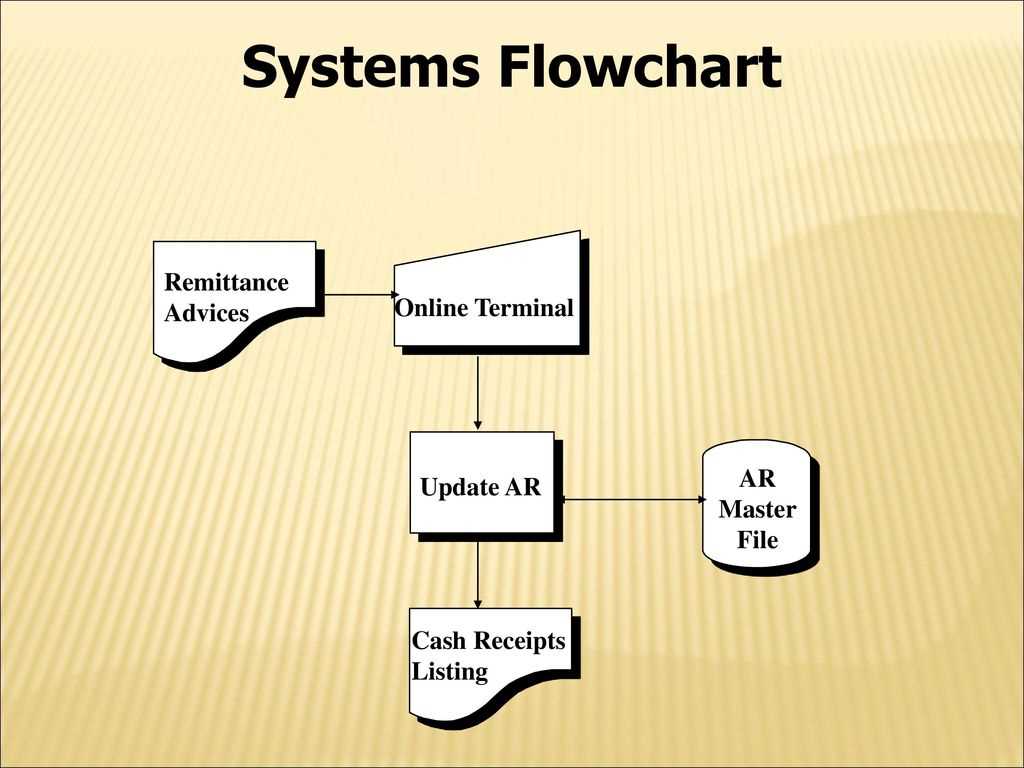
Approval stages in cash receipt processes must be clearly defined to ensure accurate tracking and accountability. Begin by distinguishing between the different levels of approval required for various transaction amounts.
- Initial Receipt Verification: The first approval stage involves confirming that the payment or deposit has been correctly received. This includes validating payment details against the documentation provided.
- Managerial Review: For higher-value receipts, a managerial review is necessary. This stage ensures the amount and method of payment align with organizational policies and limits.
- Finance Department Approval: At this level, the finance team performs a final check on the receipt’s accuracy, ensuring all relevant accounts are credited appropriately.
- Reconciliation and Documentation: Once approved, receipts are reconciled with bank statements and supporting documentation. A final sign-off from the finance manager often concludes the process.
Mapping these stages on a flowchart helps clarify the sequence of approvals and highlights any potential bottlenecks, ensuring a smooth cash receipt process. Make sure to include checkboxes or action steps for each stage, making it easy to track progress and flag any missing approvals.
Designing Visual Representations for Receipt Tracking
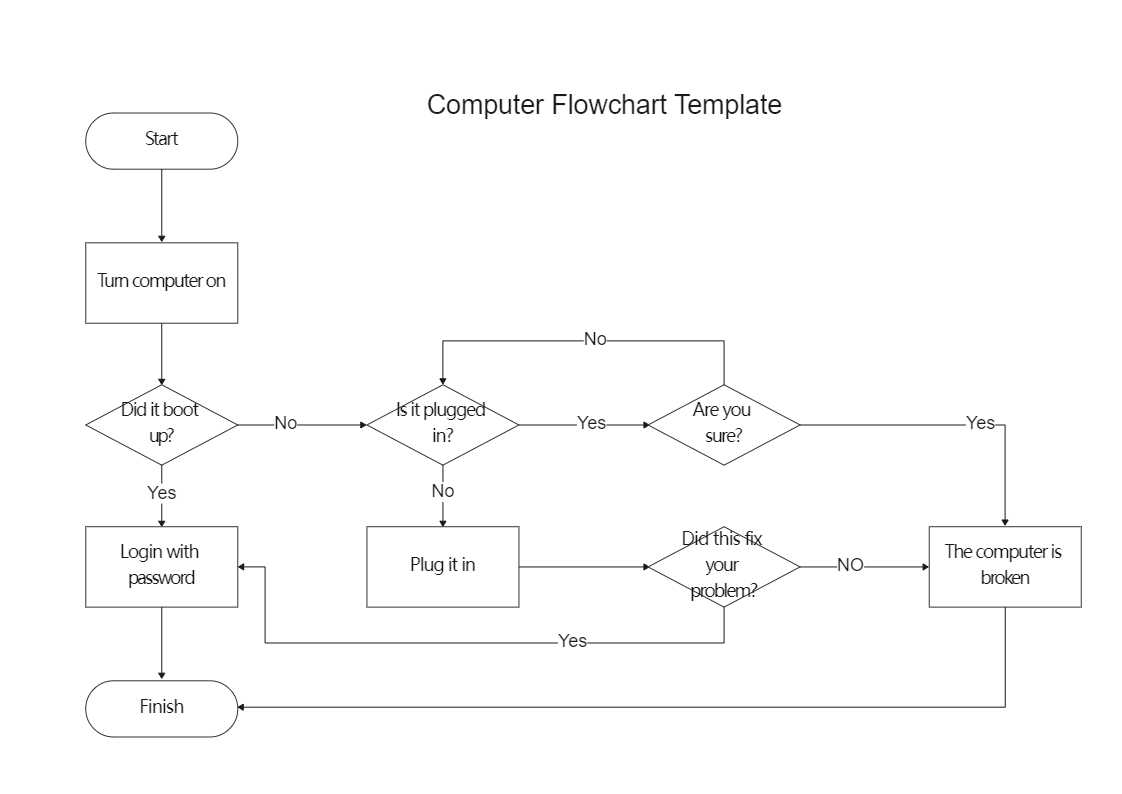
Choose clear and simple symbols for each step in the receipt process. Use rectangles to indicate actions such as “Create Receipt” or “Process Payment” and diamonds for decision points like “Payment Valid?” This helps streamline the flow and prevents confusion.
Organize the steps sequentially from top to bottom or left to right. This layout makes it easier for users to follow the process without getting lost. For complex processes, break the flowchart into smaller sections and connect them with labeled arrows.
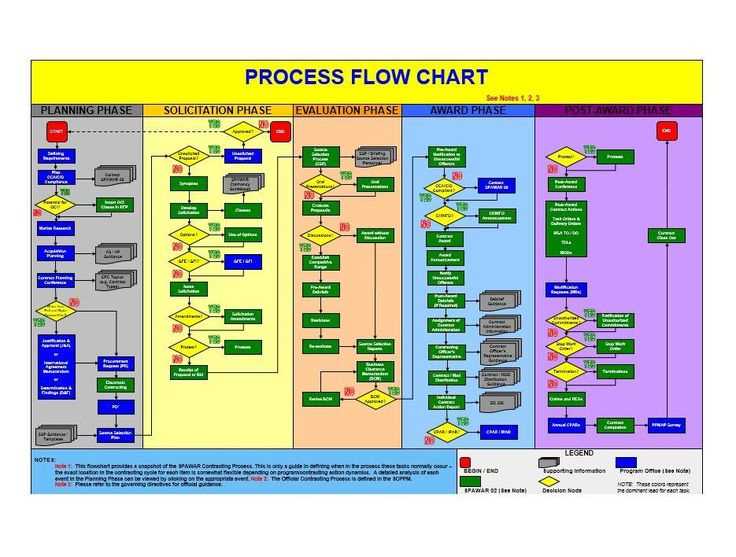
Incorporate color coding to distinguish between different types of actions. For example, use green for completed actions, yellow for pending, and red for issues that require attention. This visual cue can speed up decision-making and error resolution.
Label each step clearly with concise text. Avoid long sentences; short phrases work best. Use symbols alongside text to enhance understanding. For instance, a clock symbol next to a “Process Payment” step can highlight the importance of timing.
Include feedback loops for verification or correction steps. For example, if a payment fails, loop back to the “Retry Payment” step. This ensures that every step is accounted for, and the flow remains logical and manageable.
Test your flowchart with real users to identify any steps that are unclear or redundant. Adjust the layout or wording based on feedback to improve usability and efficiency.


