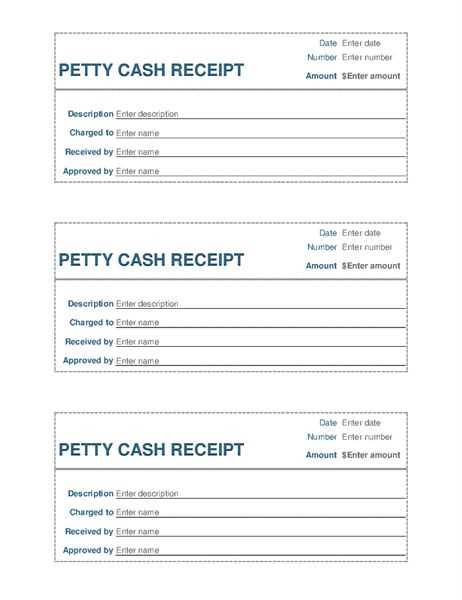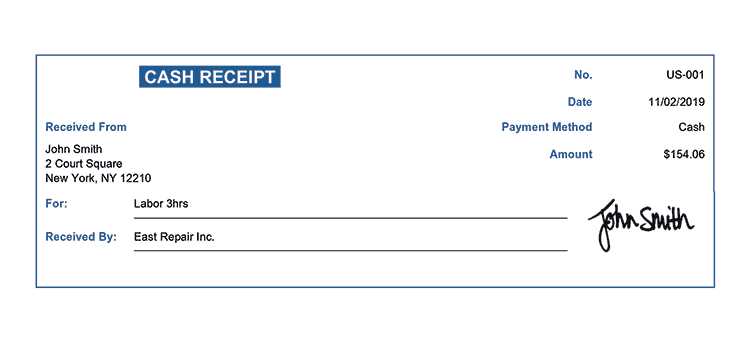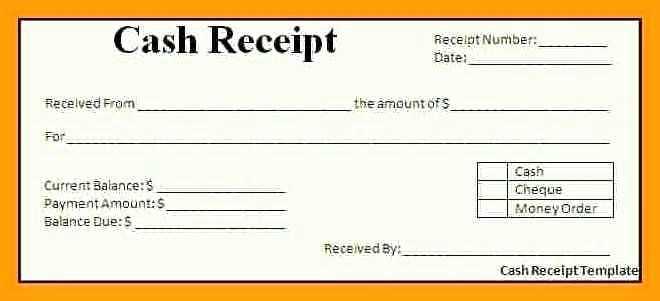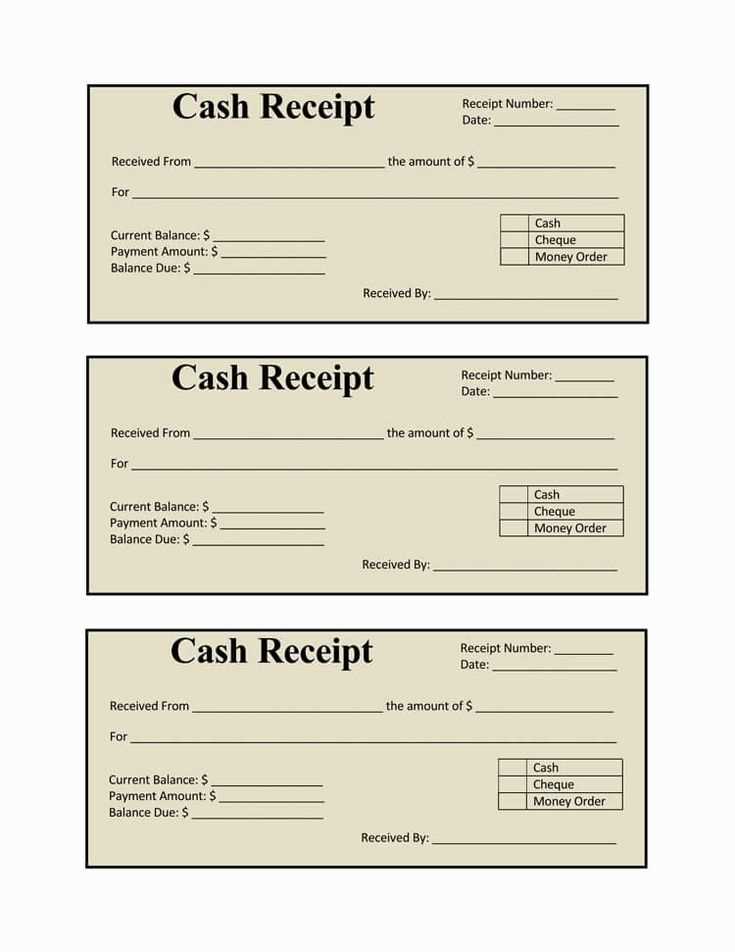
Creating a cash receipt in Word 2010 can be a quick and straightforward process with the right template. Start by searching for pre-made templates within Word’s template gallery. These options are designed to meet basic receipt needs and allow customization for your specific transactions.
If you prefer a tailored approach, designing your own receipt from scratch is easy. Begin with a simple table structure, which will help you organize the necessary details such as the date, payer’s name, amount received, and the reason for the payment. Keep the design clean, with clear labels for each section to ensure readability.
Another useful tip is to include a unique receipt number for better tracking of payments. This can be done manually or set up to generate automatically within Word. Adding a footer with business contact details or a thank-you message can make the receipt more professional and informative.
Cash Receipt Template in Word 2010: A Practical Guide
To create a cash receipt template in Word 2010, open a new document and set up a clear structure. Start by including a header with your business name, address, and contact details. This section should be concise and easy to read.
Setting Up the Basic Layout

In the main section, create fields for the receipt number, date of transaction, and the payer’s name. Use a table to organize the information neatly. Include a column for the description of goods or services, followed by a column for the amount paid. Add a total amount section at the bottom of the table for easy reference.
Adding Signature and Notes
Leave space for both the receiver’s and payer’s signatures. This can be done by creating two lines labeled “Receiver” and “Payer” with enough space underneath for signatures. Add a notes section for additional details, such as payment method or transaction reference.
Save your template and use it for future transactions. This simple setup ensures clarity and accuracy in recording cash transactions.
How to Create a Custom Cash Receipt in Word 2010

Open a new document in Word 2010 and set up your page. Go to the “Layout” tab, select “Margins,” and choose the preferred margin size. Next, adjust the page orientation to landscape or portrait, depending on the space needed.
For the receipt header, insert a table. Use a 2-column layout to display your business name and logo on the left and the receipt title on the right. You can format the text using bold, larger font sizes, or other design elements for emphasis.
Below the header, insert another table to organize the details. Include columns for the date, item description, amount, and payment method. Label these columns clearly so the information is easy to read. Adjust the column widths to fit the expected content.
For payment details, add a row that includes the total amount, the customer’s name, and any additional information such as a reference number. Add lines for signatures or notes if needed.
To finish, include a footer with your contact details, business address, and any other information you’d like to display. Make sure the footer is consistent with the overall style of your receipt.
Save your receipt template for future use, so you can quickly generate new receipts without starting from scratch each time.
Adjusting Format and Layout for Easy Customization

To ensure quick and seamless customization, start by selecting a clean, simple template. Avoid excessive details that may clutter the design and slow down the customization process. Focus on clear sections with enough space for easy editing.
Adjusting Text Fields
- Choose a legible font style like Arial or Times New Roman for easy readability.
- Use appropriate font sizes for each section: larger for headers, smaller for details.
- Ensure consistent spacing between lines and sections for a balanced look.
Modifying Layout Structure
- Separate key information with boxes or borders to visually highlight them.
- Organize sections using columns where possible to create clear divisions.
- Adjust margins and padding to ensure ample space for additional content without overcrowding.
With these tweaks, the template can be quickly adapted to suit various business needs, from invoices to payment receipts. Always keep the layout flexible for future modifications.
Common Mistakes to Avoid When Using Word Templates
Don’t ignore template formatting. When working with templates in Word, always double-check the document’s alignment and margins. Small misalignments can affect the overall appearance, especially if you plan to print or share the document.
Avoid overwriting the template’s placeholder text with irrelevant information. Ensure that you replace only the placeholders while keeping the layout intact. This prevents the template from becoming cluttered and unprofessional.
Do not neglect font consistency. Stick to the fonts specified in the template to maintain a cohesive design. Using multiple fonts within a single document can make it look disorganized.
Be cautious with excessive customization. While personalizing a template is great, too many changes to color schemes, spacing, and other elements can distort its original structure. Keep it clean and readable.
Don’t forget to save your document in the correct file format. Word templates might work best in specific formats like .docx, which ensures all formatting stays intact when you share or print the document.


