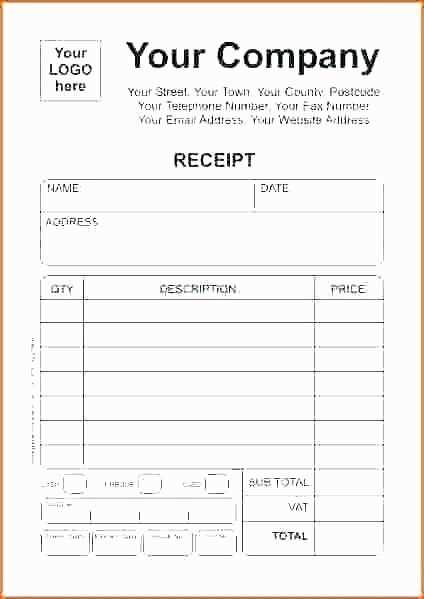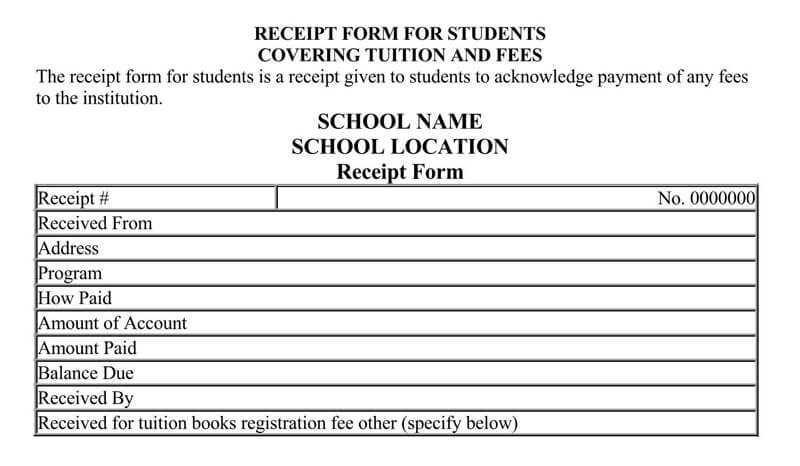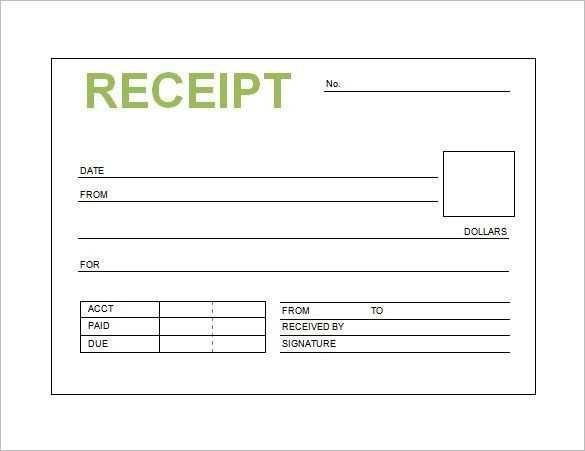
Creating a receipt booklet template can save both time and effort, especially for small businesses or personal use. A well-designed template ensures consistent and professional-looking receipts every time. Start with a simple format that includes fields for the date, amount, payer’s details, and a brief description of the transaction.
The layout should allow space for all necessary information without being cluttered. A clean, minimal design is effective in conveying important details clearly. You can use a word processor or spreadsheet software to design the template, adjusting font size and style to suit your needs. Make sure to leave room for both written and printed text.
Adding a section for your logo or business name adds a personal touch and enhances the document’s credibility. For convenience, incorporate features like automatic date or number generation to streamline the process. A receipt booklet template can also be customized with unique serial numbers for better tracking of transactions.
Consider keeping your template versatile by making it editable. This way, it can be adjusted for various transaction types, from sales to donations, making it a practical tool for any situation.
Receipt Booklet Template: Practical Guide
Choose a clear, simple layout that suits your business needs. A basic receipt booklet should have space for the transaction date, buyer’s details, item description, quantity, price, and total amount. Ensure that each entry is legible and easy to read.
Design Considerations: Use distinct fonts for headings and smaller text for the details. A minimalist approach avoids clutter, ensuring key information stands out. A section for signatures adds authenticity and a professional touch.
Customization: Modify the template to match your brand. Include a logo at the top and adjust the color scheme to reflect your business identity. This small tweak makes the booklet feel more cohesive and aligned with your branding.
Template Format: Make the template available in both digital and print-friendly formats. A PDF version works well for email receipts, while a hard-copy version should fit easily into a wallet or drawer.
Legal Aspects: Depending on your location, receipts might need specific information, such as tax numbers or company registration details. Always verify local regulations to ensure compliance.
By implementing these elements, you’ll create a functional and professional receipt booklet tailored to your specific requirements.
Choosing the Right Format for Your Booklet
Pick a format that fits your content and audience. For short, quick reference materials, an A5 format is perfect–compact and easy to carry. For detailed guides or documents, go for A4, offering more space for text and images. If you’re planning to distribute the booklet in bulk or through mail, a standard size like A5 will save on printing and shipping costs.
If your booklet includes images or graphs, choose a landscape format. It accommodates visuals better, ensuring that charts or diagrams are displayed clearly. On the other hand, portrait orientation works well for text-heavy booklets or formal documents that don’t require large visuals.
For digital booklets, opt for a PDF format. It’s easy to distribute, view, and print without worrying about layout shifting. Ensure the design remains flexible, so it’s readable on various devices, from smartphones to desktops.
Before deciding, consider the length of your booklet. A thinner booklet might work best with a simple stapled binding, while thicker ones may require perfect or spiral binding for better durability.
How to Customize Fields for Different Transactions
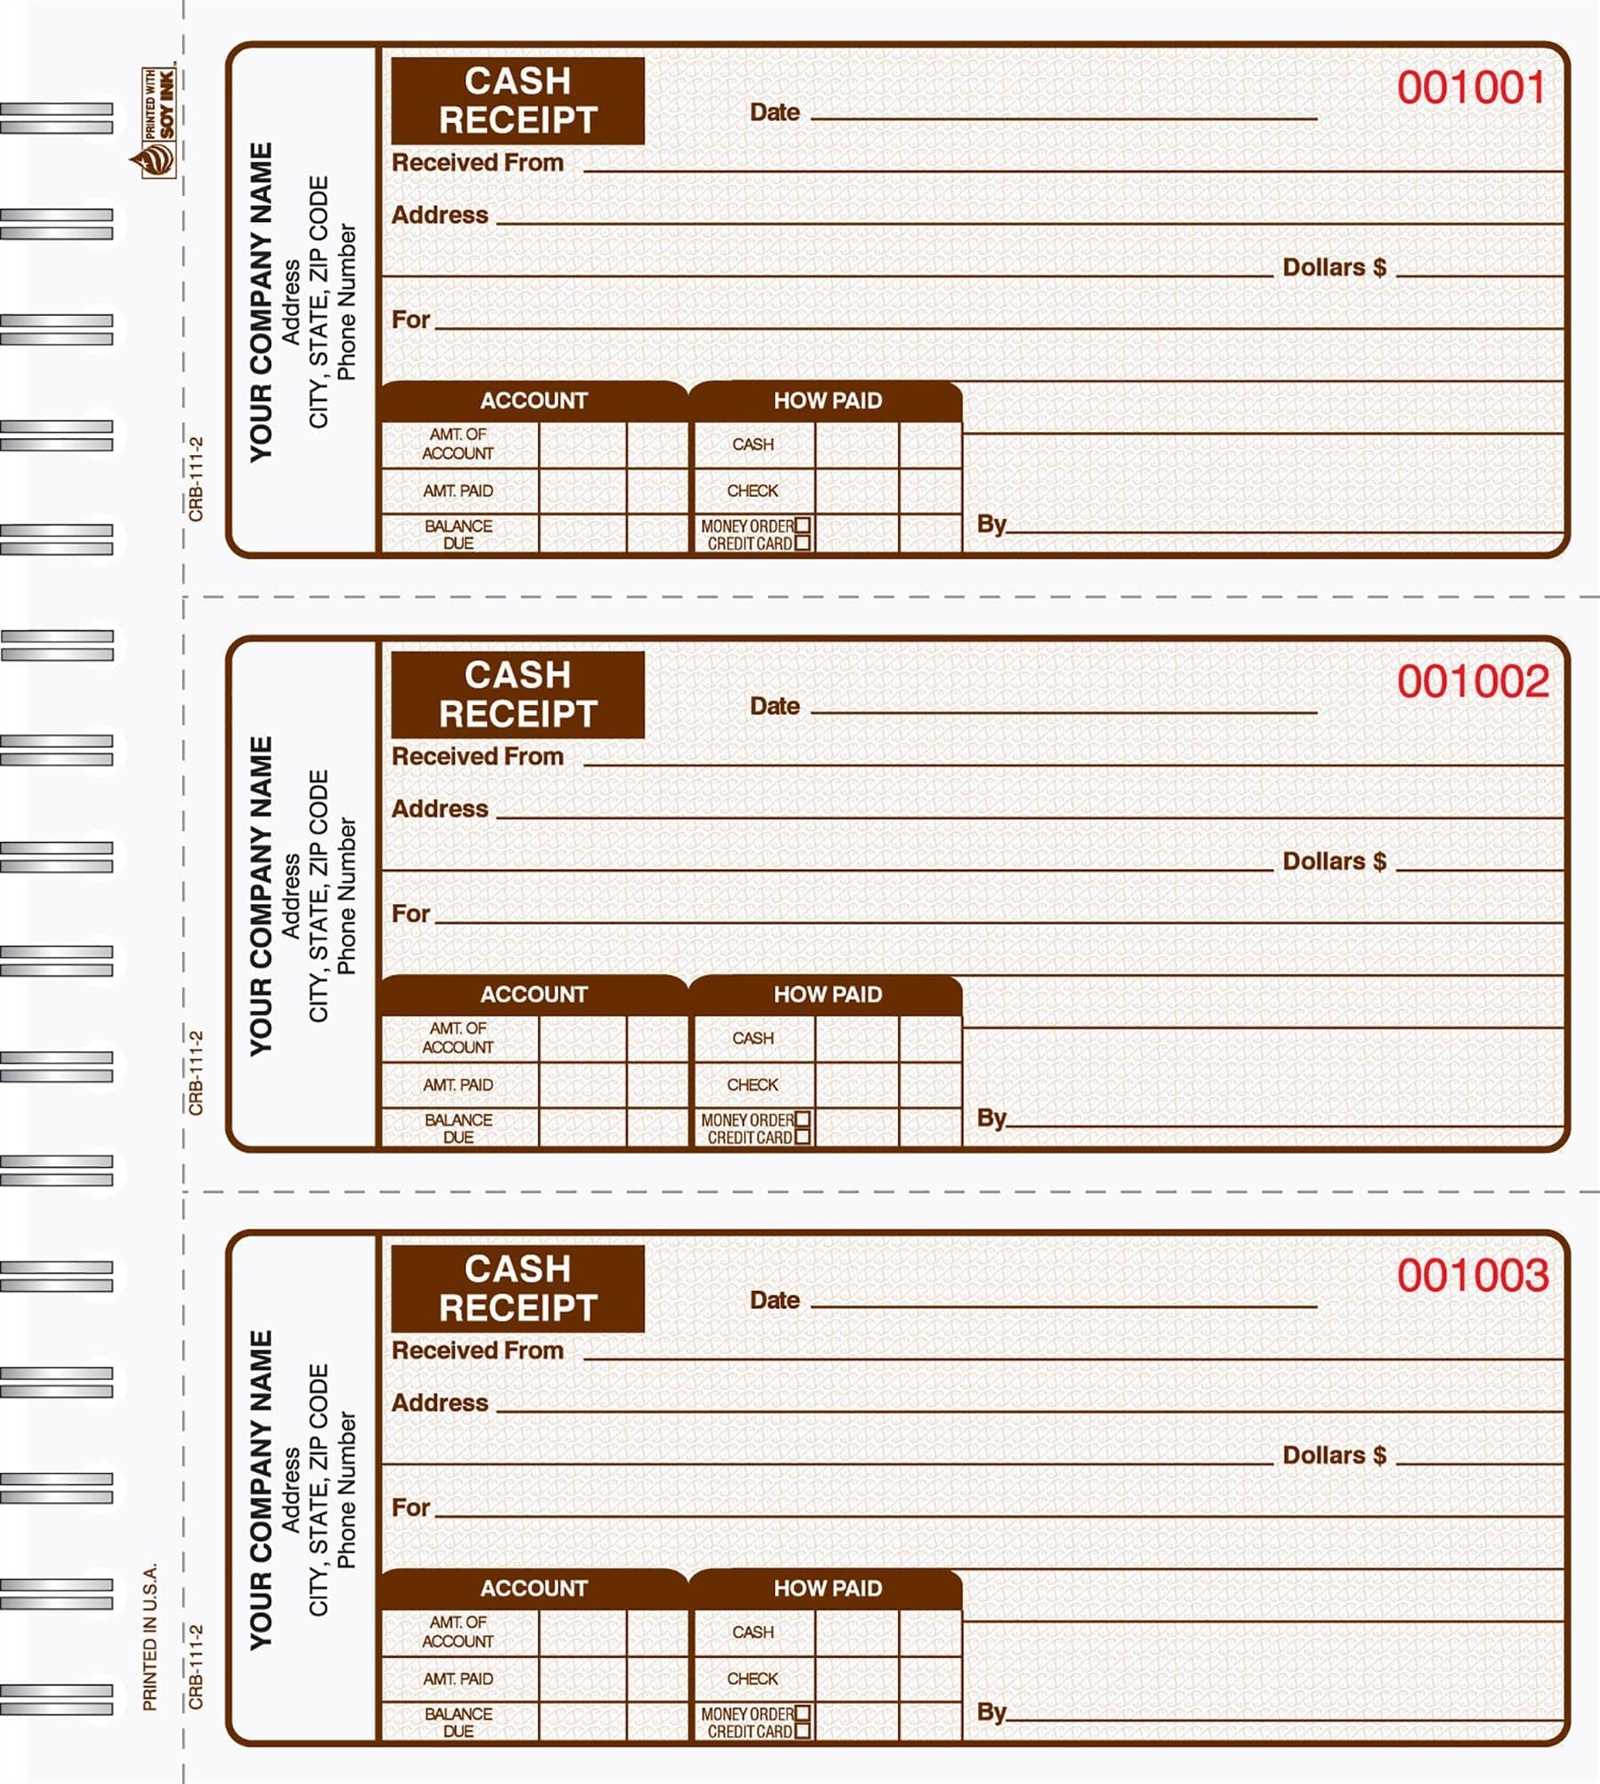
Adjust the fields in your receipt booklet to match the specifics of each transaction. Customization allows you to capture relevant details and streamline your workflow. Below are key steps to modify the fields according to the type of transaction.
1. Define Relevant Information
- Sale Transactions: Include product name, quantity, unit price, and total cost.
- Service Transactions: Add service description, service duration, and hourly rate.
- Refunds: Fields for the original transaction ID, return reason, and refund amount are necessary.
- Donations: Include donor name, donation amount, and purpose.
2. Tailor Input Options
- Enable dropdown menus for quick selection of common items or services.
- Add date fields for tracking transaction timing or delivery schedules.
- Incorporate checkboxes for special conditions or add-ons (e.g., warranty or gift wrapping).
3. Adjust for Specific Tax or Discount Rules

- If certain transactions are tax-exempt, customize a tax field with a checkbox or auto-calculation.
- For discounts, add a percentage input field or a flat amount field, depending on the transaction type.
By customizing the fields, each transaction will be documented accurately, making the receipt more functional and user-friendly for both parties. Adjust as necessary based on the needs of your business or transaction type.
Design Tips for Legible and Professional Receipts
Choose a clean and simple font to ensure clarity. Sans-serif fonts like Arial or Helvetica offer great readability, especially in smaller sizes.
Use ample white space. Avoid clutter by maintaining appropriate margins and spacing between items. This makes the content easier to scan.
Organize the information logically. List items or services in a clear, itemized format. Group related information like totals and taxes together.
- Use bold for important details like totals and payment methods.
- Consider adding separators (like lines) between sections for better distinction.
Ensure the text is large enough to read easily. Avoid cramping text in small boxes. Balance font size with overall layout.
Highlight key information with subtle color accents. Stick to one or two accent colors to maintain a professional appearance.
Include a clear header with your business name, address, and contact details. This increases trust and makes it easier for customers to reach out if needed.
- Keep your logo simple and not too large. It should complement the receipt, not overpower it.
- Position the header at the top for immediate visibility.
Ensure any legal or tax information is easy to find. Put it in a designated section, making it simple for customers to understand what they are being charged.
Incorporating Business Branding into Your Receipt Template
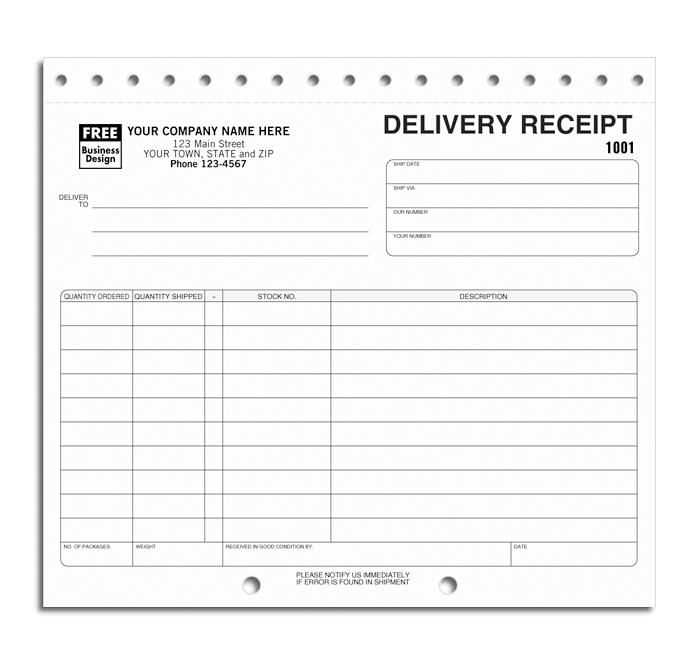
Include your business logo at the top of the receipt. This simple step enhances brand recognition and helps customers immediately associate the receipt with your business. Ensure the logo is clear, appropriately sized, and doesn’t overwhelm the content of the receipt.
Brand Colors and Fonts
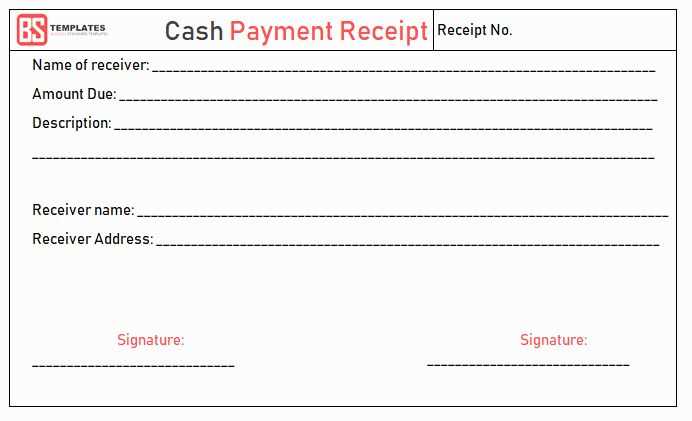
Use your business’s brand colors and fonts throughout the receipt. Consistency in visual design reinforces your identity. Make sure the colors are balanced, ensuring that the text remains readable while still reflecting your brand’s style.
Contact Information and Tagline
Position your business contact information and tagline at the bottom or top of the receipt. This includes phone numbers, website URLs, and social media handles. Your tagline should be concise and memorable, offering a final branding touch to the receipt.
| Element | Recommendation |
|---|---|
| Logo | Place at the top, clear and appropriately sized. |
| Brand Colors | Use colors that reflect your business identity while maintaining readability. |
| Font Style | Use brand-approved fonts to maintain consistency in visual identity. |
| Contact Information | Position at the bottom with phone, email, and social media handles. |
| Tagline | Place at the top or bottom, short and catchy. |
Setting Up Sequential Numbering for Record-Keeping
Choose a numbering system that fits your record-keeping needs. Set up sequential numbering to ensure consistency and ease of tracking. The simplest way is to begin with a number like 001 and increase it by 1 with each new receipt. This keeps records easy to follow and reduces the chance of errors.
Using Excel or Google Sheets
For a digital approach, Excel or Google Sheets can automate the process. Start by entering your first number in the first cell. Then, in the next cell, use a formula to add 1 to the previous number (e.g., =A1+1). Copy this formula down the column, and every new row will automatically get a unique number.
Setting Up in a Receipt Book
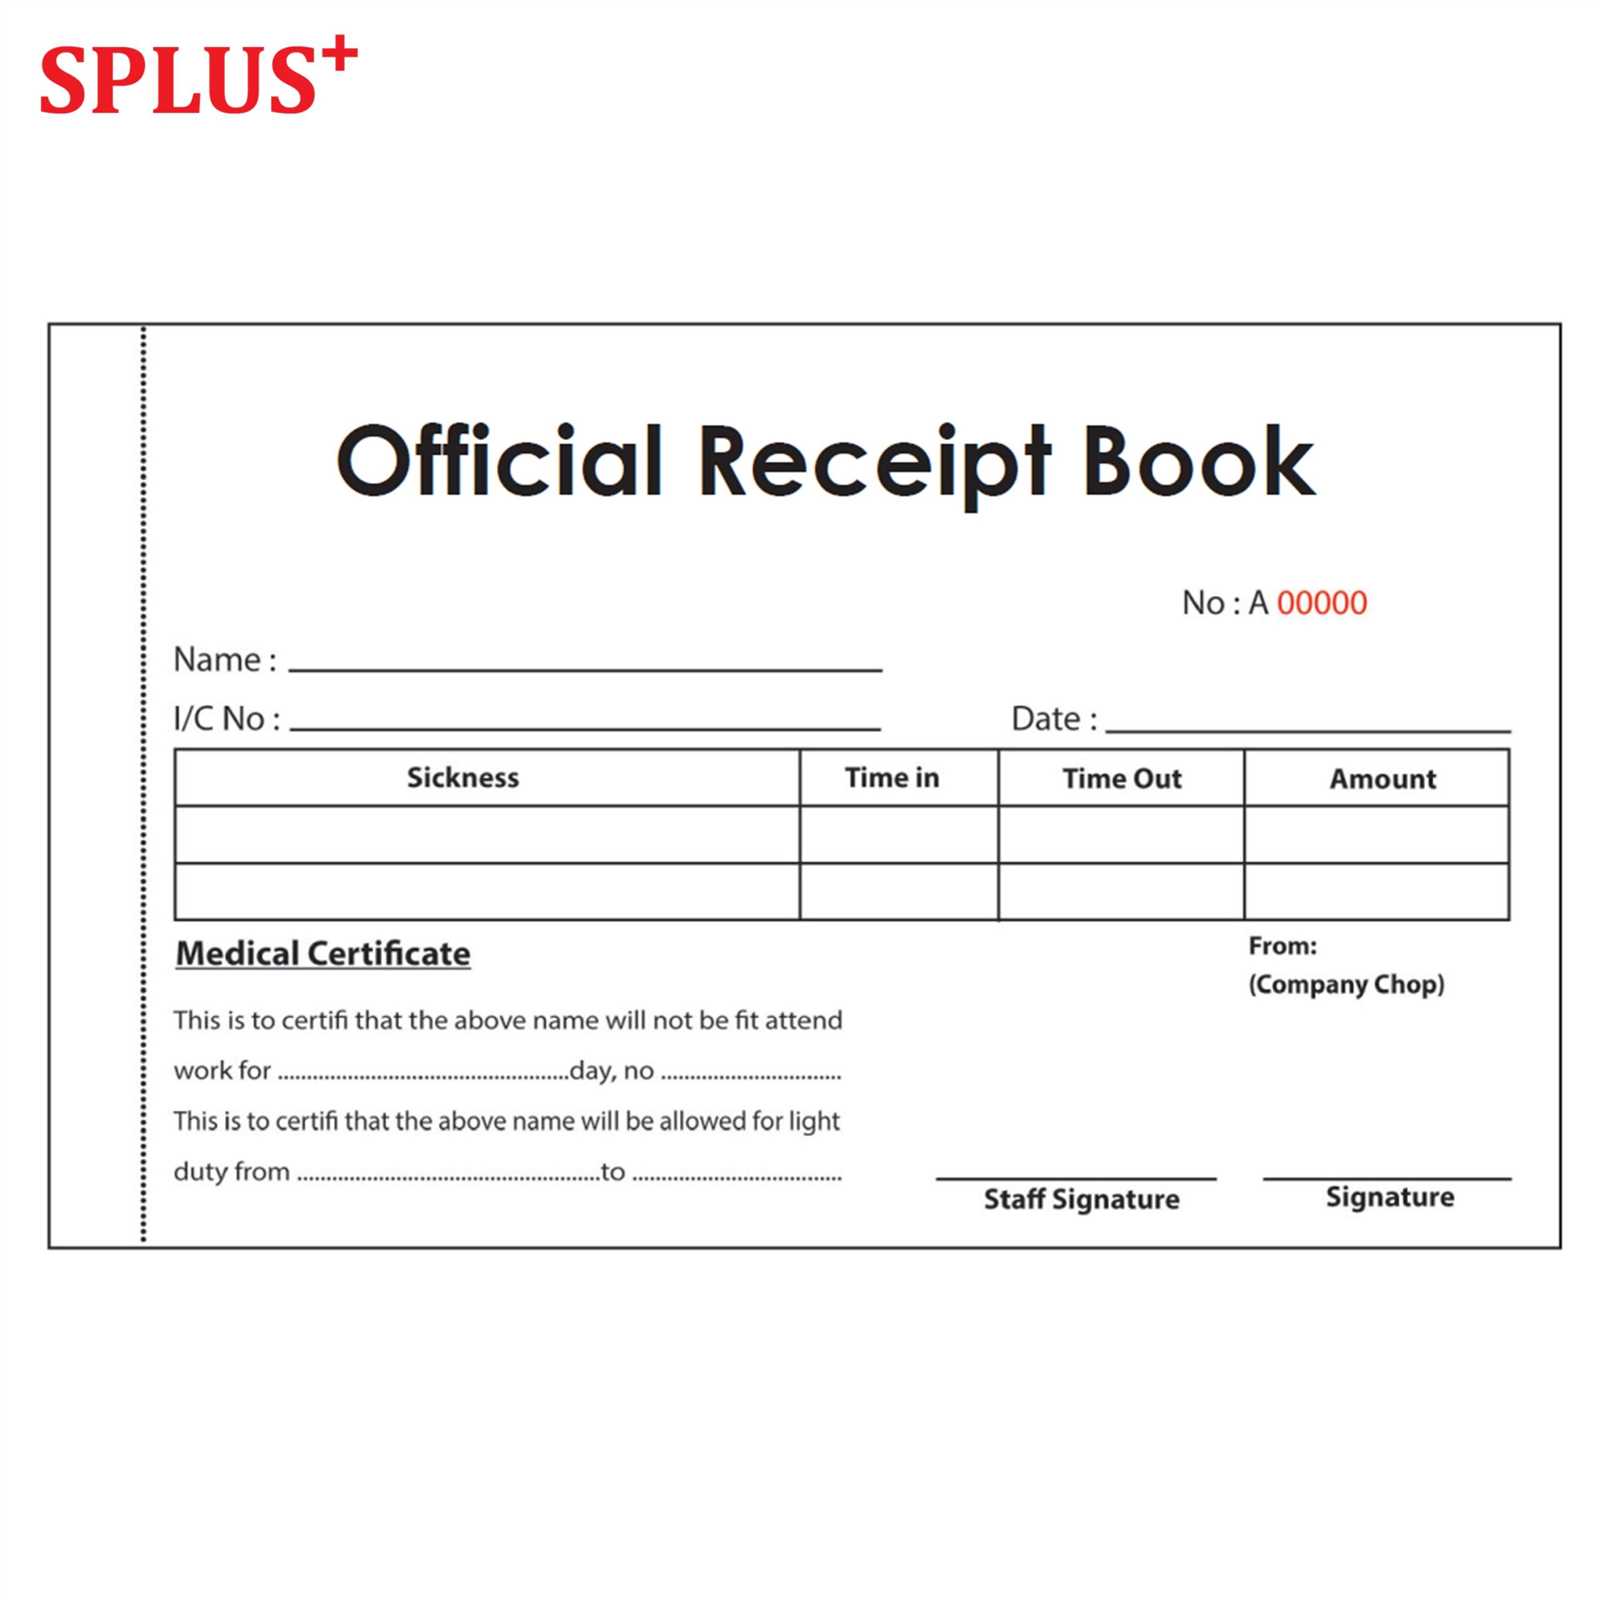
In physical receipt books, consider using pre-printed, sequential numbers. This helps avoid mistakes and maintains a clean, consistent format. If you’re designing your own booklet, print numbers that follow a clear order, starting from 001 or any other format that suits your needs.
Printing Options: Choosing the Best Paper and Layout
Choose a sturdy paper stock to ensure durability and clarity. Opt for 80-100 gsm for a lightweight feel or 120-160 gsm for a more robust booklet. Glossy finishes are ideal for high-quality images, while matte paper provides a professional, easy-to-read finish.
Paper Types
For most receipt booklets, uncoated paper works well as it absorbs ink better, making the text clearer. Consider a recycled paper for a sustainable choice, or go for a thicker card stock for more durability and a premium look.
Layout Choices
Decide on a portrait layout for standard receipt sizes, ensuring the text fits neatly without overcrowding. A simple, clean design is best for readability. Avoid heavy borders or unnecessary graphics that distract from the purpose.
Keep margins consistent to prevent text from getting cut off during printing. Allow enough space for the receipt number, date, and transaction details. Using a grid-based layout can help maintain alignment across all pages.
